After infura has depreciated the public gateway lots of developers face issues while uploading files on the IPFS infura.
Things we are going to do.
- we will create and setup our infura account
- we will upload files on IPFS
- we access content from the IPFS.
Setting up the infura account.
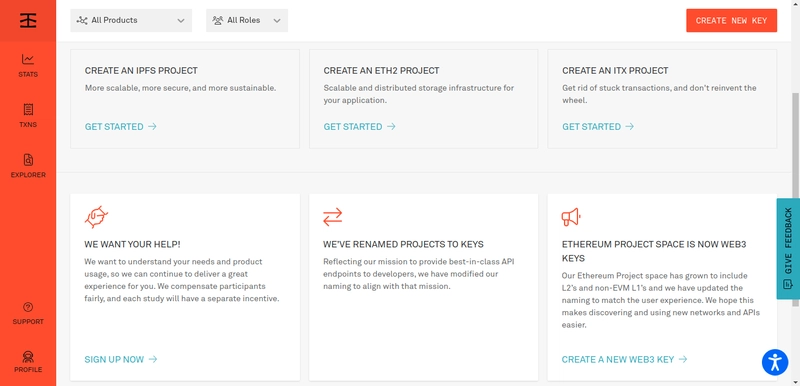
Go to the official website infura.io and create a new account if you don't have it after creating and signing it click on the create new key.

Select the network IPFS and mention name of the Project whatever you want and create it.
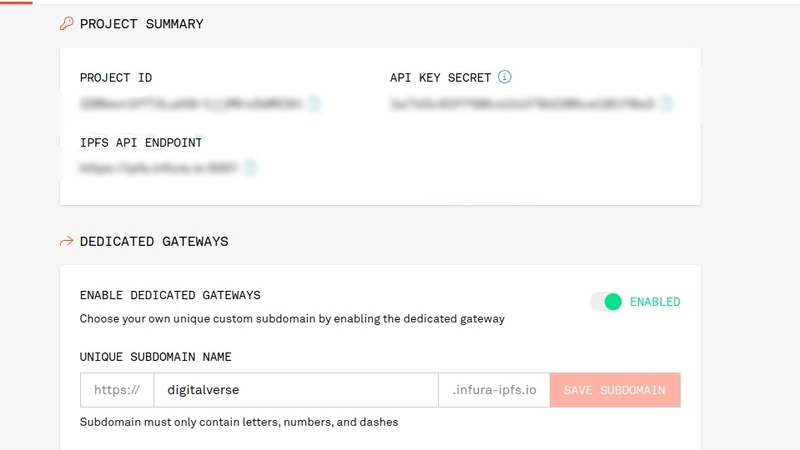
After you will see following credential here project secret key , API Key secret and IPFS endpoint one more thing we want here is dedicated gateway domain link so we will get it by enabling the dedicated gateway option enter the name of the domain on your own choice and save the domain.
now you have setup your account and now you have your own dedicated gateway we will use all these credential in our project later on.
How to Upload files on IPFS in your project.
In your React project we need npm package called ipfs-http-client install it using this command.
npm i ipfs-http-client
Open App.js file in your react project and import the ipfs-http-client we are importing create function as ipfsHttpClient provided by the ipfs-http-client and set up your infura credential in your react project.
import { create as ipfsHttpClient } from "ipfs-http-client";
add up your infura keys in your App.js component we will use them to generate the authorization key by generating the base64 key using the function btoa
const projectId = "<YOUR PROJECT ID>";
const projectSecret = "<YOUR PROJECT SECRET>";
const authorization = "Basic " + btoa(projectId + ":" + projectSecret);
Note: feel free to use environment variable for the safer alternative
Now we will create a variable ipfs this will store the ipfs http client return by the create function. we are going to pass the argument in create function include url and the headers include authorization
   const ipfs = create({
      url: "https://ipfs.infura.io:5001/api/v0",
      headers:{
        authorization
      }
    })
after established the connection with IPFS we will upload files from our input form.
    <div className="App">
      {ipfs && (
        <>
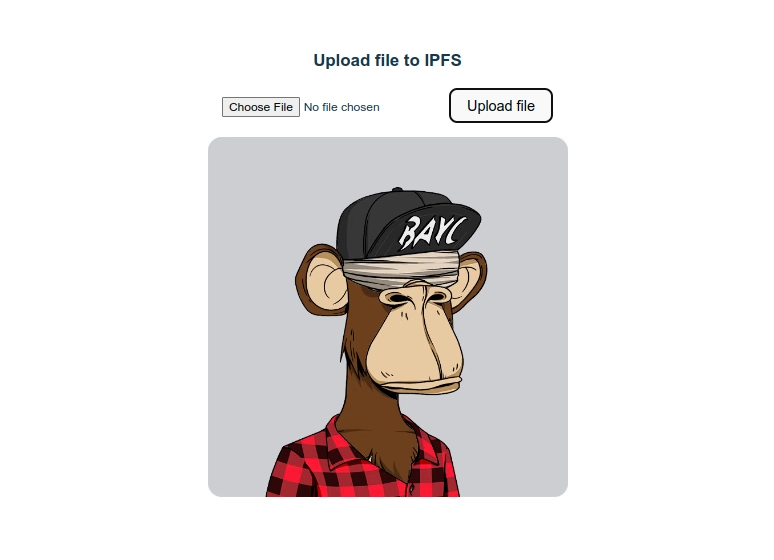
          <h3>Upload file to IPFS</h3>
          <form onSubmit={onSubmitHandler}>
            <input type="file" name="file"/>
            <button type="submit">Upload file</button>
          </form>
        </>
      )}
    </div>
onSubmitHandler is the main function which will take care of all the implementation lets write the code.
const onSubmitHandler = async (event) => {
    event.preventDefault();
    const form = event.target;
    const files = (form[0]).files;

    if (!files || files.length === 0) {
      return alert("No files selected");
    }

    const file = files[0];
    // upload files
    const result = await ipfs.add(file);

    setImages([
      ...images,
      {
        cid: result.cid,
        path: result.path,
      },
    ]);

    form.reset();
  };
Logic of this function is straight forward
Verify the file if selected otherwise show the alert message file is not selected
ipfs.add(file)is uploading file to IPFSaddmethod returns the following properties includecid,path,sizeandmtimethe most important properties arecid(it is the content identifier or unique content identifer given to the uploaded files) andpath(which we will use to display files).we will update the state of the images by adding the new files
add this line in the beginning of the component.
const [images, setImages] = useState([])
Displaying the uploaded files from the IPFS
We have our logic already implemented in the onSubmitHandler function now we are going to use this logic in our jsx
lets add the template to display the files and one more thing todo in the last copy the dedicated gateway domain link from the Infura API key and replace it with the dedicated-gateway-link.
<div>
        {images.map((image, index) => (
          <img
          alt={`Uploaded #${index + 1}`}
          src={"<dedicated-gateway-link>/ipfs/" + image.path}
            style={{ maxWidth: "400px", margin: "15px" }}
            key={image.cid.toString() + index}
          />
        ))}
      </div>
Now we have succussfully implemented all the things you can check the complete code in this Github repo.

Conclusion
You have learned how to setup a infura project upload files and access it in your React application. However IPFS innovative concept of being a decentralized solution to store files using a peer-to-peer storage network.


Top comments (7)
this was really helpful!
Thanks buddy.
Your github is not working...
i did npm i
but when npm start it failed...
ok let me check it again and then i will let you know Thanks for your feedback
.
Thank you Sameer for a simple and helpful tutorial.
You welcome.
I get this error:
unhandledRejection: ReferenceError: create is not defined
if instead of create I try to use ipfsHttpClient like this:
const ipfs = ipfsHttpClient({
url: "ipfs.infura.io:5001/api/v0",
headers:{
authorization
}
})
then I get this other error:
unhandledRejection: TypeError: (0 , ipfs_http_client_WEBPACK_IMPORTED_MODULE_7_.ipfsHttpClient) is not a function
Do you know how could I fix this? Thank you