I just completed day 15 of 100 days of SwiftUi. Today I started learning SwiftUI. I learnt more about the @State property and two bindings.
State in computer programming is a set of values that describes an application at a particular point in time.
In SwiftUI @State is used to describe the state of our app. The @State property also allows us to modify the value of our state. Anytime a @state property is modified, the views are destroyed and created again to match the current state of the app.
For instance, the @state property can be used like so.
struct ContentView: View {
   @State private var tapCount = 0

    var body: some View {
        Button("Tap count \(tapCount)") {
            tapCount += 1
        }
    }
}

The code creates a simple button. The button view takes a closure that increases the tap count state property anytime the button is tapped. Anytime the tapCount property changes the button is redrawn on the screen to reflect the new state of the tapCount property.
Two-way binding is used when we want to bind our state properties to views. It's called a two binding because the views can read the value from the state and also update the value of the state.
For instance, the two way binding in SwiftUI can be done like this.
struct ContentView: View {
   @State private var name = ""

    var body: some View {
        Form {
            TextField("Enter your name", text: $name )
            Text("\(name)")
        }
    }
}
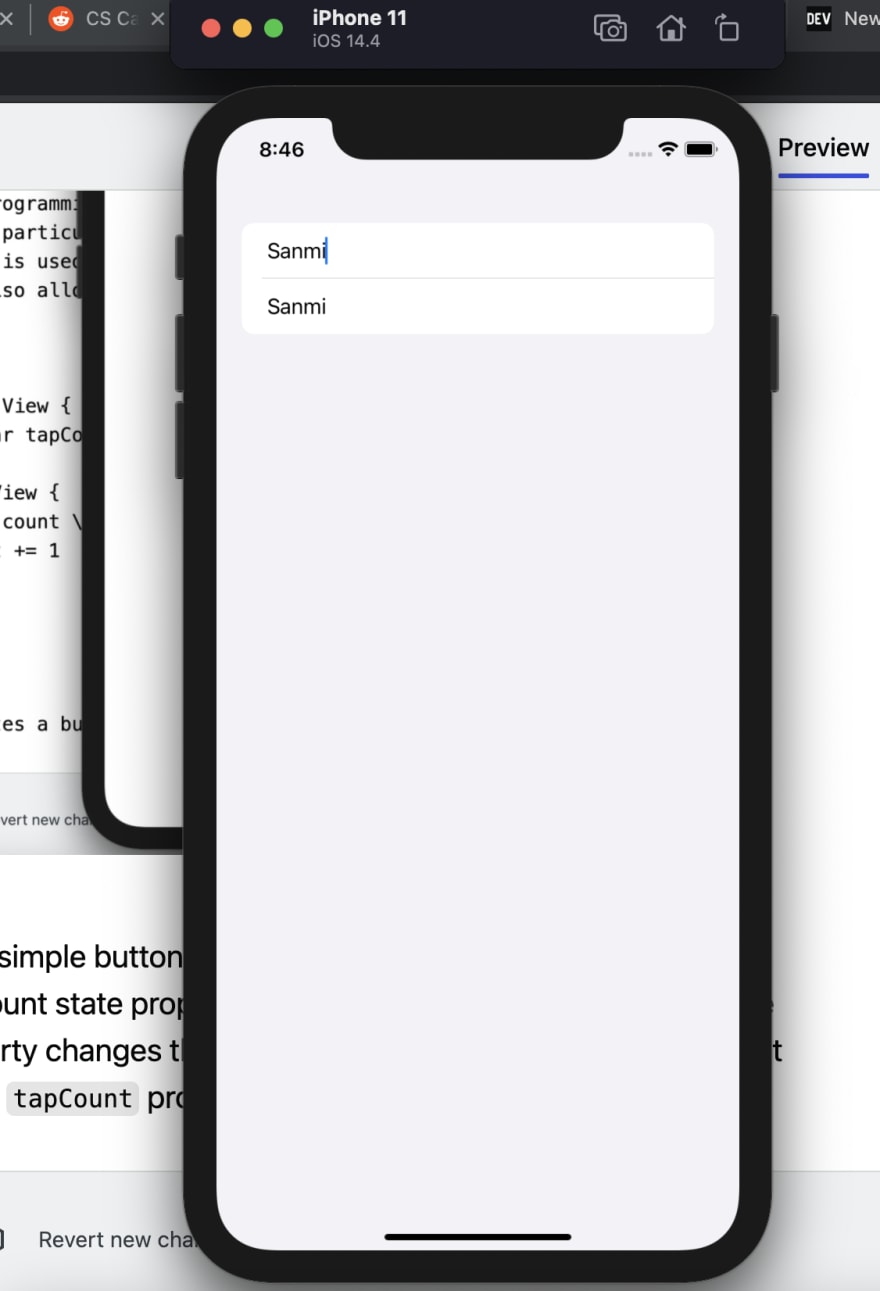
The code above creates a simple form with one state name. The form contains one TextField and one Text. We bind the name state property to the TextField. That means anytime a user types into the Textfield the name state will be updated and the Text will also be redrawn to reflect those changes.
If you are interested in taking the challenge, you can find it at https://www.hackingwithswift.com/100/swiftui
See you tomorrow ;)


Top comments (1)
Thank you so much. I'll do so from now on