
Visual Studio Code (VSCode) is a popular open-source code editor developed by Microsoft. With its flexible and extensible architecture, developers can customise and enhance their editing experience by creating their own extensions.
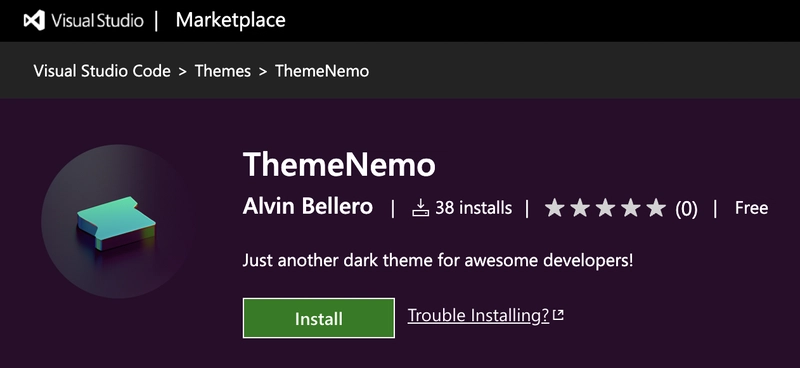
Recently, I decided to publish my own, preferred theme to Visual Studio Marketplace, ThemeNemo.
If you're looking for other themes, please check this out! 💯 🤜🤛
In this article, I will guide you through the process of creating your first theme (based on my own experience).
Whether you're a seasoned developer or just getting started, this will help you get up and running.

⚡ Set up your Development Environment
To start creating your VSCode extension, you'll need to set up a development environment on your machine. This typically involves installing Visual Studio Code and Node.js.
✨ Create a New Extension Project
Once your development environment is set up, you can create a new extension project using the VSCode Extension Development Kit (VSCode-EDK) or the Yeoman generator for VSCode extensions.
npm install -g yo generator-code
🏃 Run "Yo Code"
The Yeoman Generator will walk you through the steps required to create your customisation or extension prompting for the required information.
To launch the generator simply type:
yo code
The CLI will walk you through the generation process and asks you about your extension's preference. Please refer to the actual generation below.
AND ... VOILA! 🎉
You have now successfully generated your theme files! Open it in VSCode and here's the file list looks like.


AWESOME! ... But wait! There's more! 👀
🔧 Debug Your Extension
You may be wondering how the default theme looks like. To view it, go to your Menu → Run and choose Start Debugging (F5).
This will open a new instance of VSCode Editor and provides you your debugger tools from your main editor.

This is the bare, default theme of VSCode 😕
🎨 Customise Your Theme
Start changing the colour values inside the JSON file. It will automatically be reflected to the Debugging Window after you save it.
Isn't it nice? 🤯
💥 Bonus Tip!
During the process of my theme creation, it is really hard for me tell which part of VSCode is changing whenever I update a particular set of colours from the JSON file.
So I searched the internet and found this gem! 💎
With Theme Studio, you can easily customise your own theme using their visual tools, change it the way you like and even get inspiration from existing themes in the community by forking their themes! 💯

🚀 Publish Your Theme Extension
Finally, once your extension is complete and tested, you can publish it to the VSCode Marketplace so that others can use it.
This involves creating a publisher account, packaging your extension, and submitting it for review by the VSCode Team.
⚡ UPDATE: I created a separate post for that here if you want to know more.
Just follow the steps and see your theme in the marketplace in all of its glory!
That's all folks! You can also share your experience in the comments section below.
P.S. Don't forget about your theme logo! 😆


Top comments (1)
this comes really handy, appreciated!