Whoops
Our last Issuer post left out one small bit of code. Let’s fix that and wrap this up. Also, let’s cover how to test the webhook before moving to Google Cloud Functions.
Missed if
As I published Issuer to Google Cloud Functions I meant to update the code. The idea is to only create new issues when the originating payload action was opened. The final revision of the post left that out though so here we go. Let’s look at our updated HandleWebhook().
func HandleWebhook(res http.ResponseWriter, req *http.Request) {
  var Payload Payload
  defer req.Body.Close()

  p, err := github.ValidatePayload(req, []byte(Secret))
  if err != nil {
    http.Error(res, "bad request: "+err.Error(), 400)
    log.Printf("bad request: %v", err.Error())
    return
  }

  err = json.Unmarshal(p, &Payload)
  if err != nil {
    http.Error(res, "bad request: "+err.Error(), 400)
    log.Printf("bad request: %v", err.Error())
    return
  }
Here we are - we check Payload.Action to ensure it’s opened and if so then we create our new issue.
  if Payload.Action == "opened" {
    err = createNewIssue(&Payload)
    if err != nil {
      log.Printf("bad request: %v", err.Error())
      return
    }
  }
}
Testing Webhooks
Before pushing to GCF it was necessary to test the webhooks to ensure I was receiving what I needed. This is actually pretty easy thanks to ngrok. ngrok is a command line tool which allows us to access our internal program from an external network. No need to worry about setting up your firewall or tunneling.
ngrok
To do this we’ll need to make sure we have ngrok installed. On a Mac, which is where I tend to do most of my development lately, it’s a simple matter of installing via brew.
brew install ngrok
If you happen to be using Windows, you can download from the ngrok website, https://ngrok.com/download. Follow the instructions to install on the website. Once installed you should be able to open a command prompt or terminal window and run ngrok.
➜ ~ ngrok
NAME:
   ngrok - tunnel local ports to public URLs and inspect traffic

DESCRIPTION:
    ngrok exposes local networked services behinds NATs and firewalls to the
    public internet over a secure tunnel. Share local websites, build/test
    webhook consumers and self-host personal services.
    Detailed help for each command is available with 'ngrok help <command>'.
    Open http://localhost:4040 for ngrok's web interface to inspect traffic.
...
Now What
Now what? That’s easy! Let’s run…
ngrok http 3000
Assuming you are running the code we wrote last time, that runs on port 3000. Now open a new terminal window and lets run our code.
go run main.go
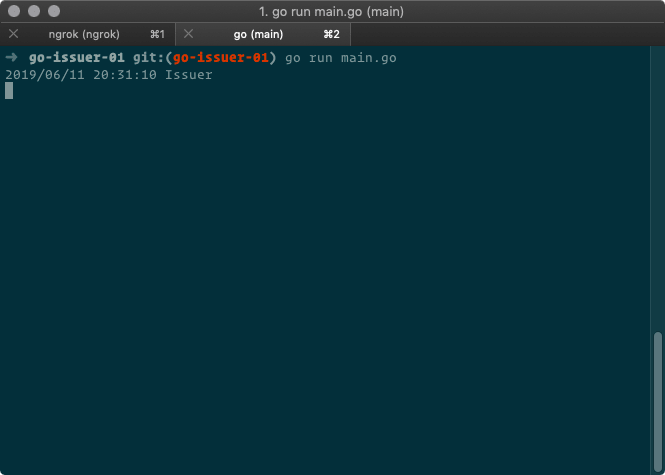
Now we’re up and running, let's enable some webhooks on GitHub and do some actual testing.
GitHub Webhooks
With both ngrok and our code running we go to GitHub! Pick a repo, or create a test one. Under the settings tab, chose “Webhooks” on the left. Click “Add webhook” on the upper right. Enter our ngrok URL, ex: https://9ba7d0f6.ngrok.io and add /webhook. In “Content type” make sure you select application/json. For this project I chose “Let me select individual events” and then selected only “Issues”. Then click “Add webhook” at the bottom.
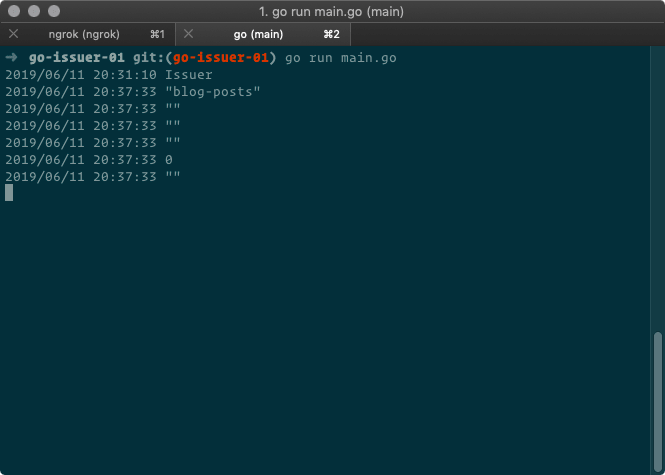
GitHub will send off a test post, we should see something right away.
And there we have it! It’s mostly blank because it’s just a test but it’s enough to show that we’re working as expected.
You can find the code for this and most of the other Attempting to Learn Go posts in the repo on GitHub.
 shindakun
/
atlg
Source repo for the "Attempting to Learn Go" posts I've been putting up over on dev.to
Attempting to Learn Go
Here you can find the code I've been writing for my Attempting to Learn Go posts that I've been writing and posting over on Dev.to.
Post Index
| Enjoy this post? |
|---|
| How about buying me a coffee? |


Latest comments (0)