In this Dev post I will be helping you understand, use, and implement Particles.js into your workspace of choice. Particles.js is a great JavaScript library created by Vincent Garreau to spice up the look of your webpage, so before we get into implementation lets get started by first.
Messing around with Particles.js
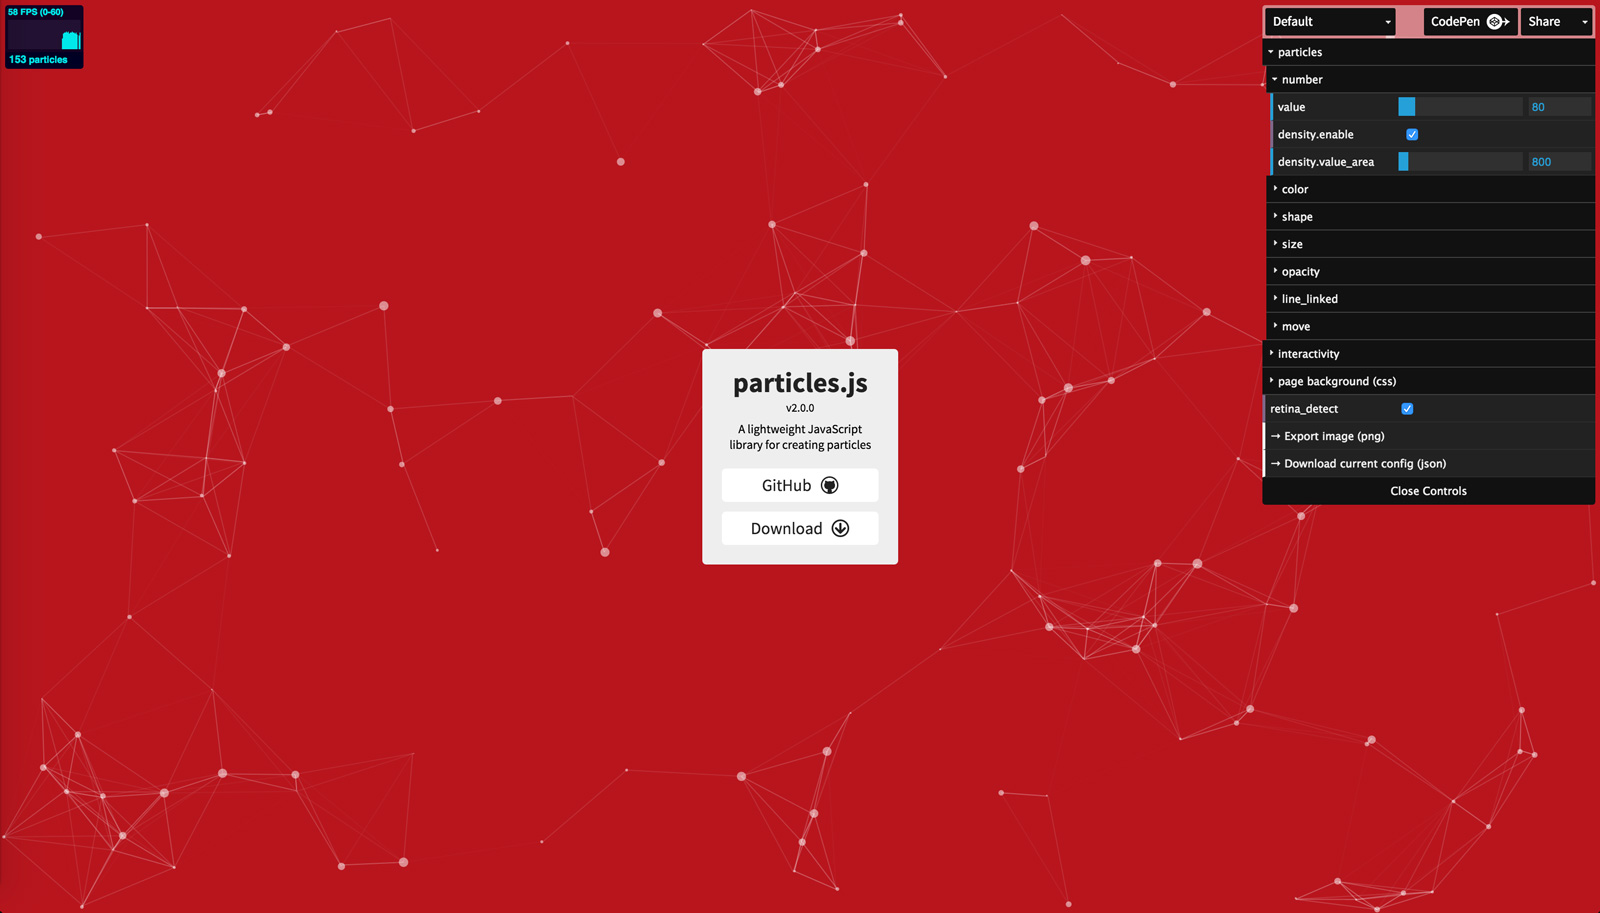
Before we do anything I highly recommend you mess around with the premade examples on Vincent Garreau's particals.js demo here.
Inside these demos it illustrates some cool things we can do with particles.js like not only having particles of any size float around our webpage, but also adding mouse interaction that push those particles away on hover, or add new particles on click. Once you've messed around with it, its now time to.
Implement Particles.js
Before we can actually enter into the meat of this library We must start by implementing it into our workspace. Now keep in mind this is not the only way to implement particles.js, we can use npm or Bower or a bunch of other packages to get particles.js working, but for this Dev blog I'm just going to show manual implementation.
Downloading Particles.js
-
You can download the latest release of the particals.js zip file with the link below on the right side of the page called 'Releases'
 VincentGarreau
/
particles.js
VincentGarreau
/
particles.js
A lightweight JavaScript library for creating particles
particles.js
A lightweight JavaScript library for creating particles.
Demo / GeneratorConfigure, export, and share your particles.js configuration on CodePen:
http://vincentgarreau.com/particles.js/CodePen demo:
http://codepen.io/VincentGarreau/pen/pnlso
UsageLoad particles.js and configure the particles:
index.html
<div id="particles-js"></div>
<script src="particles.js"></script>
app.js
/* particlesJS.load(@dom-id, @path-json, @callback (optional)); */
particlesJS.load('particles-js', 'assets/particles.json', function() {
  console.log('callback - particles.js config loaded');
});
particles.json
{
  "particles": {
    "number": {
      "value": 80,
      "density": {
        "enable": true,
        "value_area": 800
      }
    },
    "color": {
      "value": "#ffffff"
    },
    "shape": {
      "type": "circle",
      "stroke": {
        "width": 0,
        "color": "#000000"
      },
      "polygon": {
        "nb_sides": 5
      },
      "image": {
        "src":
… Once downloaded unzip the file and copy it into your project folder and paste the code below into the head of your html file.
<head>
       <script src="/particles.js"></script>
</head>
<body>

</body>
Creating our config
Now I recommend creating a particles.cfg.json file and adding the basic settings provided in the Particles.js GitHub in the "Usage" section. This will add a bunch of settings to our particles that you may or may not want, but either way its probably a good idea to mess around with it to get familiar with the library.
Once our json-config file is created we should add a particles div with a appropriate height and width to let our webpage know the area that our particles can render in like so.
<head>
       <script src="/particles.js"></script>
</head>
<body>
       <div id='particle-div'></div>
</body>


|||||||||||||||||||||||||||||||||||||
Css

particle-div {
width: (number)px;
height: (number)px;
}
Now everything is ready to go! ...Well almost, we still need to load our particles onto our page. and depending on how you want your particles to show up, you may not want it on the initial load of your webpage. So here is the basic syntax for getting the particles to load, but ill leave the rest to you on whether you want it on a "on-click" function or just the start of your webpage entirely
       //our particle div \/   our config file \/
particlesJS.load('particle-div', 'particles.cfg.json')
CONGRATS! You have successfully implemented particles.js,
But that's not all. Now its time to
Learn our options
Your best way to get a clear view of all the options you have when it comes to particles.js, is going to be in the main GitHub created by Vincent Garreau. But Since this is my Dev blog and I still want to help you learn a thing or two, I'm going to break down the more popular options for particles.js to help you get a better understanding how they work and how to use them. Note, you should be adding/editing these options into your particles.cfg.json file NOT YOUR CSS FILE.
Particles.number.value
Takes in a number value and changes the amount of particles rendered based on that value.
Particles.color.value
Takes in a string value of a color, RGB-object, HSL-object, array-hex, and a 'random' string to change all particles colors to the value.
Particles.shape.type
Takes in a string value of "edge"(square), "triangle", "circle", "star", "polygon", or "image". and sets the particles to that shape type. with arrays of values being allowed as well, EXAMPLE(['circle', 'star', 'polygon']). Note(you can also add width/height elements to your shape with particles.shape.stroke.width/height/or even color.
Particles.opacity.value
Takes in a number value from 0-1 and changes the opacity based on that value.
Particles.size.value
Takes in a number value and changes the size of our particles based on this value.
Particles.line_linked.enable
takes in a Boolean value and adds a linked line between multiple particles near it.
Particles.move.direction
Takes in a string like "top", "bottom-right", ect to move the particles in that direction. similarly there are particles.move.random or particles.move.straight that tell the particles to move randomly or in a stright line. We can actually see stright line example in the demo of particles.js Nyan-Cat.
CONCLUSION
I truly do hope this article made navigating, implementing, and using particles.js easier for you in whatever project you may or may not be working on. Understanding new libraries can be a bit difficult to get into but keep in mind that there are always people out there trying to make your learning experience easier. THANK YOU FOR READING!!!!
** Sources I used and you Should Too!
Vincent Garreau particle.js website/demos
Geeks4Geeks how to use particles.js
Creating particle effects video
Reasons why you shouldn't use particles.js

Top comments (1)
You should checkout tsParticles
tsParticles - Easily create highly customizable JavaScript particles effects, confetti explosions and fireworks animations and use them as animated backgrounds for your website. Ready to use components available for React.js, Vue.js (2.x and 3.x), Angular, Svelte, jQuery, Preact, Inferno, Solid, Riot and Web Components.
tsParticles - TypeScript Particles
A lightweight TypeScript library for creating particles. Dependency free (*), browser ready and compatible with React.js, Vue.js (2.x and 3.x), Angular, Svelte, jQuery, Preact, Inferno, Riot.js, Solid.js, and Web Components
Table of Contents
riot-particlessolid-particlesweb-particles