If you aren’t already aware, DigitalOcean is a cloud infrastructure provider whose purpose is to help “_developers easily build, test, manage, and scale applications of any size – faster than ever before.” _They make it easier to roll out pre-built applications and environments for your company, and to build your own. When it comes time to give those applications the ability to send and receive information, i.e. event-driven communication, whether request/reply using RESTful HTTP or pub/sub with AMQP, JMS or MQTT, you can easily install the PubSub+ event broker right alongside them.
In this post we will set up our DigitalOcean account, choose which environment to deploy, and install PubSub+ into a Docker container on the DigitalOcean droplet. To get started, head over to DigitalOcean and set up your account with either a username/password or via SSO with your Google account. If you already have a DigitalOcean account, you can skip this process.
Initial Setup
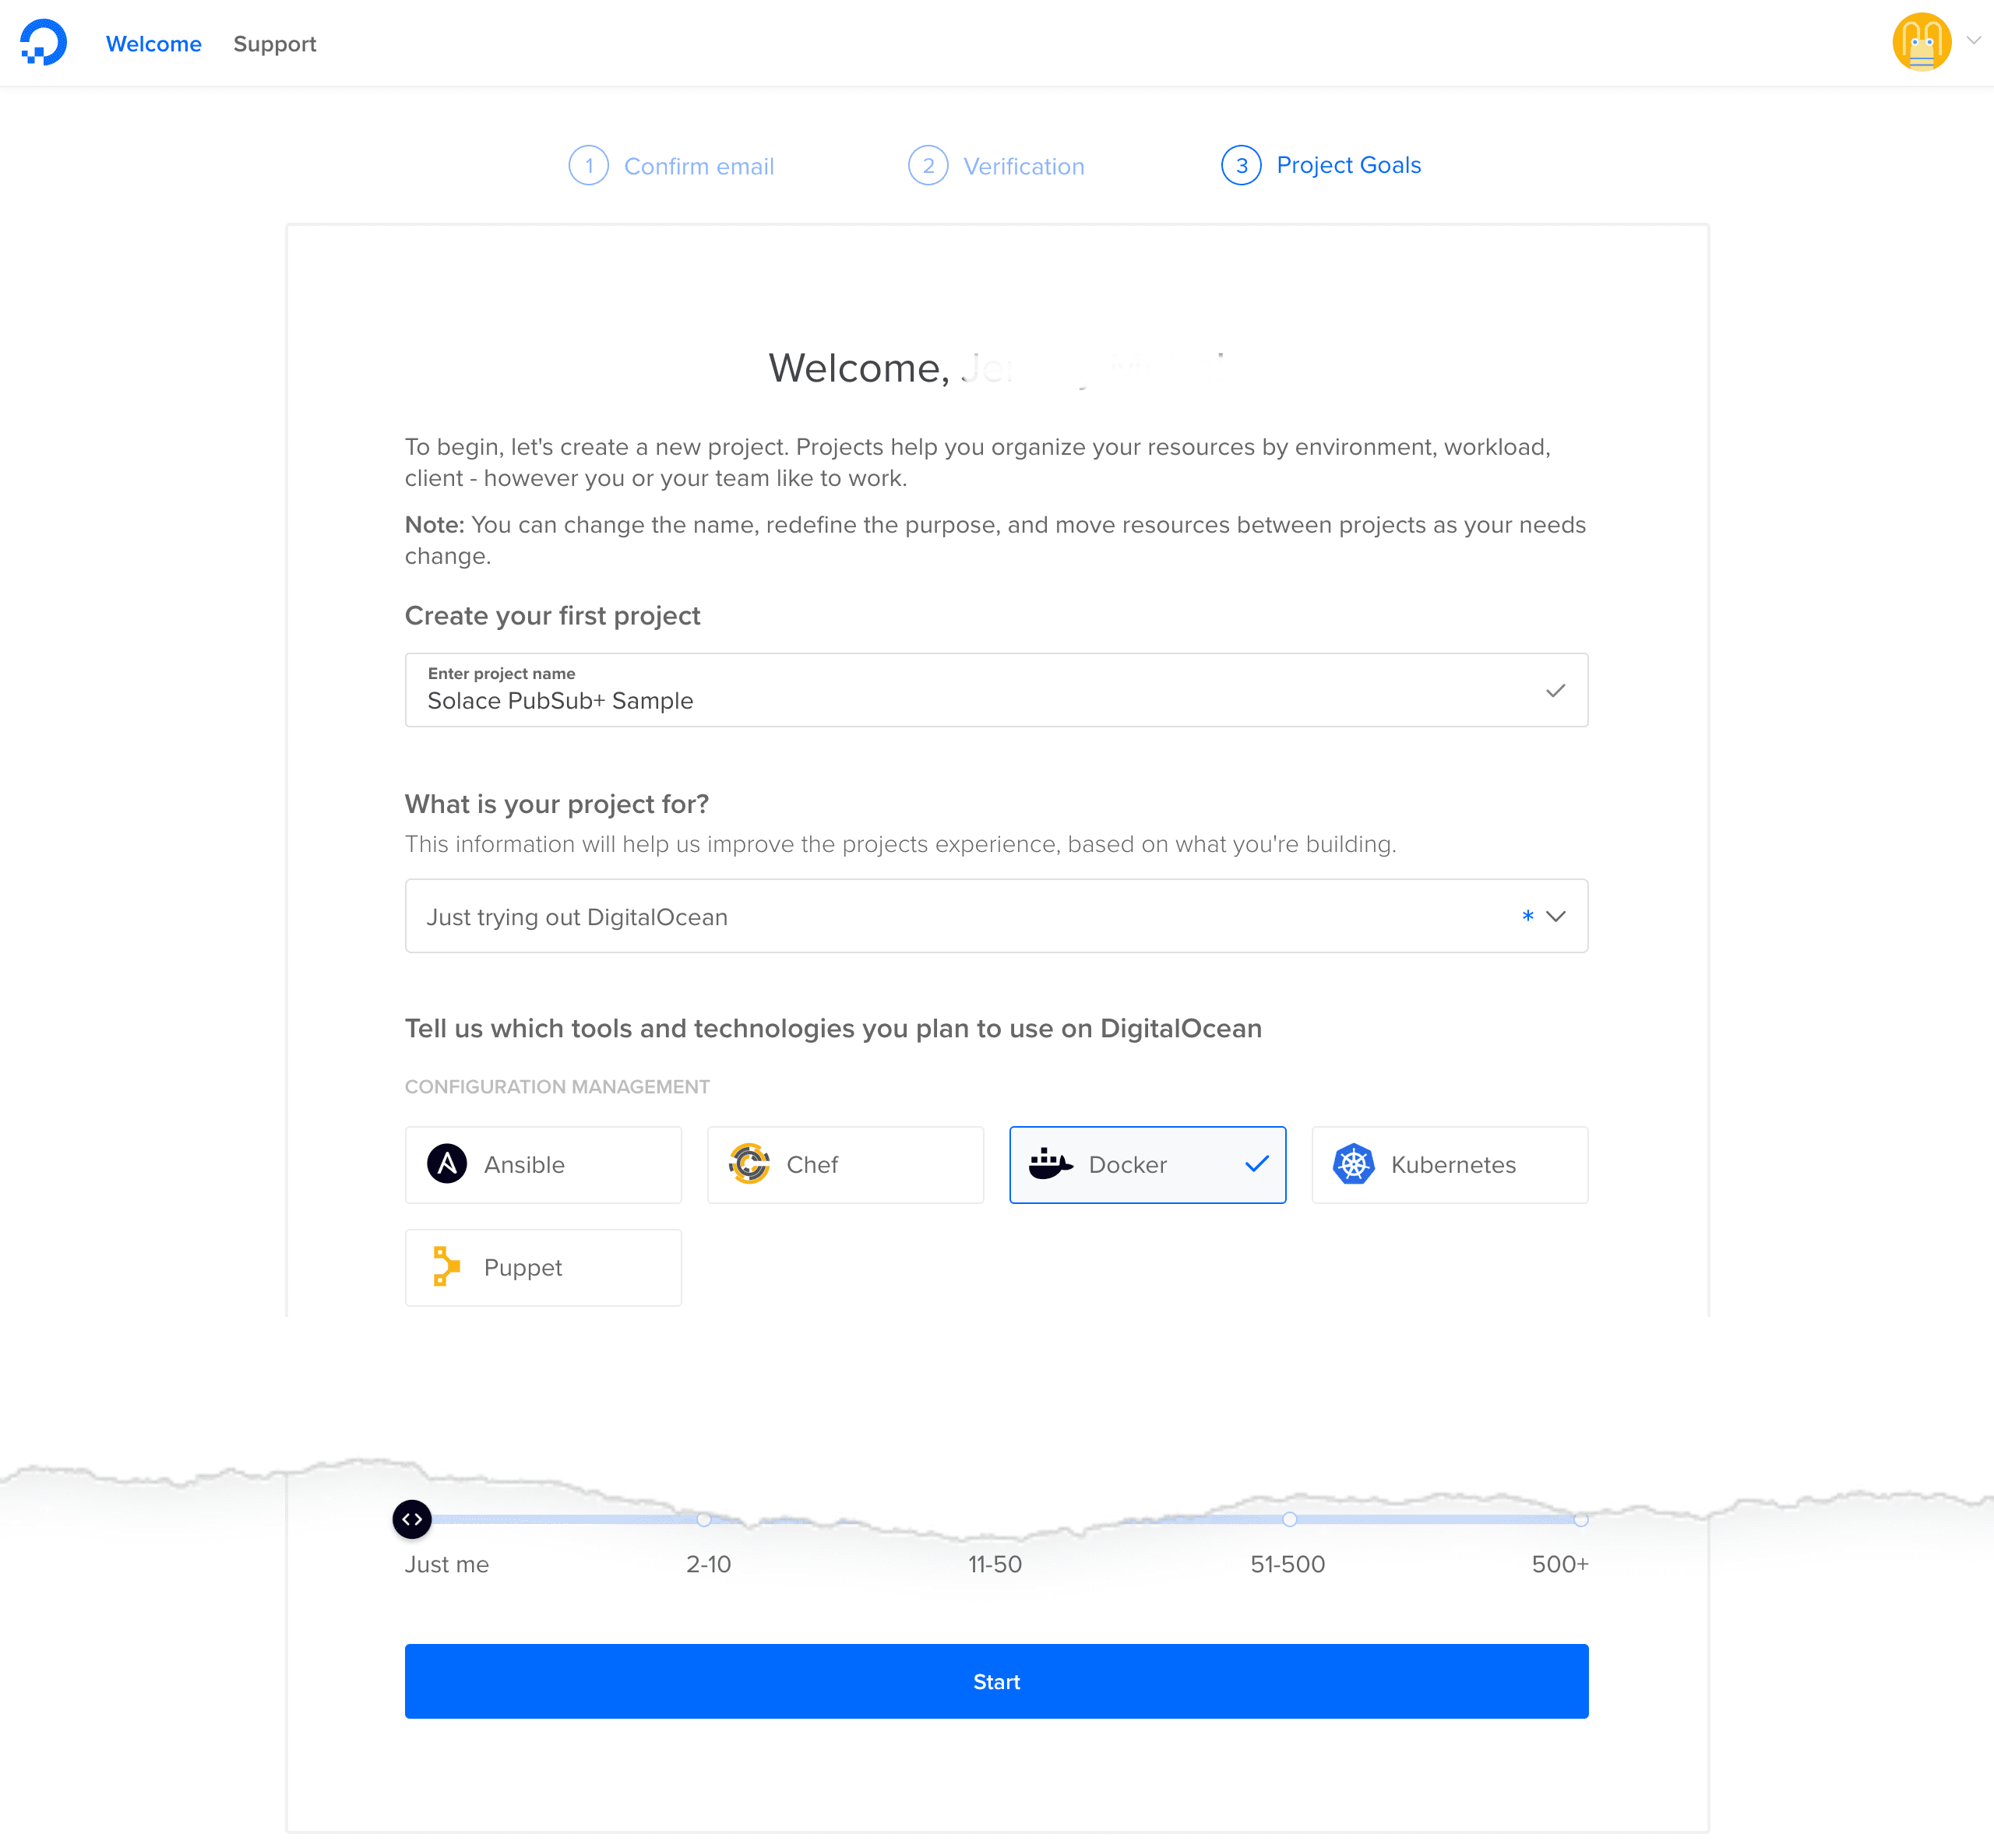
DigitalOcean allows you to set up projects which help you organize resources, environments, etc. You can change these at any time, but it’s helpful to get started.
Once you’ve made it to the Dashboard, it’s time to create our droplet to install PubSub+ into. For this activity, we’re going to be using the latest Docker droplet, in this case Docker 5:19.09.6, as part of the Marketplace, and set up with Ubuntu 18.04 x64 by default.
Once that’s been selected, we need to choose the Standard Starter Plan, and we have some options for what droplet size to choose from. As listed on the Docker for Linux Broker Setup Page, the minimum system resources required and recommended are:

For the purposes of this post, we are going to select the $10/mo plan:

Note: you are only billed for the amount of time you use your droplet.
The next thing we select is the region for the droplet. We’ll be using San Francisco, but you can use any region you want.

In order to make a console/terminal connection to the droplet, we need to add an SSH key. If you already have an SSH key, you’ll upload your public key here. If not, you’ll need to create one, and DigitalOcean has you covered with the process.
The last steps to kick off the deployment is to assign or accept the hostname and choose a project to associate the droplet with. I’ve changed the hostname here to solace1 and chosen the default project I created, but you can use the auto-generated hostname or enter your own.

When you’re ready, click Create!

Install PubSub+ on Droplet Container
Once the droplet is created, we’re ready to install the PubSub+ Docker container. To do so, you need to get to a terminal window and use ssh to connect to the droplet via the IP address listed:
ssh root@138.68.26.108
Note: While we won’t go into it with this post, I do not recommend running anything as the root user, and I highly recommend that you follow the Initial Server Setup post by DigitalOcean for securing your droplet. This post is only to be considered a guide for setting up PubSub+ and not a guide for server common practices.
Once we’ve connected, let’s pull down the Docker container:
sudo docker pull solace/solace-pubsub-standard
Docker will start to pull down the image, which should happen pretty quickly:

Now let’s create the PubSub+ event broker container with the image we downloaded:
sudo docker run -d -p 8080:8080 -p 55555:55555 --shm-size=2g --env username\_admin\_globalaccesslevel=admin --env username\_admin\_password=admin --name=solace solace/solace-pubsub-standard
Once it is created, we’ll get a UUID back for the container:

Now that we have the container working, we need to tell the preinstalled Linux firewall (ufw) to allow connections to our PubSub+ broker management tool. By default, the DigitalOcean droplet opens up IPv4/IPv6 firewall ports for SSH (22) and Docker (2375/2376). Our management tool utilizes port 8080, so we will need to open that up.

We issue the following command to open up tcp port 8080:
sudo ufw allow 8080/tcp

Once we’ve enabled the ports, we can log in to the broker via http://<ip address>:8080 using the default admin username (admin) and password (admin), and we will see the below screen:

Next Steps
There are additional configuration tasks you can make use of in the following topics:
- Default Configuration for Software Message Brokers – Go through the default port numbers for message broker services.
- Scaling Tiers for Software Message Brokers – Learn about message broker connection scaling tiers.
Also, in order to fully utilize the message broker’s features, you should familiarize yourself with the configuration operations common to both Solace PubSub+ software message brokers and appliances. That information may be found in the topics in the Configuration section.
When you are feeling comfortable with your message broker, you can test messaging using the Solace SDKPerf application. You can download SDKPerf from the Other Software section on the Downloads page, with technical information on how to use SDKPerf with Solace PubSub+ located on our Docs site.
And that’s it! You’ve successfully set up a Solace PubSub+ event broker on DigitalOcean. Follow us on Twitter at @solacedotcom and @solacedevs, and our YouTube channel for new content.
The post How to Deploy a Solace PubSub+ Event Broker to DigitalOcean appeared first on Solace.

Top comments (0)