
Headless Content Management Systems are powerful in many ways that they give us the flexibility to do whatever we want to do with our preferred frontend technology.
Strapi is one of the most popular headless CMSes out there, and the other benefit of Strapi is how it makes working with the backend side of things a breeze.
This tutorial will look at making a photo gallery with Strapi and Next.js, using Cloudinary to store our images.
Requirement
To follow along with this tutorial, you should have the following:
- Github Account
- Node.js v12 +
- Yarn 1.22+ ( You can use npm as well)
- Cloudinary Account
Setting up Cloudinary
One of the first things you will need to do is to create a free account on Cloudinary right here. Once you have successfully created your free account, you will be redirected to the management dashboard of your account.
On the dashboard page, you will find your Account Details that you will need to save for later:
- Cloud name
- API Key
- API Secret
Make sure to keep these details secret and do not share them with anyone.

Installing a Strapi Instance
After creating a Cloudinary account, it is time to install your Strapi instance.
Run the following command:
yarn create strapi-app strapi-photo --quickstart
This command will create a folder strapi-folder and install Strapi instance to it.

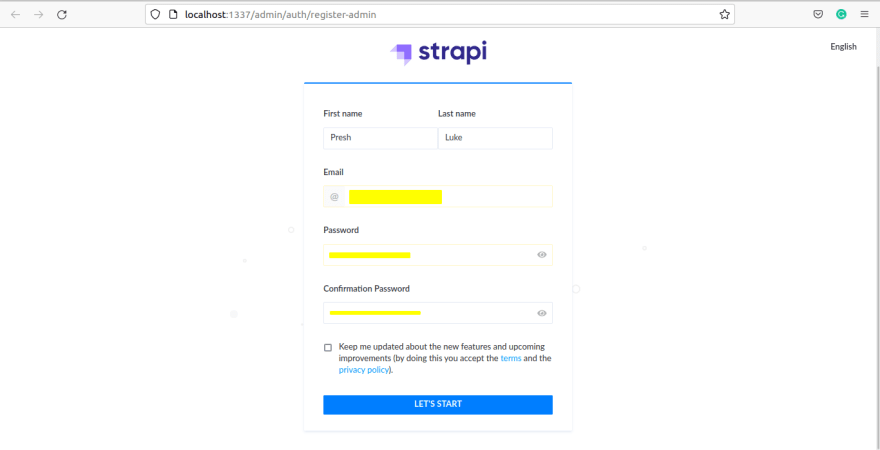
After installation, Strapi will automatically run a build command at http://localhost:1337/admin, redirecting you immediately http://localhost:1337/admin/auth/register-admin because it is the first time you are starting it. You will need to register yourself as a superuser.

Now, it is time to create your first collection.
Click on Content-Types Builder and then click on Create new collection type.

Type Photos for your Display name and click on the Continue button to add fields.

Adding Fields
We will be adding four fields: name, Date, location, and img
- Click the Text field.
- Type name in the Name field.
- Switch to the Advanced Settings tab, and check the Required field.
Click on Add another Field.
Click the Date field.
Type Date in the Name field.
Select date under type drop-down
Switch to the Advanced Settings tab, and check the Required field.
Click on Add another Field.
Click the Text field.
Type location in the Name field.
Switch to the Advanced Settings tab, and check the Required field.
Click on Add another Field.
Click the Media field.
Type img in the Name field.
Switch to the Advanced Settings tab, and check the Required field.
Select Images only under Select allowed types of media
Click on Finish

Click on Save. Clicking the save button will restart your server. Your Strapi instance should look like so:

Connecting Cloudinary
Before adding data to the Photos collection we have created, we need to connect our Cloudinary account to the Strapi instance.
Run this command inside the root folder of your application:
yarn add strapi-provider-upload-cloudinary
It would help if you stopped the server before you run the command. After the Cloudinary package has been added, you can restart your server by running.
yarn strapi dev
Then create a file name *plugins.js* inside the ***config*** folder, and paste the following code into it:
    module.exports = ({ env }) => ({
        upload: {
          provider: 'cloudinary',
          providerOptions: {
            cloud_name: env('CLOUDINARY_NAME'),
            api_key: env('CLOUDINARY_API_KEY'),
            api_secret: env('CLOUDINARY_API_SECRET'),
          },
        },
      });
Now rename the .env.example file to .env with the command below:
mv .env.example .env
Add the following variables in the .env file.
Fill the missing values with the corresponding values found in your Cloudinary dashboard under Account Details, and make sure to restart your server.
    CLOUDINARY_NAME = xxxxxxxxxxxxxxxxxxxxxx
    CLOUDINARY_API_KEY =  xxxxxxxxxxxxxxxxxx
    CLOUDINARY_API_SECRET = xxxxxxxxxxxxxxxx
Let us add some data to our Photos collection
Go back to your Strapi project at http://localhost:1337/admin and click on Photos, then Add New Photos.

I have decided to use J Cole’s and Vector’s pictures for this. There are my favorite rappers (of course, you can use any image you want to follow along)
Make sure you Save and Publish.

I have added four entries.

Log in to your Cloudinary and make sure the images are there.
Set Roles & Permissions in Strapi
To make these data available for consumption by any client-side technology, we need to set some roles and permissions — who has access to what and to what extent.
Now go to Settings→(USER & PERMISSION PLUGIN)→Roles→Public

- Scroll down under Permissions.
- In the Application tab, find Photos.
- Click the checkboxes next to count, find and findone.

- Click Save.
Go to http://localhost:1337/photos and make sure you have a similar response like so:

Installing and Setting up Next.js
Yes, we have successfully spun up the backend side of things in our application.
Now let us use Next.js to consume its API.
Exit from your Strapi instance folder and run the following command to install Next.js.
yarn create next-app next-photo
This command sets up everything automatically for us(where next-photo is my folder name, you can name yours differently)
Move into next-photo:
    cd next-photo

    yarn dev
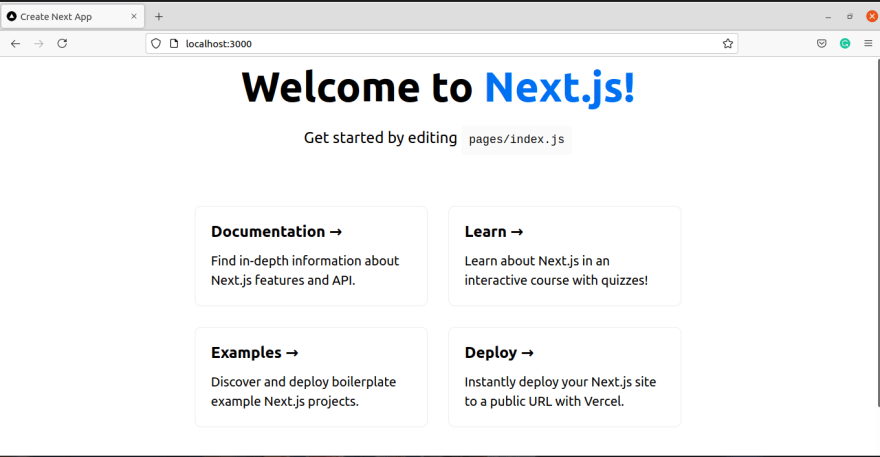
One of the main benefits of Next.js applications is that everything is pre-rendered or built at first load. At http://localhost:3000, we should see a default Next.js instance:
Since we will be working with images from an external source, Cloudinary, we need to configure the *next.config.js* file for image optimisation that NextJS provides like so:
Make sure to upload images greater than the sizes listed below for better optimization.
    module.exports = {
      images: {
        deviceSizes: [320, 420, 768, 1024, 1200],
        loader: "default",
        domains: ["res.cloudinary.com"],
      },
    };
Now we are going to create a component folder and *ImageDetail.js* **file within it.
Paste the following code inside:
    import Image from "next/image";
    import Link from "next/link";
    export default function Gallery({ thumbnailUrl, title, id }) {
      return (
        <div>
          <Link as={`/preview/${id}`} href="/preview/[id]">
            <a>
              <Image width={250} height={200} src={thumbnailUrl} />
              <div className="photoid"> {title}</div>
            </a>
          </Link>
        </div>
      );
    }
After importing Image, Link from next, a gallery-component has three props ( thumnailUrl, title, id) and returning a link that will dynamically redirect to preview/$id of each photo in our backend. I have decided to make the width and height 250px and 200px, respectively.
Create another folder name preview in the pages folder and create a file with square brackets like so [id].js inside the just created folder.

We will come back to this file. But for now, go to your index.js file in pages folder and replace the existing code with this:
    import Head from "next/head";
    import { useState } from "react";
    import Gallery from "../components/ImageDetail";
    import styles from "../styles/Home.module.css";
    export default function Home({ stuff }) {
      const [photos, setPhotos] = useState(stuff);
      return (
        <div className={styles.container}>
          <Head>
            <title>Photo Gallery</title>
            <link rel="icon" href="/favicon.ico" />
          </Head>
          <main className={styles.main}>
            <div className={styles.fade}>
              <div className={styles.gridContainer}>
                {photos &&
                  photos.map((detail) => (
                    <Gallery
                      key={detail.id}
                      thumbnailUrl={detail.img.formats.small.url}
                      title={detail.name}
                      id={detail.id}
                    />
                  ))}
              </div>
            </div>
          </main>
        </div>
      );
    }
    export async function getStaticProps() {
      const results = await fetch("http://localhost:1337/photos");
      const stuff = await results.json();
      return {
        props: { stuff },
      };
    }
We imported and used Gallery from the ImageDetail.js that which have in our components folder. We mapped through every instance of photos states we created.
Line 31 is essential here because it uses a Next.js, getStaticProps, which fetches data at build time from our Strapi instance at http://localhost:1337/photos.
Your application should look like so:

Let us make everything responsive with the following steps.
- Copy and replace the following css code from here to
Home.module.cssin thestylesfolder - Copy and replace the following css code from here to
global.css**in thestylesfolder

Now your application should look like so:

Adding Search Functionality
We have gotten the homepage up and running. It will be nice to have a search input field where users can find a specific image by its name. This will be most useful when the photos get populated.
In your index.js file add the following code immediately after the opening of the <main> tag:
           <input
              onChange={(e) => setSearch(e.target.value)}
              className={styles.searchInput}
              type="text"
              placeholder="Search for an image"
            ></input>
            <button
              className="button"
              disabled={search === ""}
              onClick={async () => {
                const results = await fetch(
                  `http://localhost:1337/photos?name=${search}`
                );
                const details = await results.json();
                setPhotos(await details);
              }}
            >
              Find
            </button>
Line 1 to 6 takes care of the input that will be inputted. It targets the value in the input field.
Pay attention to what is being fetched at Line 12. It uses filtering techniques. You can read more in-depth about it here.
Make sure you had set a search state. Your final index.js file should look like so:
    import Head from "next/head";
    import { useState } from "react";
    import Gallery from "../components/ImageDetail";
    import styles from "../styles/Home.module.css";
    export default function Home({ stuff }) {
      const [photos, setPhotos] = useState(stuff);
      const [search, setSearch] = useState("");
      return (
        <div className={styles.container}>
          <Head>
            <title>Photo Gallery</title>
            <link rel="icon" href="/favicon.ico" />
          </Head>
          <main className={styles.main}>
          <input
              onChange={(e) => setSearch(e.target.value)}
              className={styles.searchInput}
              type="text"
              placeholder="Search for an image"
            ></input>
            <button
              className="button"
              disabled={search === ""}
              onClick={async () => {
                const results = await fetch(
                  `http://localhost:1337/photos?name=${search}`
                );
                const details = await results.json();
                setPhotos(await details);
              }}
            >
              Find
            </button>

            <div className={styles.fade}>
              <div className={styles.gridContainer}>
                {photos &&
                  photos.map((detail) => (
                    <Gallery
                      key={detail.id}
                      thumbnailUrl={detail.img.formats.small.url}
                      title={detail.name}
                      id={detail.id}
                    />
                  ))}
              </div>
            </div>
          </main>
        </div>
      );
    }
    export async function getStaticProps() {
      const results = await fetch("http://localhost:1337/photos");
      const stuff = await results.json();

      return {
        props: { stuff },
      };
    }
Your application should look like so with the search input and Find button:
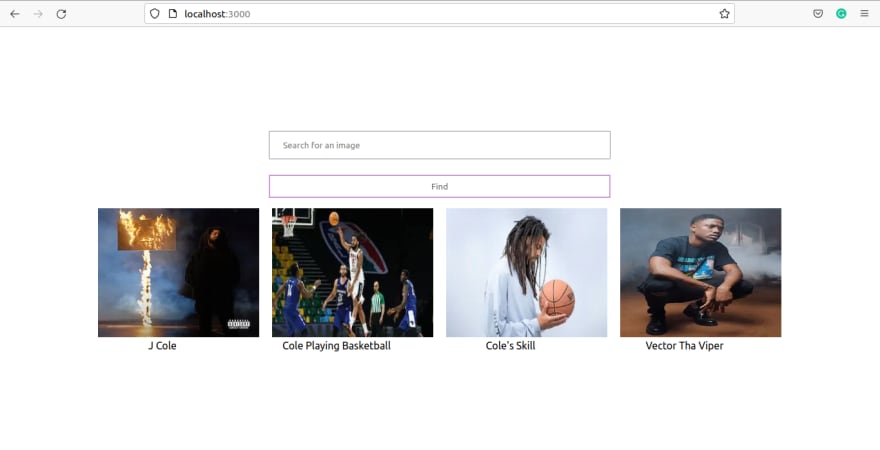
When you so a search and hit Find, this is how it should look:

Now it is time to take care of what happens when a photo is clicked. Remember that our Gallery component in ImageDetail.js inside the component folder has Link.
Clicking on any photos right now will produce this error page:
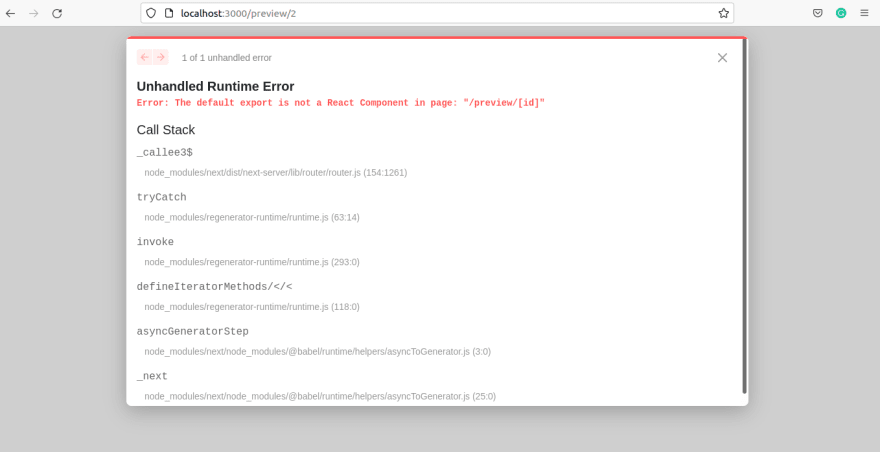
This is because nothing has been done inside the [id].js we created inside the preview folder. Let us fix this. To fix the error, paste the following code inside [id].js.
    import { useRouter } from "next/router";
    import Image from "next/image";
    import Link from "next/link";
    export default function photo({ photo, location, name, date }) {
      const router = useRouter();
      if (!router.isFallback && !photo) {
        return <ErrorPage statusCode={404} />;
      }
      return (
        <div>
          <div className="Imagecontainer">
            <Link className="homeButton" href="/">
              <a className="homeButton">
                <button className="button"> Home </button>
              </a>
            </Link>
          </div>
          <div className="Imagecontainer">
            {router.isFallback ? (
              <div>Loading…</div>
            ) : (
              <>
                <Image width={960} priority height={540} src={photo} />
              </>
            )}
          </div>
          <div className="Imagecontainer">Name : {name}</div>
          <div className="Imagecontainer">Location {location}</div>
          <div className="Imagecontainer">Date: {date}</div>
          <div className="Imagecontainer">
            <Link className="homeButton" href="/">
              <a className="homeButton">
                <button className="button"> Back </button>
              </a>
            </Link>
          </div>
        </div>
      );
    }
    export async function getStaticProps({ params }) {
      const photoid = params.id;
      const results = await fetch(`http://localhost:1337/photos?id=${photoid}`);
      const previews = await results.json();
      const photo = await previews[0].img.formats.small.url;
      const name = await previews[0].name;
      const location = await previews[0].location;
      const date = await previews[0].Date.toString();
      return {
        props: { photo, name, location, date },
      };
    }
    export async function getStaticPaths() {
      const results = await fetch("http://localhost:1337/photos");
      const previews = await results.json();
      return {
        paths:
          previews?.map((pic) => ({
            params: { id: pic.id.toString() },
          })) || [],
        fallback: true,
      };
    }
I will explain what most parts of this code do. Firstly, the getStaticPaths in from Line 52 is a Next.js primary data fetching method required because of our application's dynamic routes. Read more about it here.
The getStaticProps will fetch the params.id defined in getStaticPaths. Since that is available, we then fetch each id dynamically it JSON in Line 43 before accessing each of the things we need.
Line 27 to 29 displayed all other fields(location, name, date) right below the Image component showing each image detail in 960px x 540px. Note that we have already defined them as props in Line 4, our photo component.
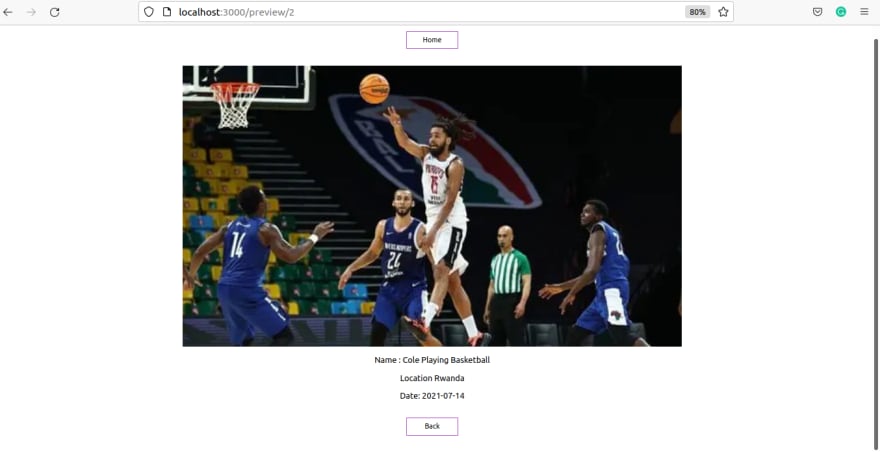
If you did everything right, you should have yourself something like this yourself when you click any photo.
Conclusion
We set up and connected our Cloudinary account to the Strapi instance. In addition, we played around Strapi and its permissions and roles, thereby creating our collection to suit what we have in mind.
Furthermore, we talked about Next.js and some of its out-of-the-box methods like getStaticProps and getStaticPaths. Finally, we were able to put all these together to build our photo gallery app.

Top comments (0)