
Introduction
In Part 4, we got Lightning payments working. The service can now generate invoices, track payment status, and verify that users have paid before taking action. That's the business logic sorted.
But we stopped right before the interesting part: actually building and broadcasting the CPFP transaction that does the fee bumping.
That's what Part 5 covers. By the end of this article, you'll have a service that can construct a valid Child-Pays-For-Parent transaction using bitcoinjs-lib, understand why the signing fails (and what that teaches us about Lightning), and see the complete flow from stuck transaction to broadcast-ready CPFP.
We're still on regtest, still safe, still learning.
📂 Source code: lightning-anchor-fee-outputs
Where We Left Off
Part 4 ended with three working Lightning endpoints:
- Create invoice ✓
- Check payment status ✓
- Decode invoice ✓
We verified the payment flow works, even though we can't actually pay invoices on single-node regtest. The verification logic is solid.
What we haven't done yet is build the actual CPFP transaction. That's the piece that makes this more than just an invoice generator.
Building the CPFP Transaction
File: src/services/feebump/cpfp.ts
This is where theory meets practice. We're going to take a parent transaction with an anchor output and construct a child transaction that spends it, paying enough fee to bump both transactions.
Why Use PSBT?
Before jumping into code, let's talk about PSBTs (Partially Signed Bitcoin Transactions). You might wonder why we need this abstraction when we could just build a transaction directly.
The reason is simple: most Bitcoin transactions these days involve multiple parties or require careful coordination. PSBTs are Bitcoin's standard format for "I've built this transaction, but it's not ready to broadcast yet."
For our CPFP service:
- Build the transaction structure
- Add the anchor output as an input
- Calculate the change output
- Sign it (this is where things get interesting)
- Extract the final transaction
The Complete createCPFPTransaction Method
The method follows nine distinct steps. Let's walk through each one.
Step 1: Fetch the Parent Transaction
const parentTx = await bitcoinService.getTransaction(request.parentTxid);
if (!parentTx) {
  return { success: false, error: 'Parent transaction not found' };
}
We start by fetching the full parent transaction from Bitcoin Core. We need this to access the anchor output's details.
Step 2: Verify the Anchor Output
const anchorOutput = parentTx.vout[request.anchorVout];
if (!anchorOutput) {
  return { success: false, error: `Anchor output ${request.anchorVout} not found` };
}

const anchorValue = Math.round(anchorOutput.value * 100000000);
if (anchorValue !== 330) {
  return {
    success: false,
    error: `Output is ${anchorValue} sats, not 330 (not an anchor output)`,
  };
}
This catches mistakes early. If someone passes the wrong output index, or if they're trying to spend something that isn't an anchor, we bail out before doing any work.
Bitcoin Core returns values in BTC (e.g., 0.00000330), so we multiply by 100,000,000 to convert to satoshis.
Step 3: Calculate Parent Transaction Fees
const parentSize = parentTx.vsize || parentTx.size;
const parentFee = await this.calculateActualFee(request.parentTxid);
const parentFeeRate = parentFee > 0
  ? Math.ceil((parentFee / parentSize) * 100) / 100
  : 0;
We need to know what the parent is already paying. The calculateActualFee() helper fetches all the parent's inputs, sums them up, subtracts the outputs, and returns the difference. That's the fee.
Note: Calculating the actual fee requires fetching each input's previous transaction to determine input values. This is why we have a separate helper method for it.
Step 4: Calculate Required Child Fees
Remember the package fee rate concept from Part 2? Miners care about the combined fee rate of parent and child transactions.
// 1 input + 1 output ≈ 110 vbytes
const childSize = 110;
const totalSize = parentSize + childSize;
const totalFeeNeeded = Math.ceil(totalSize * request.targetFeeRate);
const childFeeNeeded = totalFeeNeeded - parentFee;
The child transaction size estimate (110 vbytes) assumes one input (the anchor) and one output (change back to our wallet). In reality, it might be slightly different, but this is conservative.
Here's the math:
- Parent is 200 vbytes paying 200 sats (1 sat/vbyte)
- We want 10 sat/vbyte for the package
- Total package: (200 + 110) × 10 = 3,100 sats needed
- Child must pay: 3,100 - 200 = 2,900 sats
Step 5: Check the 330-Sat Limitation
if (childFeeNeeded > anchorValue) {
  return {
    success: false,
    error: `Child fee needed (${childFeeNeeded} sats) exceeds anchor value (${anchorValue} sats). Need additional inputs.`,
  };
}
This is the constraint we kept running into during testing. At 1 sat/vbyte, the anchor usually covers it. At 10 sat/vbyte or higher, you need additional wallet inputs.
We also check an optional maxFee parameter to prevent accidentally burning too much in fees.
Step 6: Build the PSBT
Now we construct the actual transaction:
const psbt = new bitcoin.Psbt({ network: this.network });

// Add anchor as input
psbt.addInput({
  hash: request.parentTxid,
  index: request.anchorVout,
  witnessUtxo: {
    script: Buffer.from(anchorOutput.scriptPubKey.hex, 'hex'),
    value: BigInt(anchorValue),
  },
});
The witnessUtxo field is important. For SegWit inputs (which anchor outputs are), we only need the output being spent, not the entire previous transaction. This makes PSBTs more efficient.
Why BigInt? Bitcoin.js-lib v6+ uses BigInt for satoshi amounts to avoid floating-point precision issues.
Step 7: Add Change Output
const changeAmount = anchorValue - childFeeNeeded;

if (changeAmount > 0) {
  const changeAddress = bitcoin.payments.p2wpkh({
    pubkey: this.walletKeyPair.publicKey,
    network: this.network,
  }).address!;

  psbt.addOutput({
    address: changeAddress,
    value: BigInt(changeAmount),
  });
}
If there's any satoshis left after paying the fee (there usually is at low fee rates), we send it back to our wallet as change. If the fee consumes the entire 330 sats, we skip adding an output.
The wallet address is generated from our keypair using Pay-to-Witness-Public-Key-Hash (P2WPKH), which is standard SegWit.
Step 8: The Signing Challenge
Here's where things get educational:
try {
  psbt.signInput(0, this.walletKeyPair);
  psbt.validateSignaturesOfInput(0, () => true);
  psbt.finalizeAllInputs();
} catch (signError: any) {
  return {
    success: false,
    error: `Transaction signing failed: ${signError.message}. This is expected - the anchor output belongs to the Lightning channel, not our test wallet.`,
  };
}
We generate a random keypair in the constructor:
this.walletKeyPair = ECPair.makeRandom({ network: this.network });
This signing will always fail. And that's actually useful for learning.
Why does it fail?
The anchor output doesn't belong to this random key. It belongs to the Lightning channel participants. In a real Lightning channel, only the channel partners have the private keys needed to spend anchor outputs.
What does this teach us?
In production, this service would need to:
- Request the signature from the user's LND node via
lncli signrawtransaction - Have the user provide a pre-signed CPFP transaction template
- Use a collaborative signing setup where the service has partial authority
For learning purposes, the transaction structure is perfect. The fee calculations are correct. The inputs and outputs are valid. Only the signature is invalid because we don't have the real keys.
This is exactly how it works in real Lightning: the service can build the transaction, but only the channel participants can sign it.
Step 9: Extract the Transaction
const childTx = psbt.extractTransaction();
const childTxHex = childTx.toHex();
const childTxid = childTx.getId();

return {
  success: true,
  childTxid,
  childTxHex,
  feePaid: childFeeNeeded,
};
If signing succeeded (which it won't in our test setup), we'd extract the raw transaction as a hex string. This is what gets broadcast to the Bitcoin network.
The transaction ID is deterministic—it's the hash of the transaction data.
The Helper Method: calculateActualFee
This method deserves special attention because it's not obvious:
async calculateActualFee(txid: string): Promise<number> {
  const tx = await bitcoinService.getTransaction(txid);

  let inputValue = 0;
  let outputValue = 0;

  // Sum all outputs (easy - they're in the transaction)
  for (const vout of tx.vout) {
    outputValue += vout.value * 100000000;
  }

  // Sum all inputs (harder - need to fetch previous transactions)
  for (const vin of tx.vin) {
    if (vin.txid) {
      const prevTx = await bitcoinService.getTransaction(vin.txid);
      const prevOut = prevTx.vout[vin.vout];
      inputValue += prevOut.value * 100000000;
    }
  }

  return Math.round(inputValue - outputValue);
}
Bitcoin transactions don't store input amounts directly. To find out how much an input is worth, you have to:
- Look at which previous transaction it's spending
- Fetch that previous transaction
- Look at the specific output being spent
- That output's value is your input value
This is why calculating actual fees requires multiple RPC calls.
Testing the CPFP Builder
Let's create a test transaction and try to build a CPFP for it. First, we'll need to load the wallet we created on this series testwallet by running:
# Load testwallet
docker compose exec bitcoin bitcoin-cli -regtest \
  -rpcuser=bitcoinrpc -rpcpassword=changeme \
  loadwallet "testwallet"

# Expected output:
{
  "name": "testwallet"
}

#Verify wallet is loaded
docker compose exec bitcoin bitcoin-cli -regtest \
  -rpcuser=bitcoinrpc -rpcpassword=changeme \
  listwallets

# Expected output:
[
  "testwallet"
]
Create a test transaction with an anchor-like output:
ADDR=$(docker compose exec bitcoin bitcoin-cli -regtest \
  -rpcuser=bitcoinrpc -rpcpassword=changeme \
  -rpcwallet=testwallet getnewaddress)

TXID=$(docker compose exec bitcoin bitcoin-cli -regtest \
  -rpcuser=bitcoinrpc -rpcpassword=changeme \
  -rpcwallet=testwallet sendtoaddress $ADDR 0.00000330)

echo "Test TXID: $TXID"

# Expected output:
Test TXID: 20bdc7dd508d7fe8fc2569c..........
Try to create CPFP with a low fee rate (feasible):
curl -X POST http://localhost:3000/api/v1/feebump/create \
  -H "Content-Type: application/json" \
  -d "{
    \"txid\": \"$TXID\",
    \"anchorVout\": 0,
    \"targetFeeRate\": 1
  }" | jq
Expected result:
{
  "success": false,
  "error": "Transaction signing failed: ... This is expected - the anchor output belongs to the Lightning channel, not our test wallet."
}

That error message is honest about what's happening. The transaction was built correctly:
- ✓ Anchor output verified
- ✓ Fees calculated properly
- ✓ Transaction structure valid
- ✓ PSBT constructed
- ✗ Signing failed (expected—we don't have the keys)
Try with a high fee rate (unfeasible):
curl -X POST http://localhost:3000/api/v1/feebump/create \
  -H "Content-Type: application/json" \
  -d "{
    \"txid\": \"$TXID\",
    \"anchorVout\": 0,
    \"targetFeeRate\": 50
  }" | jq
Expected result:
{
  "success": false,
  "error": "Child fee needed (14020 sats) exceeds anchor value (330 sats). Need additional inputs."
}

This confirms the math from Part 2. At 50 sat/vbyte, you'd need roughly 13,000 sats in fees. The anchor only has 330. The service catches this in Step 5 before even attempting to build the transaction.
Payment-Gated Broadcasting
File: src/api/v1/broadcast.ts
The broadcast endpoint ties everything together. It's the final piece that turns this from a dev tool into a viable service.
The Three-Step Flow
Step 1: Verify Payment
const paymentStatus = await lightningPaymentService.checkPaymentStatus(paymentHash);

if (!paymentStatus.settled) {
  return res.status(402).json({
    success: false,
    error: 'Payment not received',
    paymentRequired: true,
    paymentHash,
  });
}
HTTP 402 literally means "Payment Required." It's rarely used, but this is exactly what it's for.
Step 2: Create CPFP
const cpfpResult = await cpfpService.createCPFPTransaction({
  parentTxid: txid,
  anchorVout: parseInt(anchorVout),
  targetFeeRate: parseFloat(targetFeeRate),
});
If payment was confirmed but the CPFP fails to build (maybe the fee is too high, or the anchor is already spent), we return an error but note that payment was received. This matters for customer support.
Step 3: Broadcast
const broadcastResult = await bitcoinService.sendRawTransaction(cpfpResult.childTxHex);

res.json({
  success: true,
  message: 'CPFP transaction broadcast successfully',
  data: {
    parentTxid: txid,
    childTxid: cpfpResult.childTxid,
    feePaid: cpfpResult.feePaid,
    paymentHash,
  },
});
If we get here, everything worked. The transaction is in the mempool. Both parent and child will confirm together.
Testing the Broadcast Endpoint
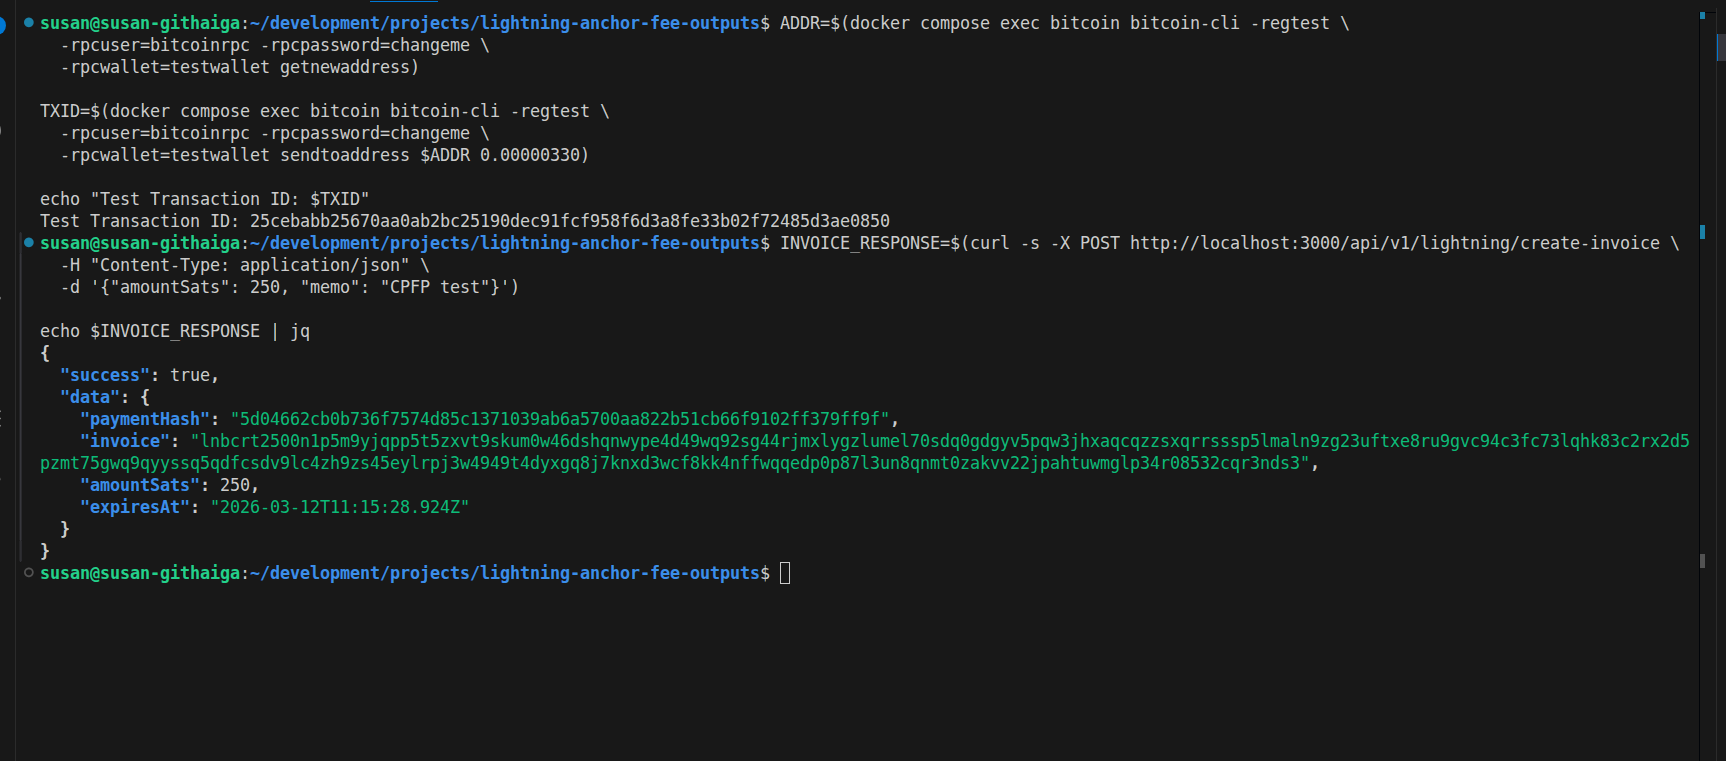
Step 1: Create test transaction
ADDR=$(docker compose exec bitcoin bitcoin-cli -regtest \
  -rpcuser=bitcoinrpc -rpcpassword=changeme \
  -rpcwallet=testwallet getnewaddress)

TXID=$(docker compose exec bitcoin bitcoin-cli -regtest \
  -rpcuser=bitcoinrpc -rpcpassword=changeme \
  -rpcwallet=testwallet sendtoaddress $ADDR 0.00000330)

echo "Test Transaction ID: $TXID"
Expected output:
Test Transaction ID: 25cebabb25670aa0ab2bc25190dec91....
Step 2: Create a real Lightning invoice (but don't pay it)
INVOICE_RESPONSE=$(curl -s -X POST http://localhost:3000/api/v1/lightning/create-invoice \
-H "Content-Type: application/json" \
-d '{"amountSats": 250, "memo": "CPFP test"}')
echo $INVOICE_RESPONSE | jq
**Expected response**
# Extract payment hash
PAYMENT_HASH=$(echo $INVOICE_RESPONSE | jq -r '.data.paymentHash')
echo "Payment Hash: $PAYMENT_HASH"
Expected response:
Payment Hash: 5d04662cb0b736f7574d85c1371039..............
Step 3: Verify invoice is unpaid
curl -s http://localhost:3000/api/v1/lightning/payment/$PAYMENT_HASH | jq
Expected response:
{
  "success": true,
  "data": {
    "paymentHash": "5d04662cb0b736f7574d85c1371039..............",
    "paid": false
  }
}

Step 4: Try to broadcast without payment
curl -X POST http://localhost:3000/api/v1/feebump/broadcast \
  -H "Content-Type: application/json" \
  -d "{
    \"txid\": \"$TXID\",
    \"anchorVout\": 0,
    \"targetFeeRate\": 1,
    \"paymentHash\": \"$PAYMENT_HASH\"
  }" | jq
Expected response:
{
  "success": false,
  "error": "Payment not received",
  "paymentRequired": true,
  "paymentHash": "5d04662cb0b736f7574d85c1371039.............."
}

Perfect! The service correctly blocks unpaid requests with HTTP 402 (Payment Required).
Enhanced Bitcoin Service
File: src/services/bitcoin/node.ts
The Bitcoin service needed one crucial method: sendRawTransaction().
async sendRawTransaction(hexString: string): Promise<string> {
  logger.info('Broadcasting transaction', {
    size: hexString.length / 2,
  });

  try {
    const txid = await this.call<string>('sendrawtransaction', [hexString]);
    logger.info('Transaction broadcast successful', { txid });
    return txid;
  } catch (error: any) {
    logger.error('Transaction broadcast failed', {
      error: error.message,
    });
    throw new Error(`Broadcast failed: ${error.message}`);
  }
}
This wraps Bitcoin Core's RPC call, adds logging, and handles errors. Simple but essential.
We also added testMempoolAccept() for validating transactions without broadcasting them:
async testMempoolAccept(hexString: string) {
  return await this.call('testmempoolaccept', [[hexString]]);
}
This is great for debugging. You can check if a transaction would be accepted before actually sending it to the network.
What We've Built
Let's step back and look at the complete system:
The Flow
- User's Lightning channel force-closes
- Commitment transaction gets stuck in mempool (low fee)
- User requests fee bump estimate
- Service calculates cost: "2,500 sats to bump to 10 sat/vbyte"
- Service generates Lightning invoice for 2,500 sats
- User pays invoice from their Lightning wallet
- Service verifies payment received
- Service builds CPFP transaction
- Service broadcasts CPFP
- Both transactions confirm together
What Works
- ✅ Real-time mempool monitoring
- ✅ Accurate fee calculation
- ✅ Lightning invoice generation
- ✅ Payment verification
- ✅ CPFP transaction building
- ✅ Payment-gated broadcasting
- ✅ Complete error handling
What Doesn't Work (Yet)
- ⚠️ Transaction signing (needs Lightning keys)
- ⚠️ Actual payment testing (need multiple nodes)
Key Takeaways
1. The 330-Sat Limit is Real
We confirmed through testing what the math told us: 330 sats can bump fees to roughly 1-2 sat/vbyte. For higher rates, you need more inputs. This isn't a bug; it's a fundamental constraint.
2. Payment Verification Matters
Without the payment check in the broadcast endpoint, anyone could use the service for free. That one HTTP 402 check is what makes this sustainable.
3. PSBTs are the Standard
Every modern Bitcoin tool uses Partially Signed Bitcoin Transactions. Learning this pattern once helps with Lightning wallets, hardware wallets, multi-sig setups, and more.
4. Signing is the Hard Part
Building the transaction is straightforward. Getting the right signature is the challenge. This is true for Lightning, multi-sig, hardware wallets, and pretty much every interesting Bitcoin use case.
5. Error Handling Takes Time
Look at the codebase. Half of it is error handling, validation, and logging. That's not overhead; it's what makes the service maintainable.
What's Next: Part 6
In the final article of this series, we'll tackle:
Database Integration
- Save all CPFP transactions
- Track payment history
- Build an audit trail
Frontend Dashboard
- React UI for the complete flow
- QR codes for Lightning invoices
- Real-time status updates
Try It Yourself
Clone the repo: lightning-anchor-fee-outputs
Follow the README setup, then experiment:
- Try different fee rates
- Watch the 330-sat limit in action
- Test the payment verification
- Break things and learn from the errors
Building this taught me more than reading specs ever could. The best way to understand how Lightning fee bumping works is to implement it yourself.
Conclusion
We started Part 1 understanding the problem: Lightning transactions can get stuck.
We're ending Part 5 with a working solution: a payment-gated service that can bump those transactions using CPFP.
The core logic is done. Part 6 will add the polish: persistence, monitoring, and a UI.
Previous Articles in This Series
- Part 1: Lightning Network Anchor Outputs Explained: The Basics
- Part 2: Understanding Lightning Network Anchor Outputs - The Technical Deep Dive
- Part 3: Building an Anchor Output Fee Bumping Service - Setup & Implementation
- Part 4: Lightning Payment Integration
Additional Resources
- Bitcoin Optech: Anchor Outputs
- bitcoinjs-lib Documentation
- LND REST API
- BIP 174: PSBT Specification
- Child-Pays-For-Parent
Questions? Found a bug? Have improvements? Drop them in the comments.**
See you in Part 6

Top comments (0)