Welcome to this tutorial!

Why a Github page?
If you want to build a stunning website that is 100% free and 100% yours, you have come to the right place: Zero cost for subdomain, template and hosting. All you need is a free Github account, which you'll need anyway if you want to break into tech.
Examples for the type of website
Here are two examples for the kind of website you'll be building:
- tea-berlin and
- bruno-danelon.
The website template comes from jeffreytse and got slightly simplified by datamaunz for the purpose of this tutorial.
Features of your website
This website will allow you to blog and to showcase who you are. Your visitors can toggle between light & dark mode and they can pick their preferred language for viewing your site. If you are missing your preferred language in the menu, no worries! The tutorial will show you how to further customise the options.
Besides automatic translations, the site will archive your posts automatically by date. Furthermore, it will classify your posts through categories of your choice. In addition to that, you can use tags to make it easier for your users to find the right articles, but most amazingly, it looks absolutely stunning, is fast and 100% free.
What are you waiting for?! Build your own website and show the world who you are.
Steps
1. Create a free Github account

First, we have to create a Github account. Go to GitHub and hit the sign-up button in the upper right corner. Enter an email address, a password, and a username. As mentioned before, you will not have to pay for your website, not even for the domain, because Github provides you with a subdomain, which will be constructed from your username. This is why the choice of your username is kind of important. I will go with tea-berlin. You should use yours.

After being asked whether we want to receive product updates and announcements we'll have to solve a quick puzzle to verify that we are humans. We'll receive and enter a verification code, skip the personalisation, and: Done!
Congratulations, you have a Github account!
2. Fork the template

Here you can introduce yourself to those visiting your account. You should definitely do that! But for now we will skip it because we want to learn how to create our website. Click “Dismiss This”, open a new tab and go to jekyll-blog-template.

This brings us automatically to the Github account of Datamaunz. More precisely, we are seeing the repository called Jekyll blog template.
It contains various folders and files. But no worries: In order to transfer all these files into our own Github account, we just have to go to the upper right corner and click on “Fork”.
Now a fork is being created. This fork is a copy of the original repository that will appear in our own account.
3. Rename the repo

As you can see, we are now in our own Github account. More precisely, we are in our own repository called Jekyll blog template.
To make this our website, we have to change the name of this repository. Go to settings.
By convention, Github repositories that are named by the name of the Github account followed by .github.io will be treated as websites by Github.
username.github.io
My username is tea-berlin. I thus have to name my repo tea-berlin.github.io. Apply this logic to your own username.

Change the entry for repository name accordingly and hit rename.
If you have followed the Tutorial up to this point, your repository should now have the name that you have selected as username for your Github account and this name should be followed by .github.io. This is also the address to your website. Open a new tab and enter the name of your repository. In my case, this is tea-berlin.github.io. It might take a few minutes until the changes have propagated.
And: BAEHM! We have our own website!

As promised, users can pick their favorite language to view your site (might not work in every browser but should work in Chrome) and toggle between light and dark mode. Later we will see how to customise the choices in this menu.
Let’s go back to our repository and scroll down to the ReadMe instructions. It shows all the steps required to customise your page. You can follow the links to access the respective files. Note, you could also access the files directly via the file system above.

4. Thank Jeffreytse
First, let’s thank the creator of this template, Jeffreytse, by heading to the original repo. This is the repository from where Datamaunz has forked its repository to prepare it for this tutorial. However, the actual work comes from Jeffreytse. You can show your appreciation by giving a star to the repo.

5. Customize heading and subheading
Now, let’s go back to our own repository and personalize the contents.
In its current version, our website says your awesome title and your awesome subheading.
To change the values for heading and subheading, go to _data/defaults.yml (by following the link in the ReadMe instructions or by opening the file via the file system in your repo).

Click on the little pencil icon. This will put the interface into editing mode. Note, this is not how experienced developers use Github. They would do the changes via an editor like VSCode and commit the changes to Github. You should definitely do that in the future as well. However, for our current purpose it is okay to use this graphical user interface (despite inefficiencies).
![]()
Having switched to editing mode, we can change the values for heading and subheading. Before the change, the file should contain the following entries:
home:
  heading: "your awesome title"
  subheading: "your awesome subheading"
  banner: "your awesome url"
I will change it as shown below but you should pick values that represent your website (and thus yourself, your project or your cause) best. Make sure not to mess up the syntax:
home:
  heading: "Tech Expert Academy"
  subheading: "Land a tech job in just 6 months"
  banner: "your awesome url"
Now, scroll down to the bottom of the page and smash the Commit button.

Congratulations, you have committed your first changes! This is huge. Github is a version control system. Changes are documented in the form of such commits. This means, based on your history of commits, you can restore earlier versions of your repository. This comes in handy when you (or someone else) have messed up.
6. Customize menu for automatic translations
Let’s make some more changes to our website. Go back to your root repository and scroll down to the Readme file.
The second change is about the menu for automated translations. You do not have to make any changes here if you are satisfied with the default options. In case you want to make changes, this is how you can do it.
Go to _data/translate_langs.yml (either by navigating your file system or by using the link in the ReadMe instructions).

Each language option is represented by one bullet point taking up three lines. One line for language, one for image, and one for text.
# Translate languges
# langs refer to https://cloud.google.com/translate/docs/languages

- lang: en
  img: https://cdn.countryflags.com/thumbs/united-states-of-america/flag-400.png
  text: English

- lang: fr
  img: https://cdn.countryflags.com/thumbs/france/flag-400.png
  text: French

- lang: zh-CN
  img: https://cdn.countryflags.com/thumbs/china/flag-400.png
  text: Chinese(Simple)

...
The first bullet block represents the language that is being displayed as first option in the menu, the second as second etc. If you want to change the order in which the languages appear, just switch to editing mode (the pencil icon), cut out the bullet block that you want to move to a different place, and paste it to the desired position.
To remove a language, just delete the respective bullet block.
To add a new language, you need to provide:
- lang: followed by an abbrevation of the language (the following languages and their abbreviations are supported
- img: a link to a country flag image that will appear in the language menu (links to country flags can be found here)
- text: the name of the language which will be used as label in the menu
Don't forget to hit the commit button at the bottom of the page to not lose your changes.
7. Customize the banner image
Upload new image
Go back to the root repository and head down to the Readme file. The third intervention concerns the banner image. The default image is great and you do not have to change it. In case you wanted to change the image, go to assets/images/banners/. The banners folder contains two files:
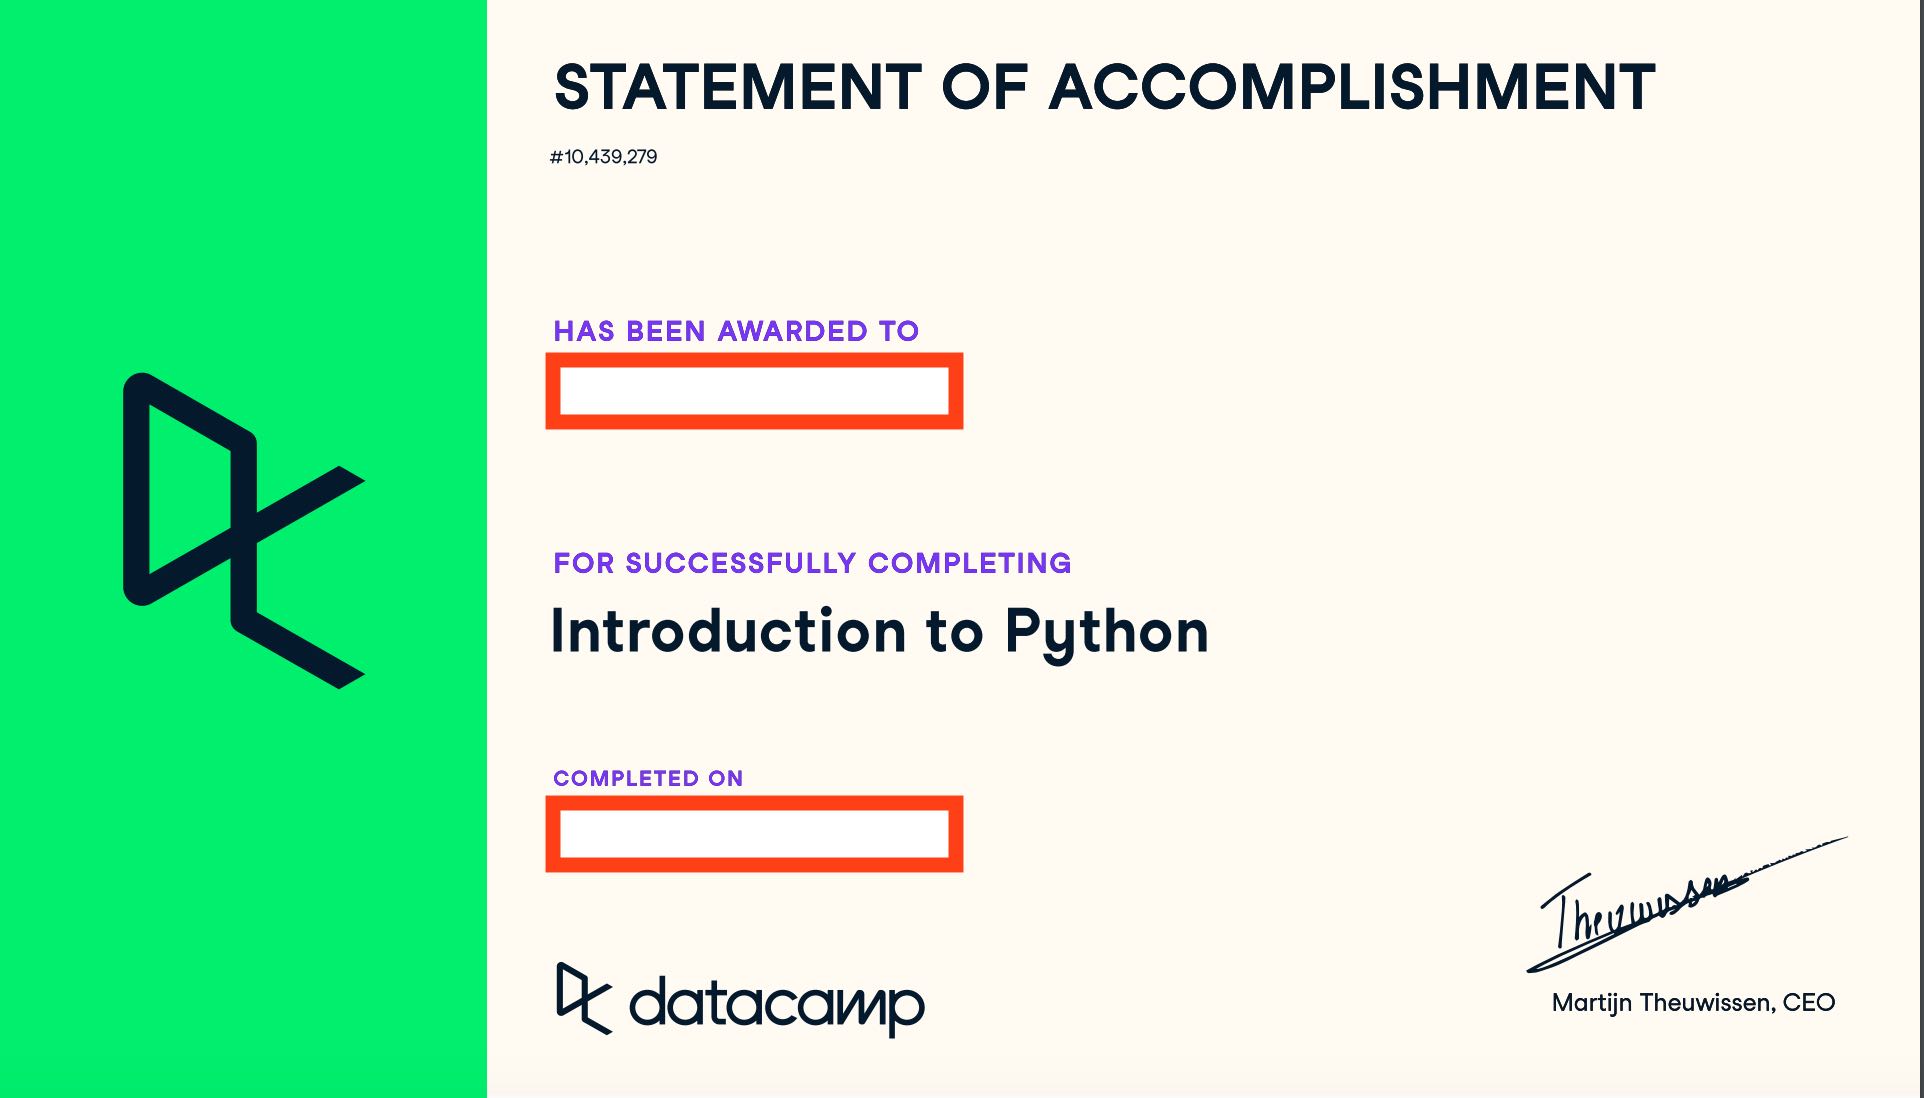
- datacamp_certificate_dummy.jpg and
- home.jpeg

home.jpeg is the image that is currently being used as your background banner. Again, no need to change the banner of your website. But if you wanted, you could drop another file into the banner folder. I will do that and add balloon-image.jpg. You should pick whatever image you want. To do so, click Add file and select Upload files. Now you can drag and drop the image into the folder.

Scroll down and commit the changes.
Link to new image
The second intervention needed for changing the image requires us to make a change in index.html. Open index.html by following the link in the ReadMe instructions or by navigating your file system.

The file contains an entry called banner. The value for this entry is the path to home.jpeg that we have spotted in the banners folder. Change this path such that it points to the image that you want to use for your website. To do so, click the little pencil button to edit the file. Now replace home.jpeg by the name of your new file.
---
# Feel free to add content and custom Front Matter to this file.
# To modify the layout, see https://jekyllrb.com/docs/themes/#overriding-theme-defaults

layout: home
title: Home
banner: "assets/images/banners/home.jpg"
---
I will use balloon-image.jpg. You should use the image you have uploaded (or pass a url to an image that is stored somewhere else):
---
# Feel free to add content and custom Front Matter to this file.
# To modify the layout, see https://jekyllrb.com/docs/themes/#overriding-theme-defaults

layout: home
title: Home
banner: "assets/images/banners/balloon-image.jpg"
---
Scroll down and commit the changes. Done!
8. Further customizations
Head back to the root repository. And scroll down to the Readme instructions.
This time, we need to edit some entries in a file called _config.yml. Open the file and scroll down a bit.

We want to change: Title (which will appear in the upper left corner of your website), Email, Author (name is being used on your blog posts), Copyright (appears on the footer of your site), Description (appears as description on, e.g., Google when showing your site), and potentially the favicon. You should pass what works best for you, I will make the following changes for my site (note that the code below only shows the entries without the majority of comments etc.):
title: Tech Expert Academy
email: berlin@techexpertacademy.com
author: TEA
copyright: "Unpublished Work (cleft) {currentYear} {author}"
description: >- # this means to ignore newlines until "baseurl:"
  We offer high quality courses that help you become a tech professional in record time. We also help you to find a job at a great company. You only pay tuition when you get hired.
Scroll down, commit the changes and: Done!
9. Customize your About page
Markdown
Back to the root repository scrolling down to the ReadMe instructions. Only the customisation of the About page is left. We can do this by using Markdown syntax.
Markdown is an easy to use language for creating formatted text. Trust me, if you are not using it already, you will be using it a lot in the future. It is a good investment of your time to get familiar with the basic syntax. There are plenty of good resources online. The Readme instructions link to a good guide.
The syntax is straight forward. For example: to create different levels for headings you can use hashes in front of the line you want to treat as heading. One hash gives you the largest heading size. Two hashes will give you the second largest size etc. Just scroll a bit through the guide and you will see, that you can do most of the things you usually use for text formatting: Making text bold or italic, creating tables, inserting links, inserting images etc. The text of this tutorial is written in markdown.
The best way to learn is practice! So, let’s get our hands dirty.
About.md
Follow the link to about.md (or open the file via your file system) and go to editing mode by clicking the little pencil icon.
---
layout: about
title: About
---

## About

Hi, nice to meet you.
Currently, the file only says: About Hi nice to meet you. The entries on top of the text page indicate meta information. They are demarcated by three dashes at the top and the bottom. Inside of them we have two variables:
- layout refers to the layout used for the about page that is being defined in the _layouts folder. Let's not touch it here and leave it as it is.
- title defines the title that appears on your website's about page.
Everything that follows underneath this header can be formatted by using markdown syntax.
Use the about page to tell the world about yourself, your project or your cause. For communication purposes, it is good practice to break down messages into:
- Why?,
- How? and
- What?
We will be using these categories as headers by applying three hashes (but do what works best for you). Also, do not forget to tell visitors under Contacts how they can get in touch. This is how the file looks for me after editing:
---
layout: about
title: About
---

## Welcome to Tech Expert Academy

### Why

While companies are desperately looking for tech talent, many people are either unemployed or they work in unfulfilling jobs. We want to be the match maker between these two parties.

### How

We partner with fast growing companies. By knowing their needs in the near future, we know how to best prepare our students to fill these roles.

### What

At TEA students take a three months intensive training for careers such as Data Engineering, Cloud Solutions etc. They learn at their own pace and have a personal coach checking in with them each week. After the three months period is over, coaches and mentors help to land a job. The classes are free and will be paid back through income share agreements if the student successfully lands a job.

### Contact

You are interested? Check out our [website](https://techexpertacademy.com). If you like what we are doing, [send us](https://www.techexpertacademy.com/#contact-form-main) a link to your GitHub Page and we’ll get back to you soon. Follow us on [LinkedIn](https://de.linkedin.com/company/tech-expert-academy?trk=public_profile_topcard-current-company).
And as always: Scroll down and commit the changes. Wonderful! We are almost there.
Write your first post
Now, back to our root repository and down to our Readme instructions. The last step is about how to add blog posts.
Follow the link to the _posts folder or scroll up and open the _posts folder directly.

We have already two posts in our folder. Look at their names: They follow the same scheme. First, we see a date (year-month-day) followed by a name and the markdown extension:
year-month-day-postname.md
You have to name your posts according to this convention. Otherwise, they will not be treated as posts.
Tip: If you want to work on posts before publishing on your site, add a character like _ in front of the date and it will not show up on your site. As soon as you want it to be published, remove the character.
Let's open 2021-12-25-my-second-post.md. When viewing it in editing mode it looks as follows:
---
layout: post
title: Introduction to Python
subtitle: Each post also has a subtitle
categories: Python
tags: [Python, intro, certificate]
---
## Introduction to Python
This post is meant to summarize some of the key concepts I have learned in the course *Introduction to Python*
As you can tell, the file starts with a header demarcated by three dashes at top and bottom containing meta information. Every post you write needs to define these key value pairs.
Let's copy this header. We will need it for our new post.
Head back to the _posts folder. Click on Add file and select Create new file.

Enter a name by following the naming convention for posts.
year-month-day-postname.md
I will call mine:
- 2022-01-03-my-first-post-this-year.md
You should take what works best for you. Let's paste the header at the top of the file and customize the key value pairs.
- The first entry is layout. It defines which layout will be applied to this file when being rendered. This needs to be set to post.
- The second entry is title. This title will be displayed on links to your post and on top of your post's page.
- The third entry is subtitle, which will pe displayed underneath your title on the post's page. I will pass; "Quick summary";
- The fourth entry is categories. If you want to use multiple categories, you can put the collection into square brackets. Order matters here (going from higher to lower categories from left to right). I will stick to one single category.
- The fifth entry is tags. Put the tags that are relevant to your post into square brackets and separate them by commas.
The actual content of the post goes below the header. You can use all the markdown magic you want. I will use an ordered list to summarize the steps of building this site. This is how my file looks after editing:
---
layout: post
title: How I've built my website
subtitle: quick summary
categories: Website
tags: [Github, website]
---

1. I created a GitHub account
2. I forked a repository from https://github.com/datamaunz
3. I renamed the forked repository tea-berlin.github.io
4. I edited the files as described in the README.md
5. Now I am writing my first post by following the advice that I got from the README file
Scroll down and commit the changes. Done! You first post is going live! Note that it can take a few minutes until the post shows up on your site. If it takes suspiciously long, check the file name and the header (also the file needs to be inside of the _posts folder).
Further Cleanup
Delete .github folder
Let's clean things up a bit further. You do not have to follow these steps but it does not hurt either.

Do you see the .github folder at the top of your repository? We don't need it. Open the .github folder. In the upper right corner, you find a button showing ...
Click the button and select delete directory. Scroll down and commit the changes.
Excellent!
Remove footer info
If you want to cut the information on the footer down to the copyright info, you can do the following. Go to _includes/views/footer.html and click on the little pencil icon to edit the page.
Delete the lines 15, 16, 17, and 18 so that the following remains:
<footer class="site-footer h-card">
<data class="u-url" href="{{ "/" | relative_url }}"></data>
<div class="wrapper">
<div class="site-footer-inner">
{%- assign currentYear = 'now' | date: "%Y" -%}
{%- assign copyright = site.copyright
| replace: '{currentYear}', currentYear
| replace: '{author}', site.author
| replace: '(c)', '©'
| replace: '(p)', '℗'
| replace: '(cleft)', '<span class="copyleft">©</span>'
-%}
<div>{{ copyright }}</div>
</div>
</div>
</footer>
Scroll down and commit the changes.
Next Steps
Use an Editor
Congratulations! You have finished the tutorial. Just wait a bit until the changes show on your website and you are done. We are curious to see what you are building. Send us a link to your website.
The combination of a Jekyll blog and Github works best when editing is done via a proper editor. My preferred choice is VSCode. There are plenty of tutorials that you can use to flex your skills. The main idea here was to help you create a website to showcase yourself and your work.
Become a Student
Building such a website is the first step to become a student at Tech Expert Academy. If you want to study at TEA, send us a link to your website via this form.
Become a Coach
If you are an expert in the subjects listed on our website and if you are passionate about teaching, get in touch via LinkedIn or email. We are growing and looking for talented coaches.

Top comments (3)
Nice
wow that's amazing! thanks a million to share something special with us! I'm super Excited to found all in one Post! When developer's looking a great Web editor? Hope need to Use that! Finally I found great one✨
Here I found More One's you can try! Ezytor is a simple website editor that gives you all the components to create and manage your web projects.
anyone can easily create stunning websites with Ezytor’s drag-and-drop functionality, templates, widgets and much more.🥰🎇
I've forked the repo in my own account, I've renamed it to my name followed by the "github.io" as the tutorial said, but i keep ending with a "404 Site not found" page and I've been stuck there for days. I need help please!!!