Summary:
This article describes the step-by-step process of registering Microsoft Azure Data Lake Store Gen 2 with Azure Active Directory & generating the Access token, configuring the account in webMethods.io Integration.
Pre-requisites:
- The user needs to have a working Microsoft Azure Active Directory and a Microsoft Azure Data Lake License to access the API.
- Working webMethods.io Integration cloud tenant.
Contents:
Section 1: Create and Configure the App in Microsoft Azure Active Directory
Section 2: Generate the Access_token and Refresh_token using the REST Client
Section 3: Configuring the Microsoft Azure Data Lake Store Gen 2 account in webMethods.io Integration
Section 1. Create and Configure the App in Microsoft Azure Active Directory
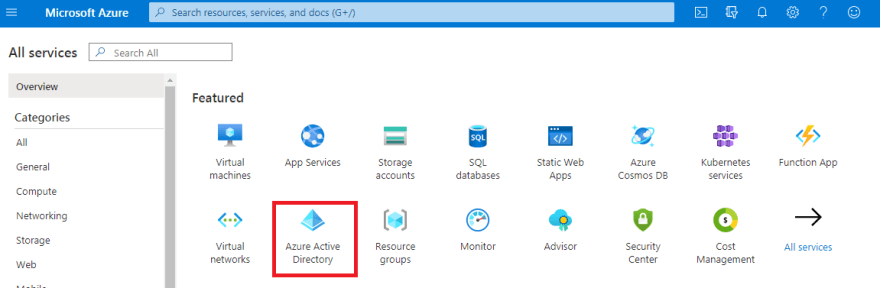
- Login to the Azure Portal (use your Microsoft credentials )
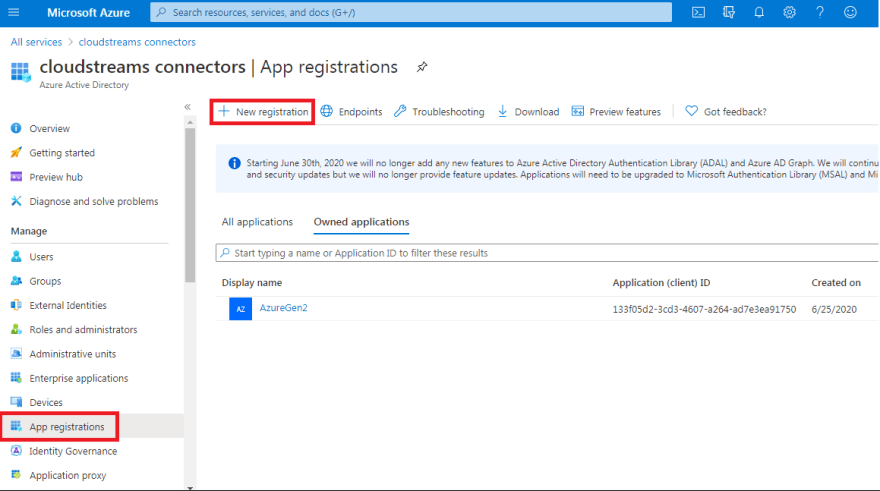
- Once you have logged in navigate to “Azure Active Directory” and click on “App registrations".
- Click on “New registration”.
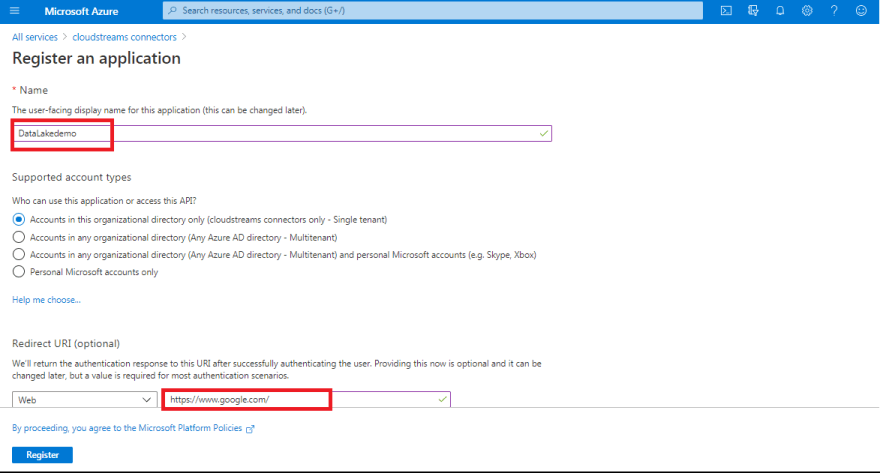
- Fill in the necessary information for the App, like Name , Redirect URI
Supported account types – Users can choose from the options based on their requirement. For more information about the supported scopes, click on “Help me choose…” and click on Register
In the URL field, enter the URL using which you need to obtain the OAuth authentication token in response to the request from the URL: (Enterprise Integration & IoT Platform | Software AG). Users can use any accessible URL like http://www.google.com
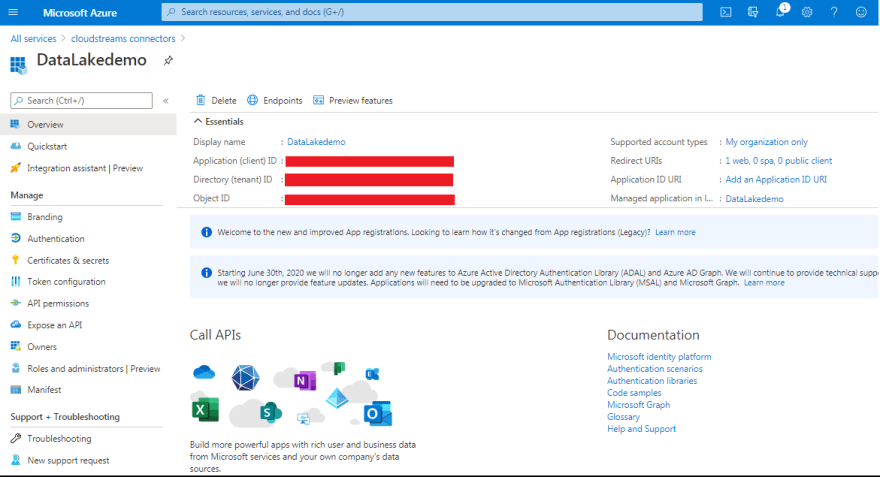
- It will take a few seconds to create the application for you. Please note down the Application ID as you will require it when connecting to Azure Data Lake Store using OAuth.
- Click on API permissions , it will show the available permissions. Users can add more permissions based on requirement by clicking on “Add a permission” button.
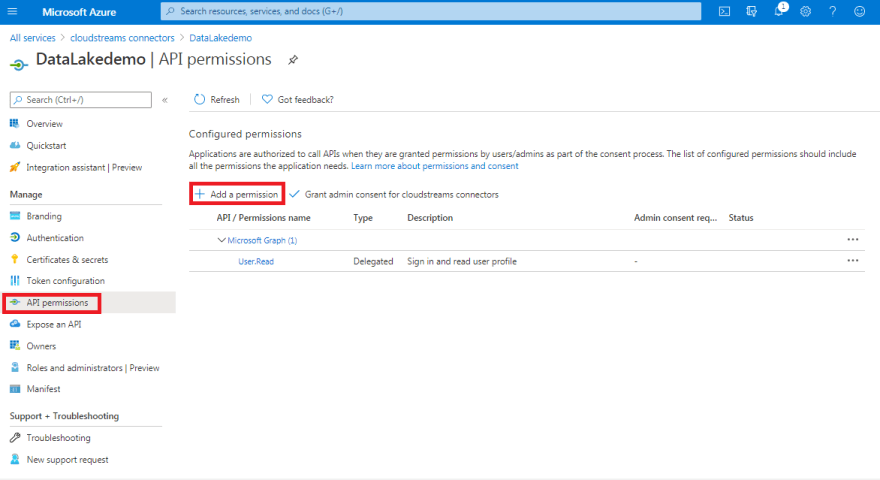
- Select the “Microsoft Azure Data Lake” API from the API listing menu and click on it.
NOTE: In case the user wants to use Microsoft Paid offerings, the user needs to obtain a license to use the desired APIs for the tenant.

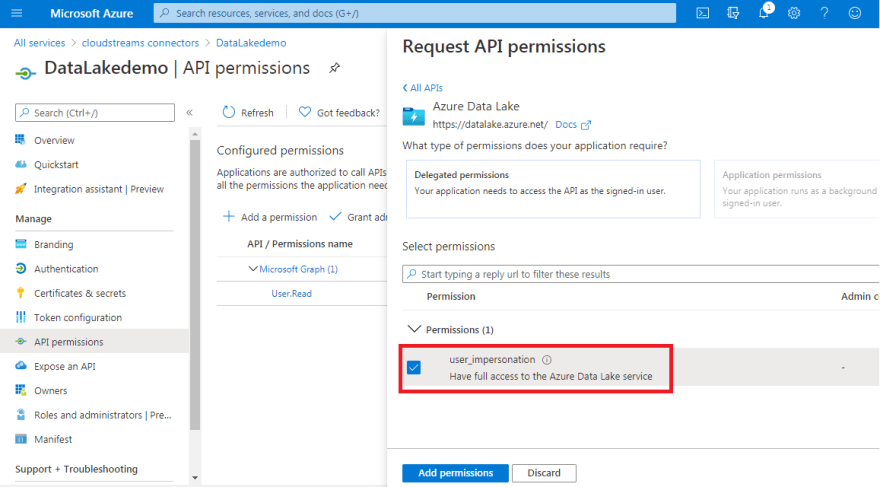
- Select all available permissions in the wizard, Delegated as well as Application permission and then click on “Add permissions“ button.
- After selecting all the necessary permissions, the user needs to click on the “Grant admin consent” button. Click on “Yes” to grant admin consent.


Section 2. Generate the Access_token and Refresh_token using the REST Client
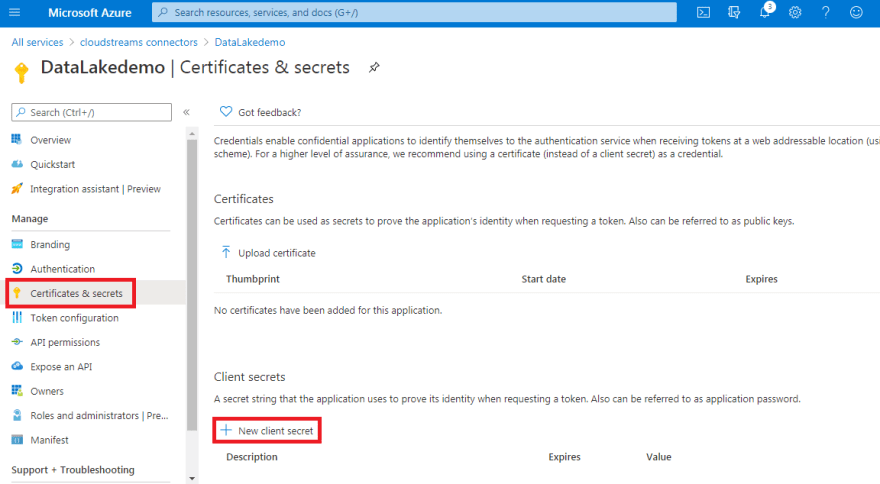
- Users can also generate the “client_secret” via the below-mentioned process.
Click on Certificates and Secrets and then click on New Client Secret.
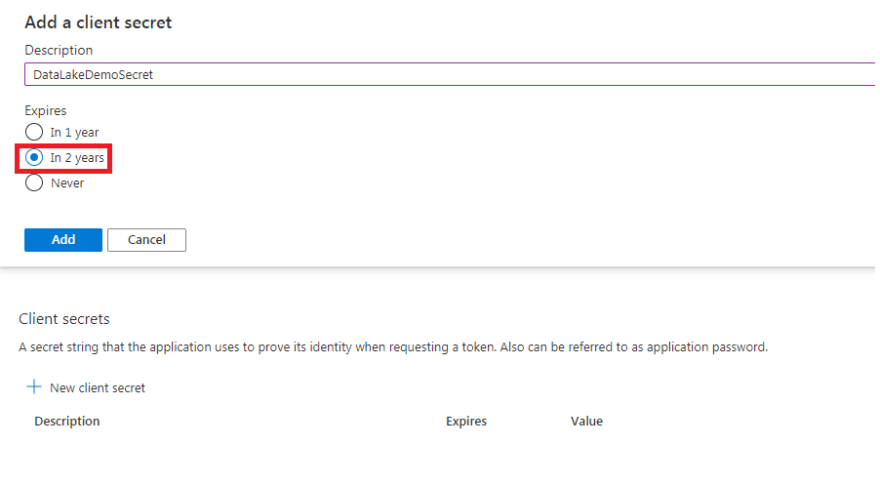
Choose the desired time duration for your secret key, click on the Add button.
Your Client secret will be generated. Store it for use during Access Token generation.
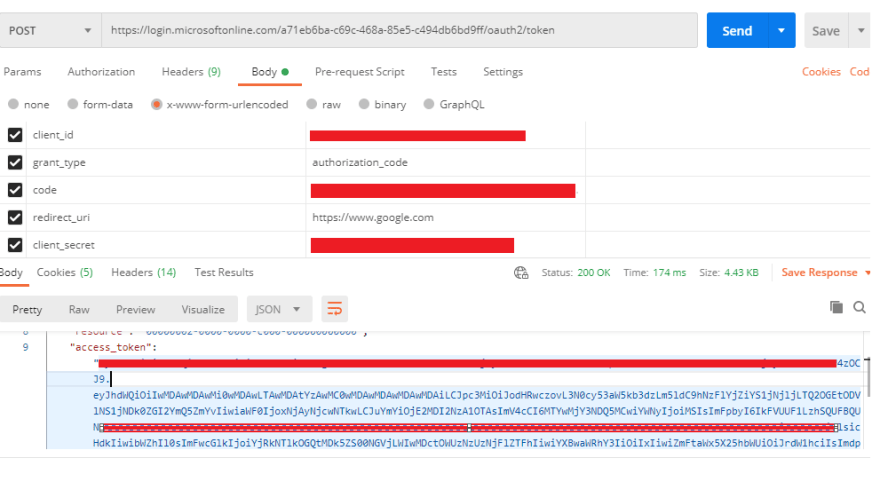
Now we have done all the necessary settings, that we require to generate the Access_token. We will use the “Postman” client to generate the Access_token. Set up a POST call request with the base URL as below.
https://login.microsoftonline.com/(tenant id)/oauth2/tokenGenerate authorization code using the below URL by providing the required data
https://login.microsoftonline.com/(tenant id)/oauth2/authorize?response_type=code&prompt=login&redirect_uri=(redirect uri)&client_id=(client id)
After generating authorization code , Add all the parameters mentioned below to generate access token in postman
Client ID: Enter the Application ID from the registered app in Azure Portal.
Code: authorization_code
Client Secret: Enter the Client Secret generated
Code: Enter the authorization code generated from step 12
Redirect_uri: Enter the Redirect URL from the registered app in Azure Portal.
Now, we have generated the Access_token and Refresh_token successfully. We will configure the Microsoft connection in webMethods.io Integration.


Section 3. Configuring the Microsoft Azure Data Lake Store Gen 2 account in webMethods.io Integration
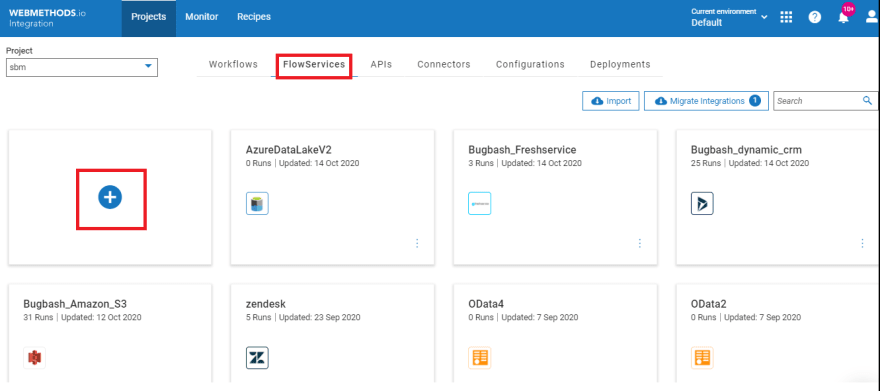
- Login to webMethods.io Integration tenant
- Create new project or choose an existing project if required
- Click on FlowServices tab and add new Flow Service
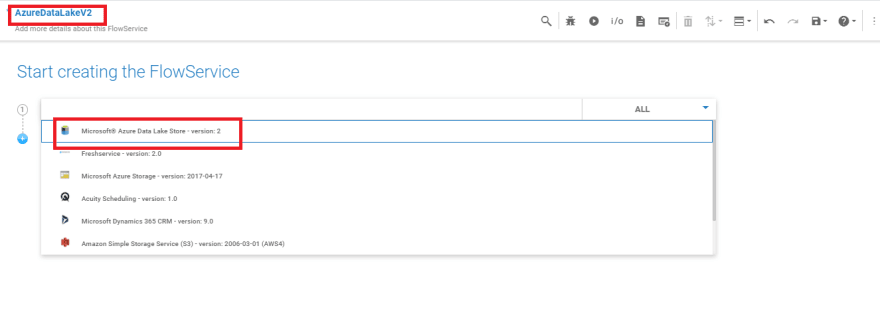
- Name the flow service and choose the Microsoft Data Lake Store V2 connector.
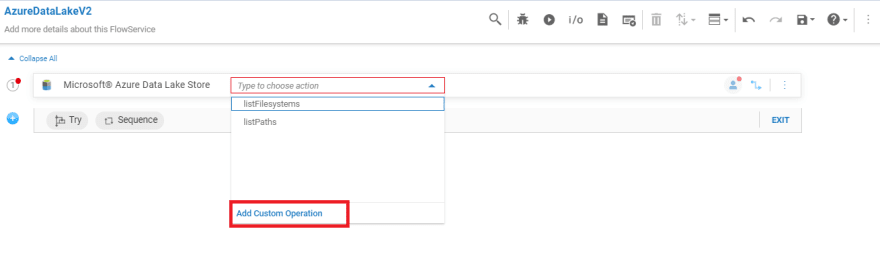
- Click on “Add custom operation” and then the “+” icon in the following tab. Users can choose the predefined operations and then Configure the account if required.
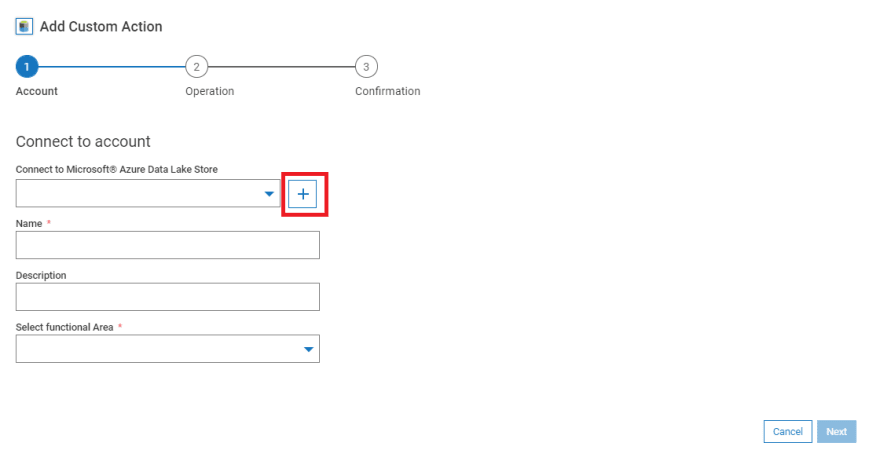
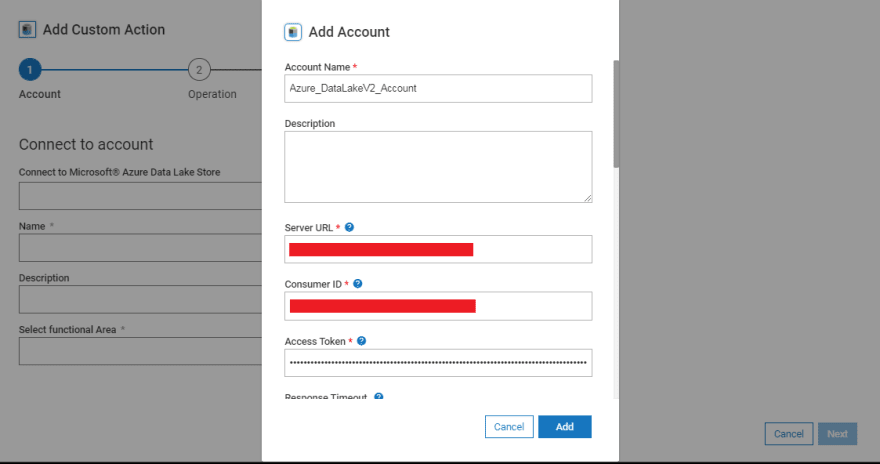
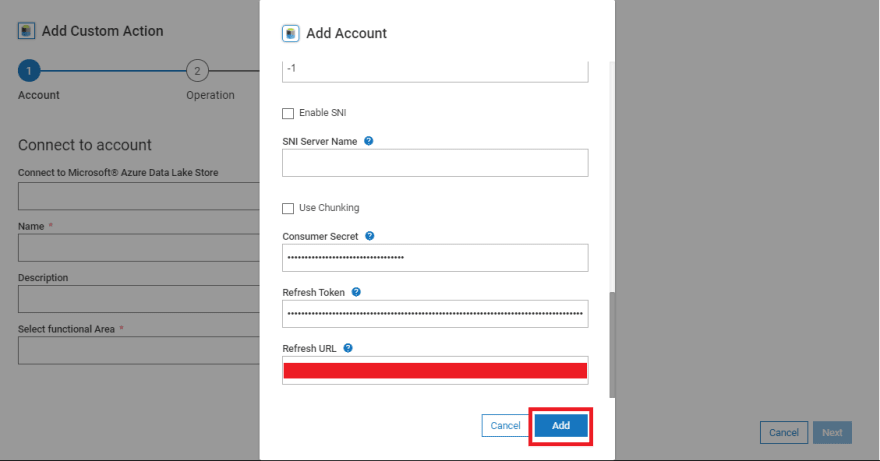
- Enter all the required details and Click on “Add” to save the Account successfully.
- After configuring the account , “Name” the custom operation , Select the functional area and click on “Next”

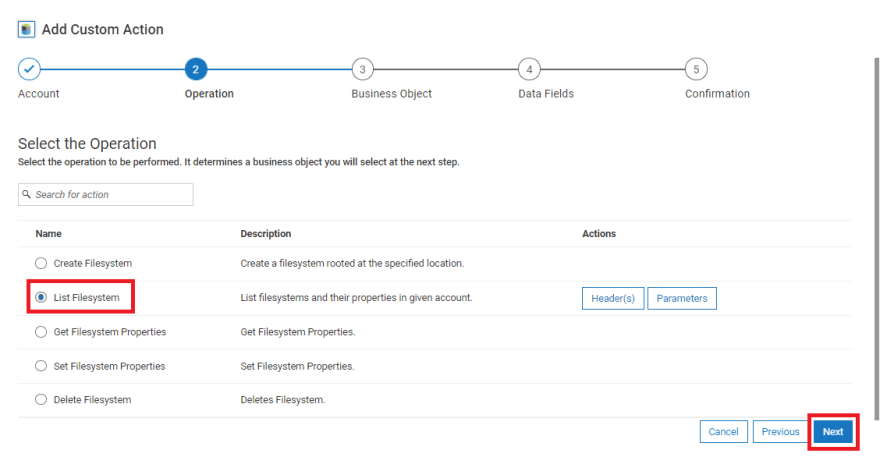
- Select the operation and click on “Next”
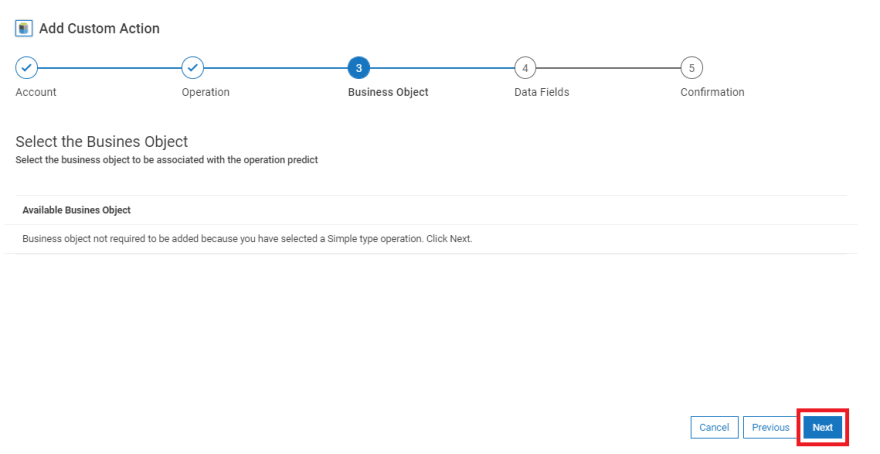
- Select the Business Object (Since the selected operation is of type simple , Business object not required here) and click on “Next”
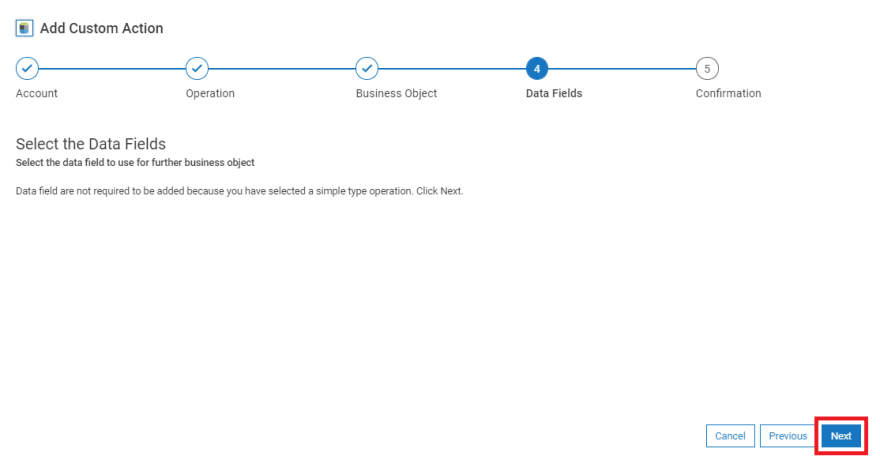
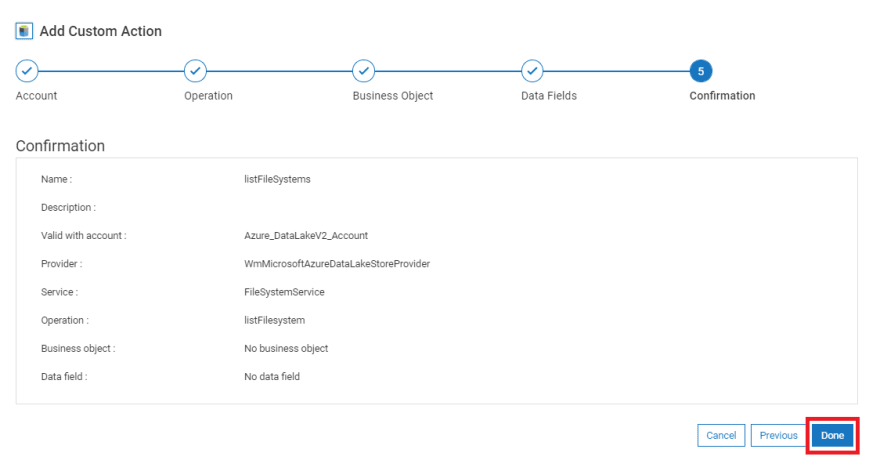
- Select the Fields (Since the selected operation is of type simple , Fields not required here) and click “Next” , Click on “Done” for the confirmation.
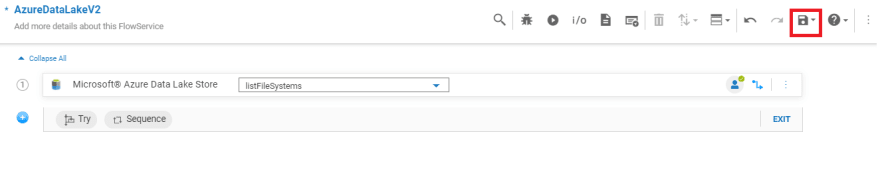
- After creating custom operation and adding account , Save the flow service and click on run to run the flow service


Top comments (0)