Intro
Some Chromebooks have started to receive native Linux support on the stable channel since September 2018 (CrOS v. 69). Although still in beta while some features are finalized, the Linux support is fairly stable for jumping into programming, and this guide is for beginners looking to try out coding on their Chromebook.
Crostini
When researching Linux on Chromebooks, it will often be under the title of “Crostini” which is the codename for Linux support. Crostini outside of Chromebooks is an Italian appetizer consisting of toast and a topping. This is meant as a parallel to “Crouton” which is a way to install Linux on a Chromebook in a manner similar to jailbreaking an iPhone or rooting an Android. If you want to dive deeper into the Crostini world after this, I recommend checking out the subreddit, r/crostini (This is also a good place to look if you ever run into issues).
Containers
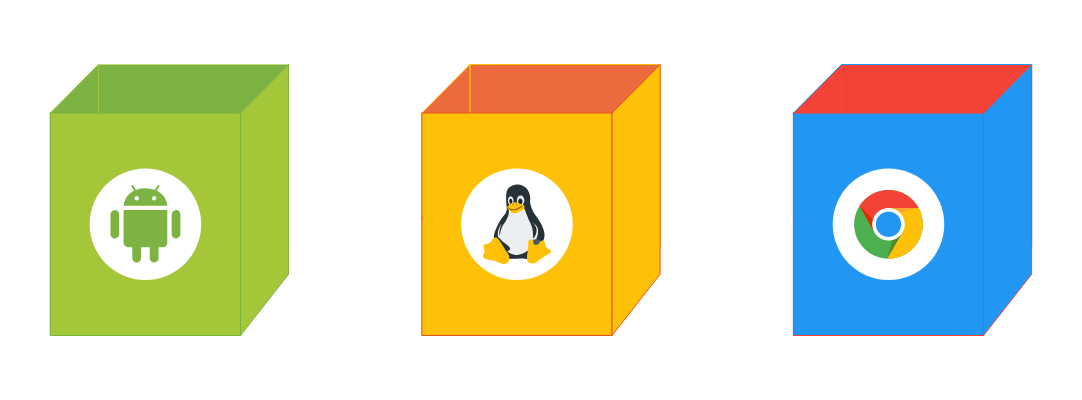
Containers are “buckets” where a system's code runs. Think of them as cardboard boxes where each of your Operating Systems run within your Chromebook. Chromebooks support up to 3 of these Containers:
Similar to how Android runs within CrOS (Chrome OS), Linux runs within its own container isolated from Android and CrOS.
Eligible Devices
If you plan to follow along on your device, you’ll want to start by checking the list here to make sure your device has Linux support available.# Enable Linux (Beta)Now that I’ve got the background details out of the way, let’s jump into things by enabling the Linux container on your computer!
- Open your Settings
- Open the side panel
- Click “Linux (Beta)”
- Click “Turn On”
- Click through the wizard (there will be a few minutes of waiting for the download and installation)
- You should now see a black box on your screen. This is your terminal. It will become your best friend.
A quick note on 'sudo'
sudo tells the terminal to run a command as an admin. When you run into a permission error, you will often be able to resolve the issue by using sudo {command}.
Please be careful with this as it does allow whatever command/program you’re running to execute as an elevated user.
It’s recommended to look into the documentation for any Linux command you may be unfamiliar with before running it, even without sudo. Often a quick search for Linux {Command} command will get you a detailed look at a command’s intent and what to expect when you run it.
First things first
The first thing you want to do in your terminal is run the following commands, which will download any updates for pre-installed programs and then install them.
Sudo apt update
Sudo apt upgrade -y
Basic Navigation in the Terminal
The following commands will help get you started with navigating through the terminal.
pwd - Shows the current directory you are in. Abbreviation for “Present Working Directory”
ls - Lists the contents of the current directory
cd .. - Navigate to the directory above your current location
cd {directory} - Navigate to the designated directory. This can be an absolute path or relative path.
None of these commands alter anything, so feel free to try them out and become comfortable with them. You’ll be using them a lot.
Installing VS Code
Code is my preferred text editor, and installing it is easy! First, download Code from https://code.visualstudio.com/docs/setup/linux. At this point, it will be within the Chrome box above. You can move it to the Linux box by opening Files > Downloads and Dragging the downloaded file to Linux files.
Next head back to your terminal and run
sudo apt install -y ./{file}.deb
Pro Tip: Press
tabto autocomplete the file name after typing ./c in the above command!
Once Code is installed, you can run the command code . to open VS Code for the current directory.
Note:
.represents the current directory
What to do if you think you’ve goofed something up
Have no fear! When playing around with Linux for the first time, you’ll probably reach a point where you don’t feel like everything is quite right. You can reset your Linux container back to a clean install by:
- SAVE ANY FILES THAT YOU NEED FROM YOUR LINUX FOLDER
- Settings > Linux (Beta) > Linux > Remove Linux Apps for Chromebook
- Click “Delete”
- Head back up to the “Enable Linux (Beta)” steps above.
What’s Next?
Now that you’ve got Linux setup, you may be wondering what to do next. Depending on your interest, I’d recommend checking out one of the following resources (Python even comes installed in the Linux container by default!):

My Favorite Free Resources for New Programmers
Ali Spittel ・ Aug 13 '18

Learning Web Development? These Skills Will Make You Stand Out
Colin Morgan ・ May 2 '18
Summary
Sudo apt update
Sudo apt upgrade -y
Download VS Code from https://code.visualstudio.com/docs/setup/linux link
sudo apt install -y ./{file}.deb


Top comments (0)