
(Note: these posts are migrated from my previous medium.com blog)
The Intel Edison is an excellent platform for prototyping your next IoT project. This small little device is powered by an Intel® Atom™ SoC dual-core CPU and includes an integrated WiFi, Bluetooth LE module. In this tutorial, we will go over the “Hello World” equivalent to get started with the Intel Edison: Blinking an LED. We will then take it one step further and control the LED with a web interface via Websockets. Lets go!
1. Setting up your Intel Edison Board
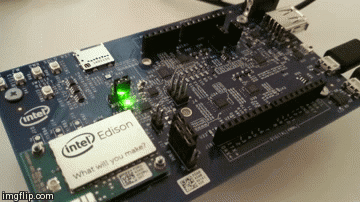
For this tutorial, we will be using the Intel® Edison and Arduino Breakout Kit. To assemble and setup your Intel Edison board, you can follow this guide here: https://communities.intel.com/docs/DOC-23147 .
This is an important step as we’ll need Internet connectivity to download all the necessary libraries, as well as communicating with the outside world (The I in IoT!). Check your connectivity by visiting its IP address once Wi-Fi has been setup:
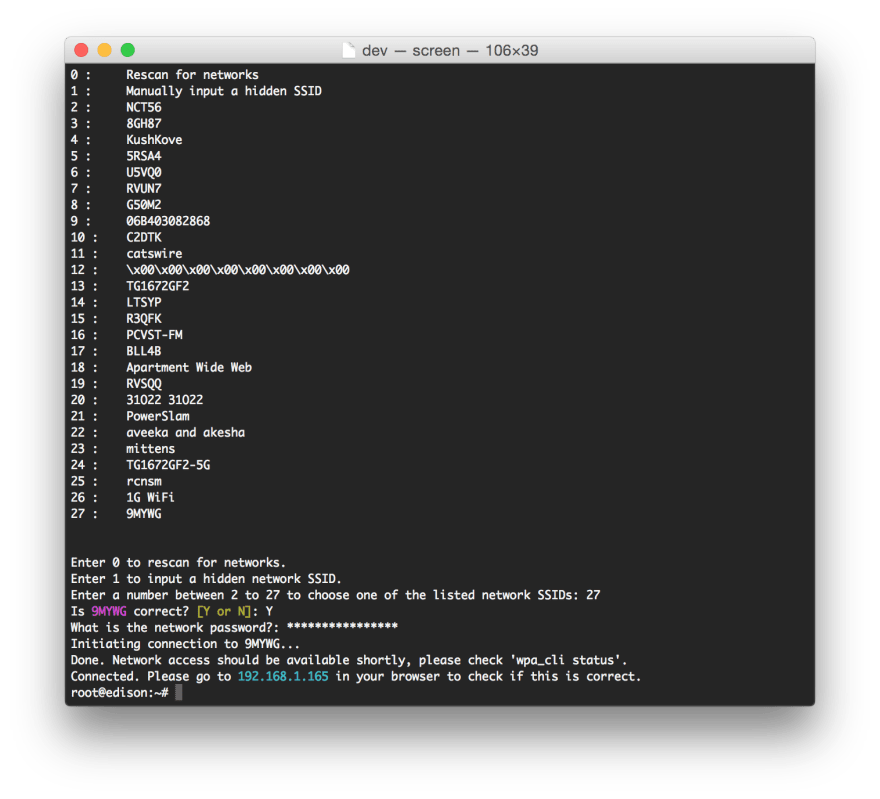

Note: After the Wi-Fi configuration was complete, the configuration page did not load for me when I visited the IP address in the browser. I had to manually start the server on the Intel Edison by entering the following command in the terminal:
configure_edison --server
2. Interfacing with the board I/O pins
The Intel Edison Arduino breakout board has 20 I/O pins, 6 of which are Analog, and 14 of which are digital. These can be used for any sensor inputs (i.e. potentiometers, photodiodes, temperature, etc.) or outputs (e.g. controlling motors/servos with a PWM signal with the digital pins). The following table lists the I/O pins and their numbers:

To interface with these I/O pins, we will need to install a library that provides us with an API. Intel provides a library for its IoT dev boards called **MRAA, **which is a “Low Level Skeleton Library for IO Communication on GNU/Linux platforms”. The library is open source and is available on github: https://github.com/intel-iot-devkit/mraa
Installing the library is simply running these commands on the Intel Edison:
echo "src mraa-upm http://iotdk.intel.com/repos/1.1/intelgalactic" > /etc/opkg/mraa-upm.conf
opkg update
opkg install libmraa0

Once the library has been installed, try running the blinking LED example found in the github repo:
Save the above snippet to a file (e.g. blink.js)
-
Run it with Node!
node blink.js
3. Installing Express/Socket.IO for Websocket communication
We’ll be installing the Express and Socket.IO libraries to allow Websocket communication with our Intel Edison. Express is a web framework for NodeJS, it will be serving our static assets (web page with control interface) and provide an HTTP server instance. **Socket.IO **will be the Websocket library of choice.
-
Install these libraries by running the following commands (the save flag adds these libraries to the package.json file):
npm install express --save npm install socket.io --save- Create and save the following two code snippets in the same directory:
blinkWithSockets.js
index.html
Note: Remember to replace your IP address in index.html. Also, feel free to use any port other than 3000.
-
Run the code and visit your browser:
node blinkWithSockets.js

- Move the slider around and see the LED blink faster and slower!

- Please see this post on how to control your device from outside your LAN!
And that’s it! With the current setup, you can send data to your Intel Edison via Websockets. The Socket.IO library allows bi-directional communication, which means you can also relay sensor data from the I/O pins back to the client in real-time as well! In a future tutorial, I will describe how this can be accomplished and perhaps integrate with a third party API as well.
Please feel free to reach out for any questions or suggestions ☺

Top comments (0)