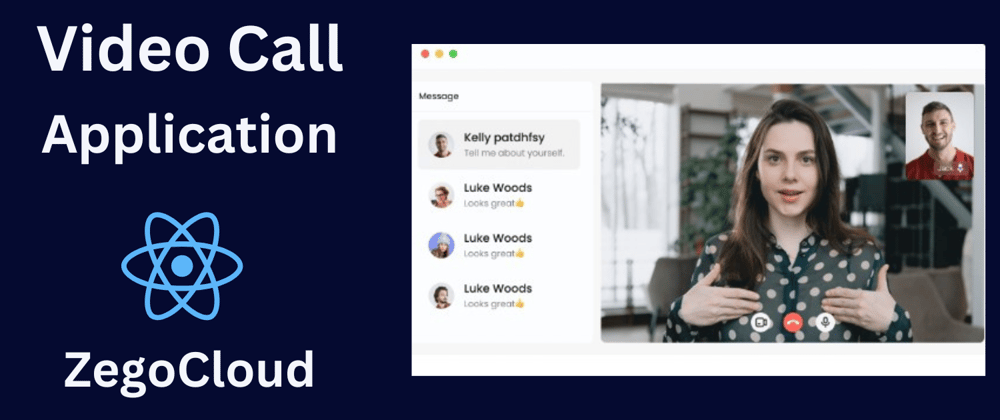
In this tutorial, we're going to build a fully functional video call application using the ZEGOCLOUD SDK in React.js. If you've ever wondered how apps like Zoom or Google Meet handle video calls so seamlessly, you're in the right place. ZEGOCLOUD provides powerful, developer-friendly UIKits that make integrating real-time communication features a breeze. And the best part? We'll have this up and running in just a few steps!
By the end of this guide, you'll have a working video call app that you can share with friends, colleagues, or even use for your next virtual meeting. Let's get started!
Setting Up Your ZEGOCLOUD Account
First things first, you'll need a ZEGOCLOUD account. Head over to https://zegocloud.com and either log in or sign up if you're new. Signing up is quick, and you'll get 10,000 free minutes to use for your video call applications. That's more than enough to build and test your app without worrying about costs.
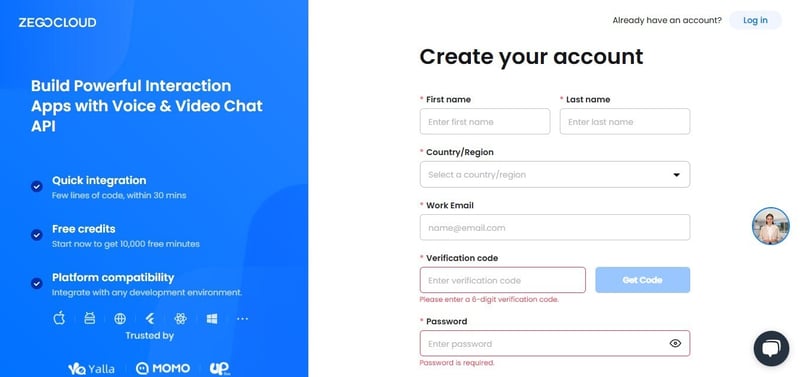
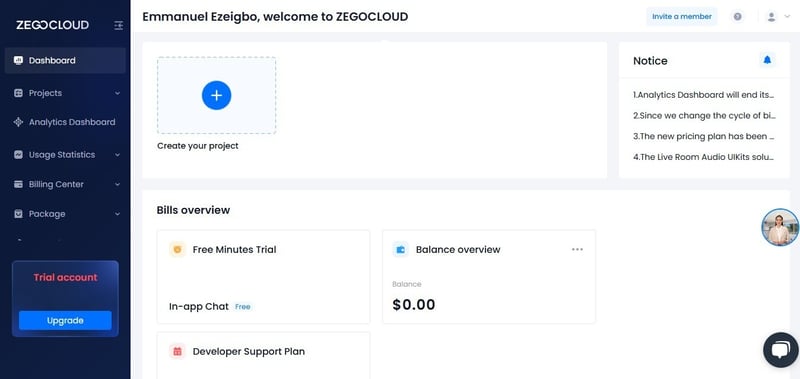
Once you're logged in, you'll land on the ZEGOCLOUD Console. This is where you'll manage your projects, access your API credentials, and explore all the cool communication solutions ZEGOCLOUD has to offer. Take a moment to familiarize yourself with the dashboard - it's your command center for everything video call-related.
Prerequisites
- Before we get into coding, let's make sure you have everything you need:
- Node.js installed on your machine. If you don't have it yet, grab it from nodejs.org.
- A ZEGOCLOUD account (which you just set up - nice work!).
- Basic knowledge of React and JavaScript. If you're new to React, don't sweat it! This tutorial is beginner-friendly, and I'll walk you through every step.
Step 1: Set Up the React Project
We'll use Vite to create our React project. Vite is fast, lightweight, and perfect for modern web development. If you haven't used it before, you're in for a treat.
- Open your terminal and run the following command to create a new React project:
npx create-vite@latest video-call-app --template react

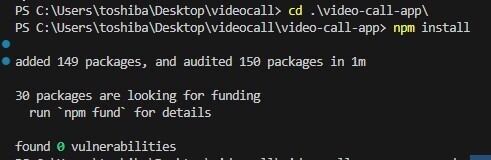
- Go into your project folder:
cd video-call-app
- Install the project dependencies:
npm install
- Now, let's add the ZEGOCLOUD SDK package:
npm i @zegocloud/zego-uikit-prebuilt --save
- Once everything is installed, start your development server:
npm run dev
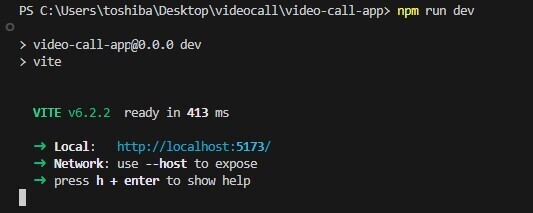
Press Ctrl + Click on the link in your terminal to open the app in your browser.
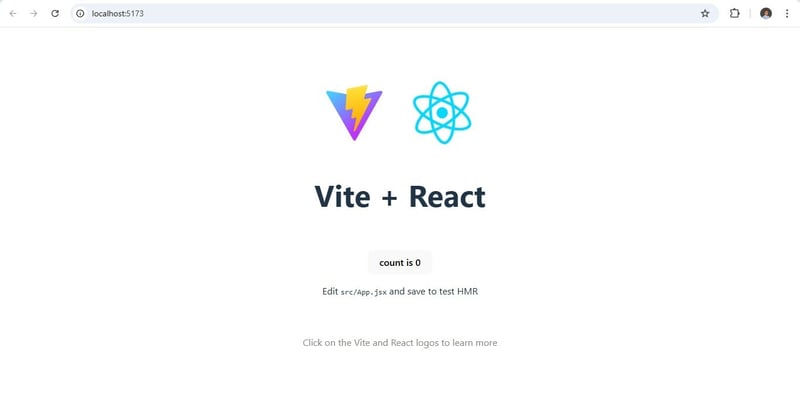
And just like that, your React project is up and running! Now, let's add the magic - video call functionality.
Step 2: Get Your ZEGOCLOUD Credentials
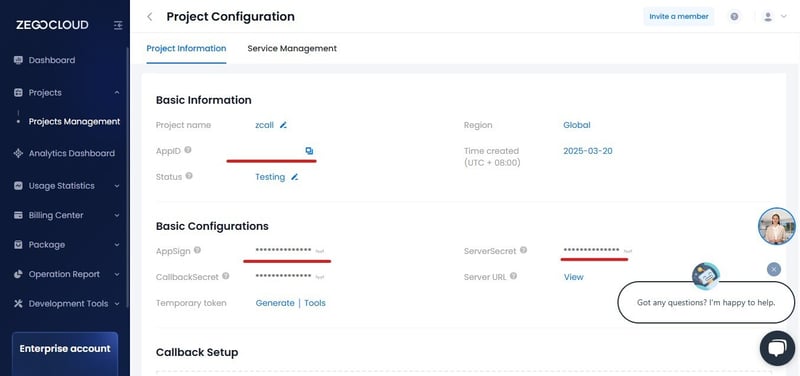
To connect your app to ZEGOCLOUD's services, you'll need two things: your App ID and App Sign. Here's how to get them:
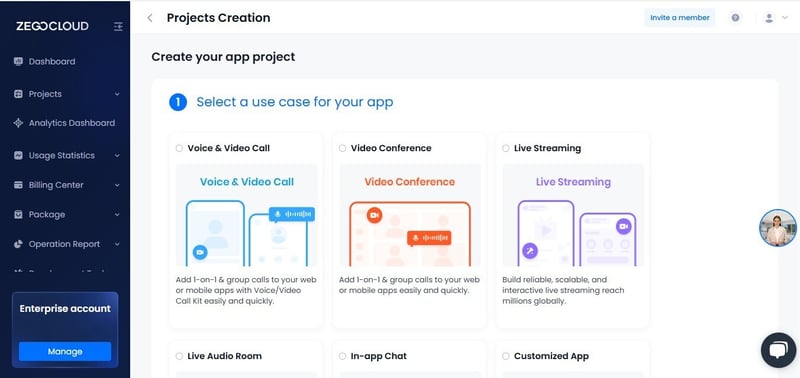
Go to your ZEGOCLOUD Console.
Create a new project. You'll be asked what kind of app you're building - choose Video Call and click Next.
Once your project is created, you'll be redirected to a dashboard where you can find your App ID and App Sign. Keep these credentials handy; we'll need them in the next step.
Step 3: Implement the Video Call Feature
Now for the fun part - adding the video call functionality! Open your App.jsx file and replace its content with the following code:
import * as React from 'react';
import { ZegoUIKitPrebuilt } from '@zegocloud/zego-uikit-prebuilt';

function randomID(len) {
  let result = '';
  if (result) return result;
  var chars = '12345qwertyuiopasdfgh67890jklmnbvcxzMNBVCZXASDQWERTYHGFUIOLKJP',
    maxPos = chars.length,
    i;
  len = len || 5;
  for (i = 0; i < len; i++) {
    result += chars.charAt(Math.floor(Math.random() * maxPos));
  }
  return result;
}
export function getUrlParams(
  url = window.location.href
) {
  let urlStr = url.split('?')[1];
  return new URLSearchParams(urlStr);
}
export default function App() {
      const roomID = getUrlParams().get('roomID') || randomID(5);
      let myMeeting = async (element) => {
     // generate Kit Token
      const appID = YOUR_APP_ID;
      const serverSecret = "YOUR_SERVER_SECRET";
      const kitToken =  ZegoUIKitPrebuilt.generateKitTokenForTest(appID, serverSecret, roomID,  randomID(5),  randomID(5));

     // Create instance object from Kit Token.
      const zp = ZegoUIKitPrebuilt.create(kitToken);
      // start the call
      zp.joinRoom({
        container: element,
        sharedLinks: [
          {
            name: 'Personal link',
            url:
             window.location.protocol + '//' +
             window.location.host + window.location.pathname +
              '?roomID=' +
              roomID,
          },
        ],
        scenario: {
          mode: ZegoUIKitPrebuilt.GroupCall, // To implement 1-on-1 calls, modify the parameter here to [ZegoUIKitPrebuilt.OneONoneCall].
        },
      });

  };
  return (
    <div
      className="myCallContainer"
      ref={myMeeting}
      style={{ width: '100vw', height: '100vh' }}
    ></div>
  );
}
Replace YOUR_APP_ID and YOUR_SERVER_SECRET with the credentials you got from the ZEGOCLOUD Console. Save the file, refresh your browser, and voilà-your video call app is live!

Conclusion
And there you have it - a fully functional video call app built with ZEGOCLOUD SDK in React.js! In just a few steps, you've integrated real-time video communication into your app, thanks to ZEGOCLOUD's intuitive tools. Whether you're building a video conferencing app, a virtual classroom, or just experimenting with real-time communication, ZEGOCLOUD makes it easy.
But don't stop here! ZEGOCLOUD's SDK offers tons of other features like live streaming, voice calls, and messaging. You can customize your app, add new features, or even integrate it into a larger project. The possibilities are endless.
So, what's next? Share your app with friends, test it out, and start building the future of real-time communication. And if you run into any questions, ZEGOCLOUD's documentation and community are great resources to lean on.

Top comments (0)