
Introduction to Azure
Azure is Microsoft's cloud platform offering a range of services for computing, storage, networking, and more. It empowers businesses to build, deploy, and manage applications seamlessly in the cloud.
Define Azure Virtual Machine
Azure Virtual Machine (VM) is a scalable, on-demand computing resource on Azure. It allows users to run virtualized Windows or Linux servers in the cloud, providing flexibility and control over applications.
Introduction to Azure Bastion
Azure Bastion is a service that allows you to securely connect to your VMs using Remote Desktop Protocol (RDP) or Secure Shell (SSH) directly from the Azure portal. Here's a step-by-step guide to creating an Azure VM using Azure Bastion:
Prerequisites:
- Azure Subscription: You need an active Azure subscription. If you don't have one, you can create a free Azure account.
Steps:
1. Sign in to the Azure Portal:
- Go to Azure Portal.
- Sign in with your Azure account.
2. Create a Resource Group:
- In the left sidebar, click on "Resource groups."
- Click on the "+ Add" button to create a new resource group.
- Fill in the required details (Name, Region), click "Review + create" and then "Create."
- Resource group can also be created while selecting a resource group when creating the virtual machine. You are just required to select
Create New Resource Groupfrom the dropdown menu of selecting resource group.

3. Create a Virtual Machine:
- In the Azure portal, go to "Create a resource."
- Search for "Windows Server" or "Linux" depending on your preference.
- Click on the desired OS and then click "Create."
- Fill in the required details for the VM (Name, Region, Image, Size, Authentication, etc.).
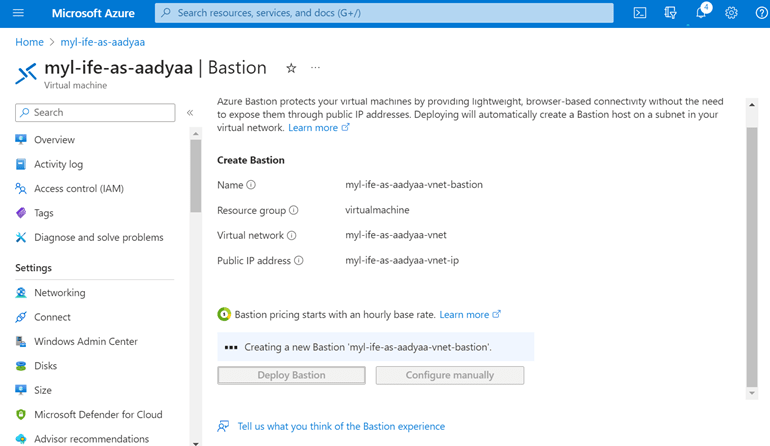
- Scroll down to the "Networking" tab, and ensure that the "Enable Azure Bastion" option is selected.
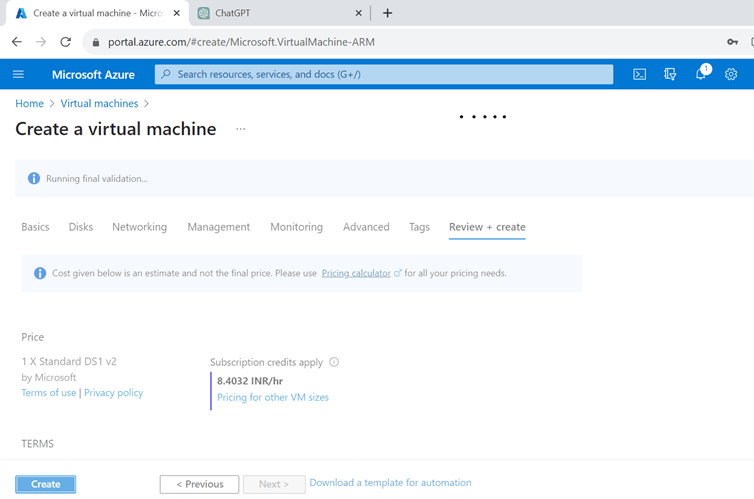
- Complete the remaining steps and click "Review + create" and then "Create."

4. Review and Create:
- Review your VM configuration and Bastion settings.
- Click
Review + createand thenCreateto provision the VM and Bastion.
5. Connect to VM using Bastion:
- Once the VM is deployed, go to the VM in the Azure portal.
- Click on the
Connectbutton. - Select
Bastionas the type of connection. - Enter the credentials (username and password or SSH key) and click
Connect.


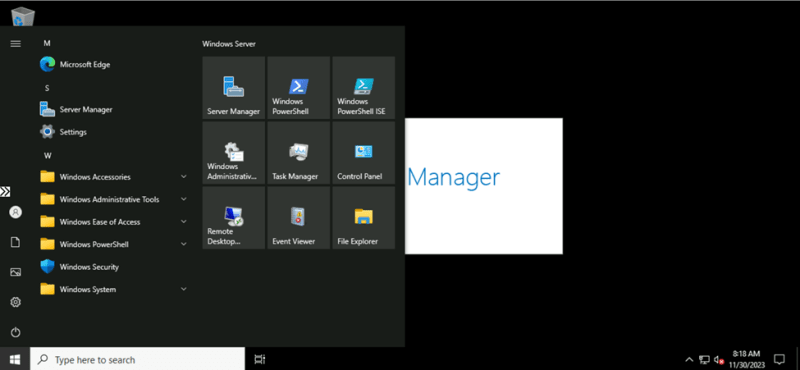
7. Access VM through Bastion:
- The Azure portal will open a new tab for Bastion.
- Enter the credentials again (if prompted) to connect to your VM securely through Bastion.

Congratulations! You have now created an Azure VM using Azure Bastion.
Keep in mind that the particular stages may differ significantly depending on your choices during the VM creation process as well as any upgrades to the Azure portal interface. For the most accurate and up-to-date information, always consult the official Azure documentation.

Top comments (0)