Introduction
In this tutorial, we will create an Azure Function with a simple Telegram Bot (Echo Bot). We will test it locally and then deploy it to Azure Portal. It means our bot will work only at the moment when someone is using it. So the function will be triggered only when someone is sending a message to a bot.
Flow Review
- The user sends any message to Telegram Bot
- Telegram sends requests via Webhook to our Azure Function
- Azure Function replies to Webhook with a copied message
Prerequisites
- node.js - v10.16.2
- npm - v6.14.5
- telegraf - v3.38.0
- ngrok - v2.3.35
- Azure subscribtion
- you need to install Azure Functions extension to Visual Studio Code
Create an Azure function in Visual Studio Code
- click on Azure Icon in Visual Studio Code:
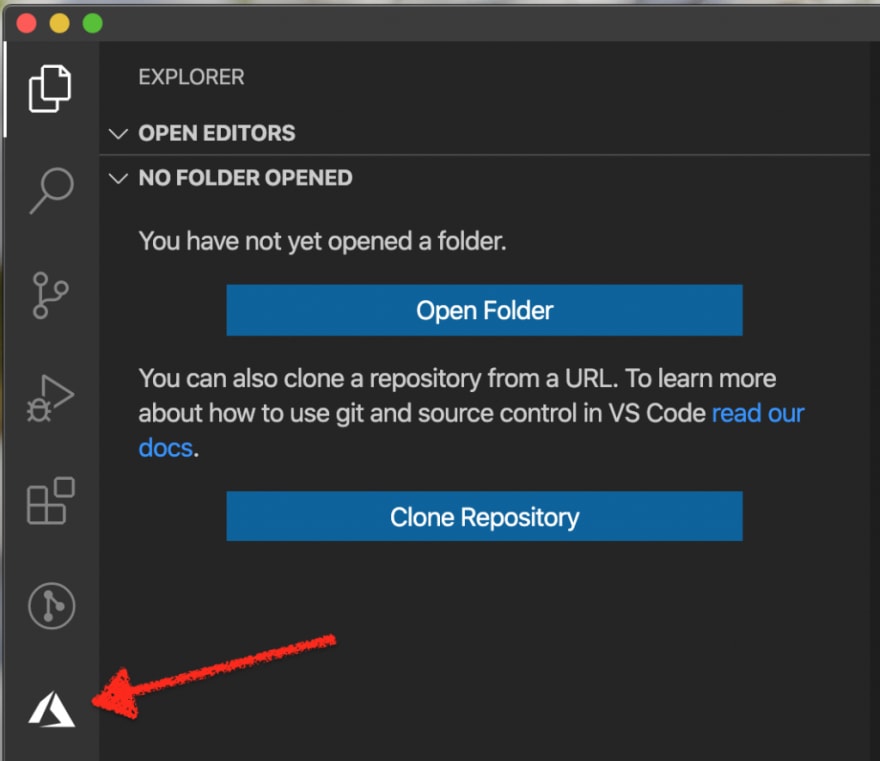
- login under your Azure subscription
- click on "Create Function Icon":

- you will be asked to use an existing project or create a new. Let's create a new:

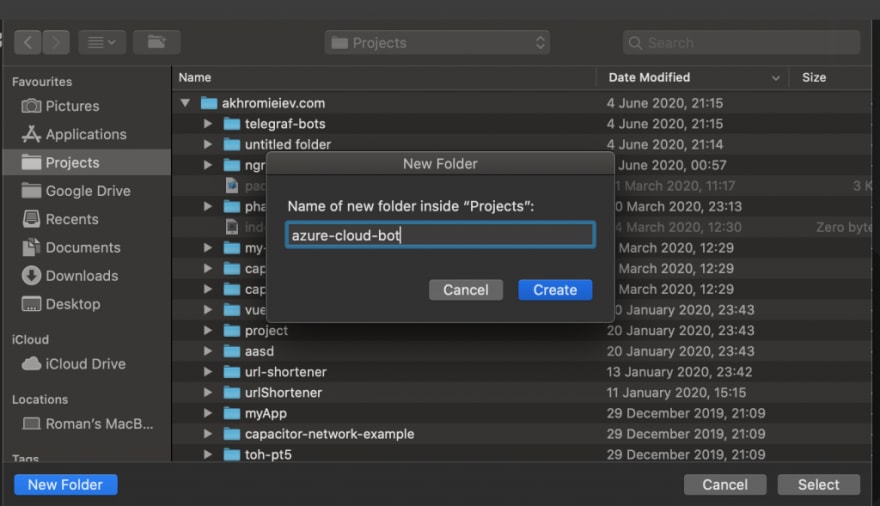
- select the function template. We will use HTTP trigger:

- provide a function name and select Enter:

- please provide a Function key for a Function authorization:

- penultimate step. Select how you would like to open a project. We will use the current window:

- you will be redirected to the default HTTP trigger function with Javascript code:

- now this function will appear in Azure Functions section:

Folder structure
- package.json - metadata relevant to the Node.js project
- proxies.json - you can modify requests and responses from function
- host.json - metadata file relevant to the Azure project. It's a global configuration for all functions in an application
- azure-bot-cloud-function - it's our function folder. Each function has a separate folder with code file (.js in our case) and function.json. Function.json it's a binding configuration file.
Run function locally
- Select "Run" -> "Start Debugging" in Visual Studio Code menu
- If you have no Azure Functions Core Tools locally, you need to install them on this step. The instruction can be found in Azure repo:

- You should see how the NPM tasks will executing and finally get a link to the working function:
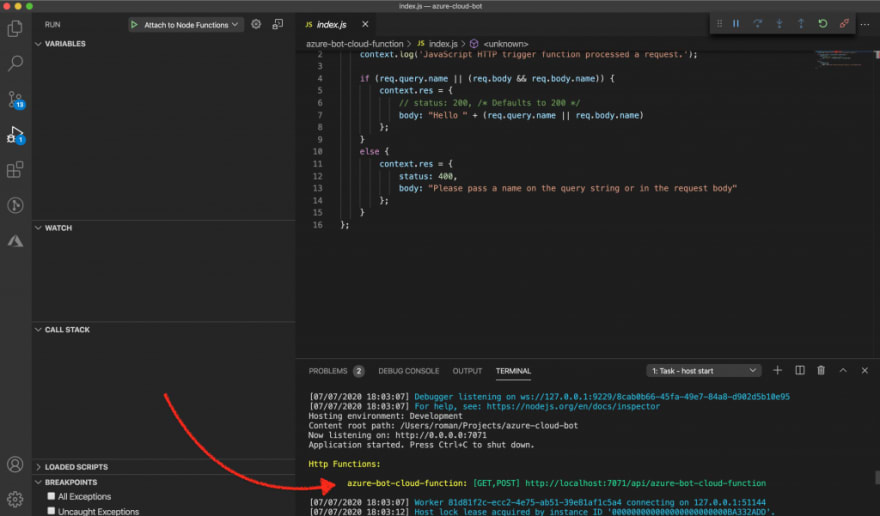
-
Let's open our function in the browser:

As you see, the function responds to us with the behavior by default. Also, you can simply run the function using the func start command.
Implement the bot
For work with Telegram API, we will use the most popular library for Node.js - Telegraf.js. We need to install it in the project folder:
npm install telegraf --save
Please make sure the package.json has Telegraf after the running previous command.
Because Telegram will send webhook requests to our bot, we need to make an external HTTPS URL. For this purpose we can use ngrok library:
npm install ngrok -g
If all is good, we can go to <function-folder>/index.js and create a simple Echo-bot:
const Telegraf = require('telegraf')
const { TELEGRAM_BOT_TOKEN, WEBHOOK_ADDRESS } = process.env

const bot = new Telegraf(TELEGRAM_BOT_TOKEN, {
    telegram: { webhookReply: true }
})

bot.telegram.setWebhook(WEBHOOK_ADDRESS)
bot.on('message', (ctx) => ctx.telegram.sendCopy(ctx.chat.id, ctx.message))

module.exports = async function(context, req) {
    return bot.handleUpdate(req.body, context.res)
}
You can take TELEGRAM_BOT_TOKEN value from BotFather bot. The WEBHOOK_ADDRESS will contain a link to the Azure Function. We will talk about this variable later.
Our bot will work in Webhook mode - it's a more preferable way to run Telegram bot. The Telegram will automatically inform our bot about all updates. In the polling mechanism, our bot needs to frequently ask Telegram about updates, so it requires non-stop work for our bot (most cases).
Running bot locally
To run this bot locally we need to create a public address using ngrok. By default, the local Azure function is running on port 7071. We can use the following combination in the terminal to create a public URL:
ngrok http 7071
In the terminal you will get your HTTPS link for testing Webhook:
Copy the ngrok-created link and add the route to the function. Something similar to this:
bot.telegram.setWebhook('https://<random-value>.ngrok.io/api/azure-bot-cloud-function')
Also, don't forget to pass a real Telegram token to the Telegraf constructor:
const bot = new Telegraf('some-token-value', {
    telegram: { webhookReply: true }
})
It's very dirty, but for a quick test it's OK, so please remember to remove all real keys from the code.
Then you can run a function just using the simple command:
func start
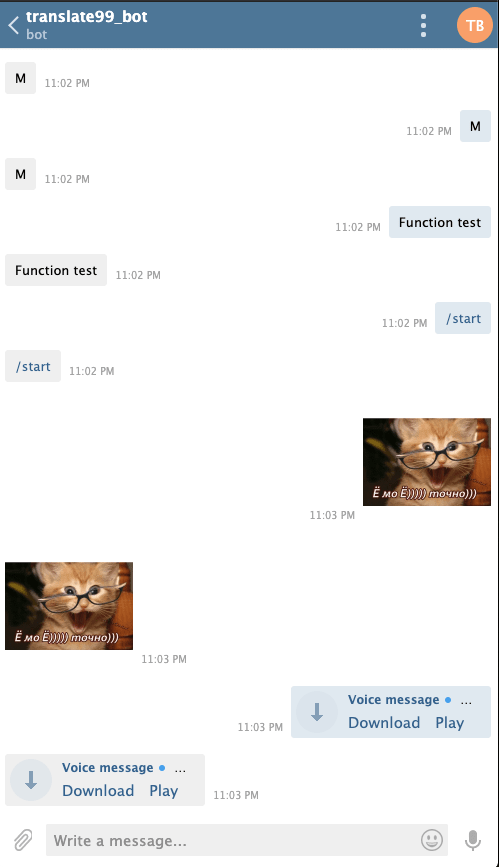
Good job! Now open your bot in Telegram and send any message. Our bot should copy it and resend to you:
Deploy Azure Function to the portal
To deploy Azure Function we just need to click on this button:
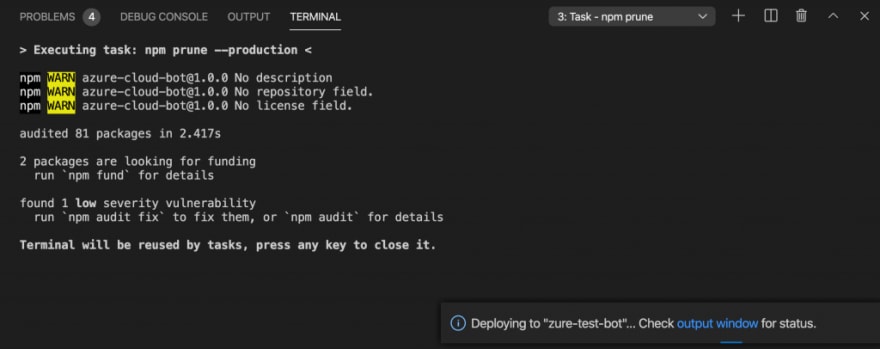
Then choose your resource and press "Deploy". The process will be started:
After successful deployment, we need to go to Azure Portal and update WEBHOOK_ADDRESS and TELEGRAM_BOT_TOKEN variables with real values.
To get a real function URL, go to "Functions", then choose your Azure Function and press "Get Function Url" button:
We need to copy this value and paste to "Application Settings" along with Telegram Token:
After adding our secret keys, press "Save" and restart our application:
That's all. Our bot should work in the cloud and you can track all function executions in real-time:
Each function execution means that our bot handled 1 single message.
Conclusion
In this tutorial, we have created an Azure Function with a simple Echo-Bot for Telegram. Azure Functions its a cool way to host your bots. You will be chargeable by the simple formula - (Memory size)X(Execution time in ms)X(Executions per month) and also remember that the first 400,000 GB/s of execution and 1,000,000 executions are free. If you need to estimate your pricing costs you can use this pricing calculator.





Top comments (0)