
I recently decided to finish an unfinished project that began working on a few months ago. Hold on! don’t judge me…. we’ve all done it, but this time I’m going to complete it 👀. Anyway, back to my point, I realized the routing was not working properly and could not figure out what the problem was. I must’ve missed the notice about React Router V6.4+ update (it’s at 6.6 now, I believe). No biggie! I went through the process of re-routing my router and let me tell you…. I kind of like it. It is not like I didn’t like the previous version, but something about the new way of initializing the router now just seems more aesthetically pleasing. We all love nice aesthetics.
The main changes in this update were mostly with data fetching in React and to really utilize the features we must adjust how our routes are defined.
If you missed the update memo too, don’t worry I got you. I can show you what I did to update the routing on my current application.
Step 1: Re-heat your coffee, it’s probably cold now.
Step 2: You will need to install React Router if you haven’t already. You can do this by running the command: npm install react-router-dom inside your terminal.
npm install react-router-dom
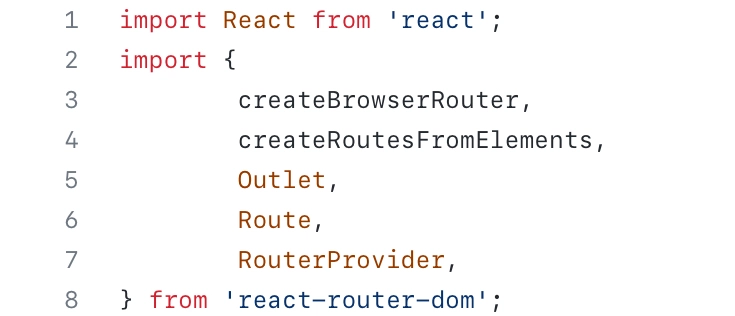
Step 3: Next, you must import a few things to begin using React Router in your App.js file.
Step 4: Now, you can create a variable name router that will hold the createBrowserRouter object, this will allow your URL to update and manage the history stack using the DOM History API. The createBrowserRouter may have already been available prior to this most recent update but was not required. Using another function provided to us by React Router, createRoutesFromElements, you will place each route with its corresponding element inside of here.
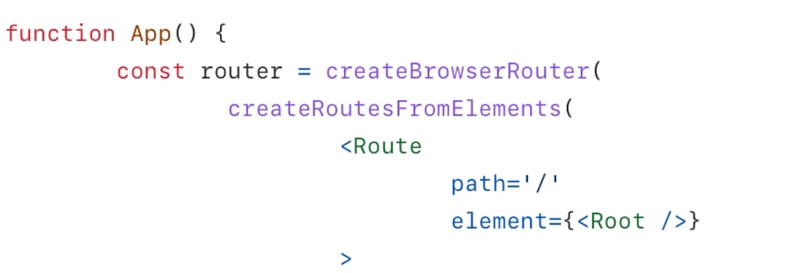
Step 5: Now, if you notice the first path= ’/ ’ has the element: . We have not created this Root element yet, so we’ll take care of that now. The Root element’s purpose is to help structure anything related to the router on your application that isn’t defining routes, like our navigation or a global styling component.
Towards the bottom, underneath the return statement, define the Root component. Inside of the Root component, you will also need to use . It sort of works like a placeholder to show how you are going to display the other pages or routes inside of the Root component.
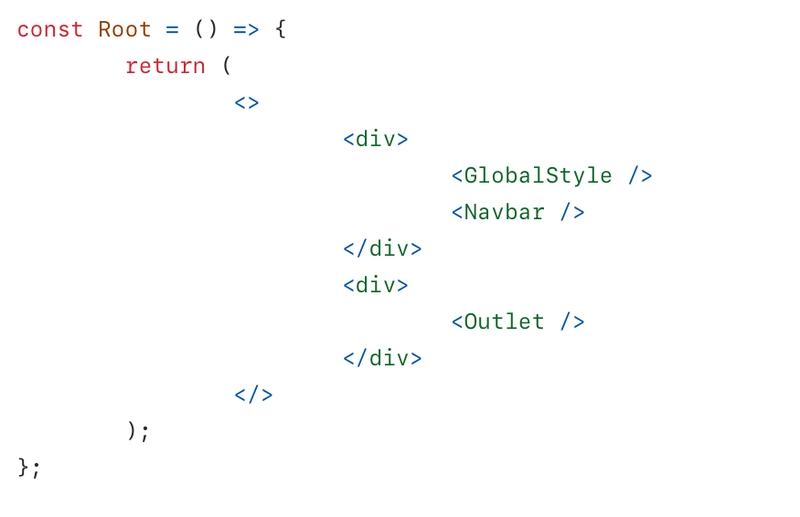
So, essentially every page in your application will have a navigation bar and whichever route is supposed to be displayed.
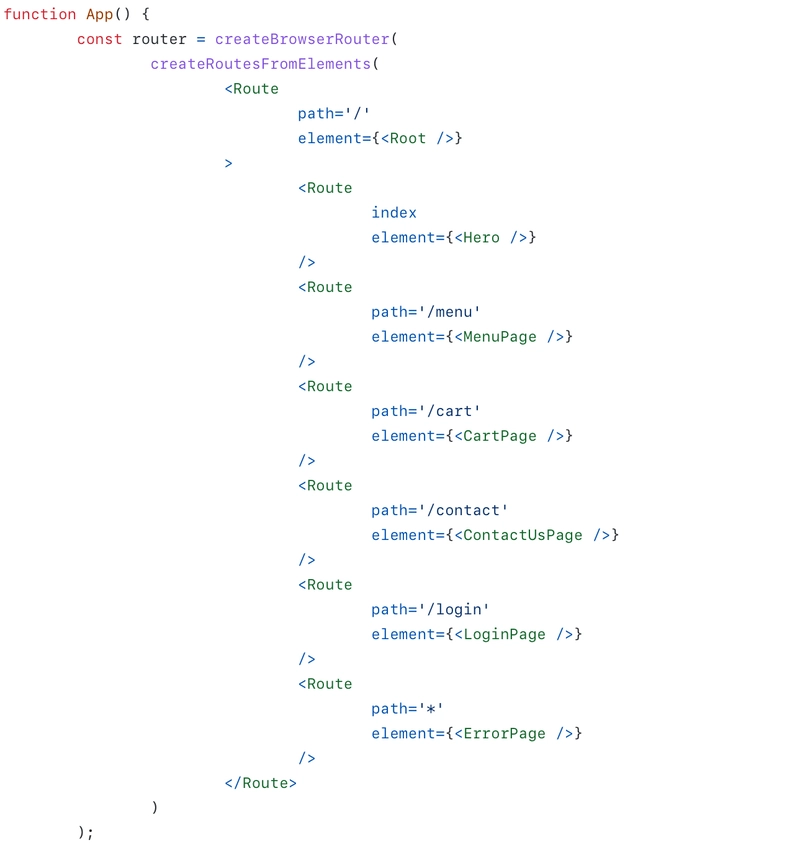
Step 6: Great! Now that our Root component is completed, you can create the other routes inside of it. This part should look familiar if you already have experience with React Router, when you would create a component tree and place the routes inside of the return statement using BrowserRouter, Route, and Routes. The “Home” page path will now be index (meaning the first page).
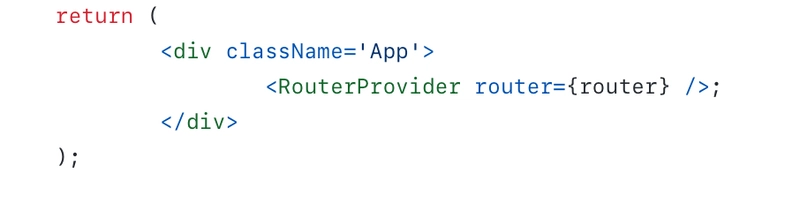
Step 7: Almost done! Now we want our application to be able to display our routes. To do this, we need to use a RouterProvider inside of the return statement. The RouterProvider is a self-closing component. You need a prop called router and you’ll pass in the router that you created.
Now, you should be able to go to your browser, refresh, and see the changes.
I’m sure there is plenty more to learn and if you’re interested you can go to reactrouter.com

Top comments (0)