
By: Peter Solymos
You learned about Shiny, Docker, how to dockerize Shiny apps, and how to manage dependencies. But why dockerize Shiny apps in the first place? Let's see what Shiny and Docker have in common. Shiny "makes it easy to build interactive web apps straight from R", while Docker is the "de facto standard to build and share containerized apps – from desktop, to the cloud". Their intersection is the web and web applications belong to the web.
This post walks you through a very basic setup on your own virtual machine. In the end, you'll have a dockerized setup serving Shiny apps over HTTPS on your own domain, very similar to the one where we used Caddy to securely host apps on Shiny Server. But here you'll see how to achieve the same with Docker.
Server setup
Spin up a virtual machine with Ubuntu Linux 20.04 operating system to be able to follow along with this tutorial. Log in with ssh then set up an A record pointing to the machine's internet protocol (IPv4) address for your custom domain or subdomain. I use test.analythium.net, change that to your domain. Having the domain set up is important for serving the apps over HTTPS: the transport layer security (TLS) certificate requires a custom domain.
Once inside the server, update/upgrade and install Docker & Docker Compose. Enable the Docker service to restart when the system boots. I use the IPv4 address here, but your custom domain should work too:
export HOST="134.122.40.112"
ssh root@$HOST

apt-get -y update
apt-get -y upgrade

apt-get install -y \
    docker \
    docker-compose

systemctl enable docker
Run Docker images
Pull the two docker images that are going to be served:
docker pull registry.gitlab.com/analythium/shinyproxy-hello/hello:latest
docker pull analythium/covidapp-shiny:minimal
Next start the containers on ports 9000 and 9001:
docker run -d \
    --name=hello \
    --restart=always \
    -p 9000:3838 \
    registry.gitlab.com/analythium/shinyproxy-hello/hello:latest

docker run -d \
    --name=covidapp \
    --restart=always \
    -p 9001:3838 \
    analythium/covidapp-shiny:minimal
What is docker run? It is docker create and docker start in one command. According to the Docker docs: "The docker run command first creates a writeable container layer over the specified image, and then starts it using the specified command [the entrypoint]."
In the command, I used the -d flag to run the container in detached mode and gave names to the containers to reference them easily later. I used the restart policy called "always" which will always restart the container regardless of the exit status. The port mapping with the -p flag must be familiar by now. Last, I specified the name of the Docker image that the container is based on.
If you visit http://$HOST:9000 or http://$HOST:9001 you will see the two apps:

Print out the running containers with the docker ps command:
$ docker ps

NAMES      PORTS
covidapp   0.0.0.0:9001->3838/tcp
hello      0.0.0.0:9000->3838/tcp
The containers can be stopped (e.g. docker stop hello) which leaves the changes to the container layer intact, i.e. it can be started again with docker start. docker rm removes the containers. Use docker kill $(docker ps -q) to stop all containers, use docker container prune to remove all stopped containers.
Install Caddy server
Caddy is a powerful open-source web server with automatic HTTPS. Follow the Caddy server docs and install the software:
sudo apt install -y debian-keyring debian-archive-keyring apt-transport-https
curl -1sLf 'https://dl.cloudsmith.io/public/caddy/stable/gpg.key' | sudo apt-key add -
curl -1sLf 'https://dl.cloudsmith.io/public/caddy/stable/debian.deb.txt' | sudo tee /etc/apt/sources.list.d/caddy-stable.list
sudo apt update
sudo apt install caddy
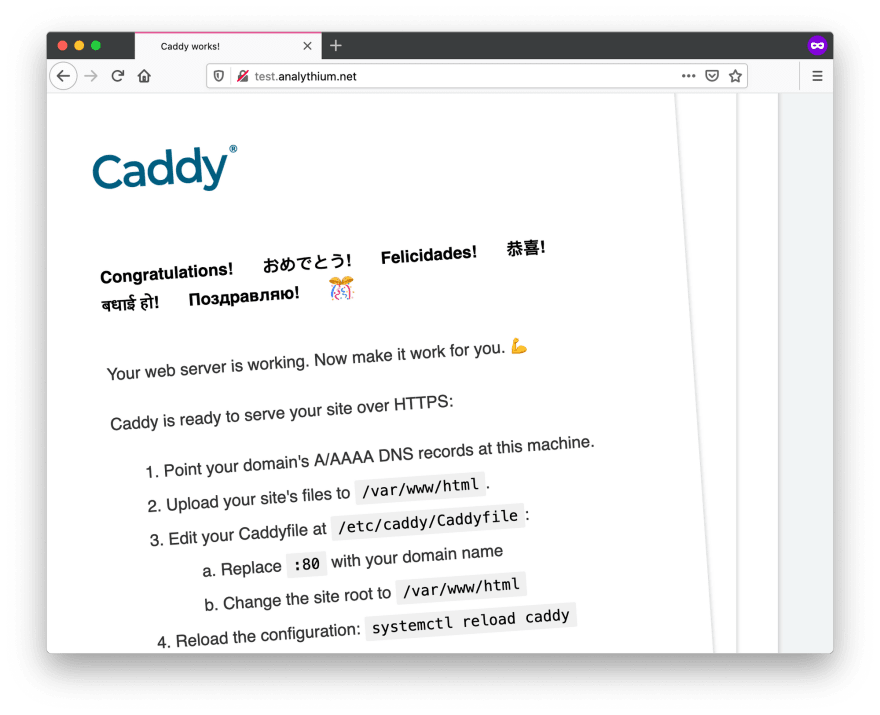
After installation Caddy is already running. You can now visit your domain, test.analythium.net in my case, to see the Caddy welcome page outlining the next steps:
Configure Caddy
Add a directory /var/www/html if it does not exist and write a barebones index.html file:
mkdir -p /var/www/html

cat > /var/www/html/index.html <<EOL
<!DOCTYPE html>
<html>
  <body>
    <h1>Caddy + Docker + Shiny</h1>
    <ul>
      <li><a href="./hello/">Hello app</a></li>
      <li><a href="./covidapp/">COVID-19 app</a></li>
    </ul>
  </body>
</html>
EOL
Edit the /etc/caddy/Caddyfile file to contain the following configuration:
{
    email your.name@example.com
}

test.analythium.net {
    root * /var/www/html
    handle_path /hello/* {
            reverse_proxy 0.0.0.0:9000
    }
    handle_path /covidapp/* {
            reverse_proxy 0.0.0.0:9001
    }
    file_server
}
The email is added to the global block at the top of the file. Your email address is used when creating an ACME (Automated Certificate Management Environment) account with your Certificate Authority (CA) and is highly recommended in case there are problems with your certificates. Caddy is using Let's Encrypt as CA by default.
The next block starting with the custom domain is called the site block and it defines how we want to reverse proxy the requests to the apps listening on ports 9000 and 9001.
Restart Caddy with systemctl reload caddy for the changes to take effect. Check the logs using journalctl -u caddy --no-pager | less.
There is only one thing left to do: set up the firewall using the uncomplicated firewall (ufw) utility to control incoming traffic:
ufw default deny incoming
ufw default allow outgoing
ufw allow ssh
ufw allow http
ufw allow https
ufw --force enable
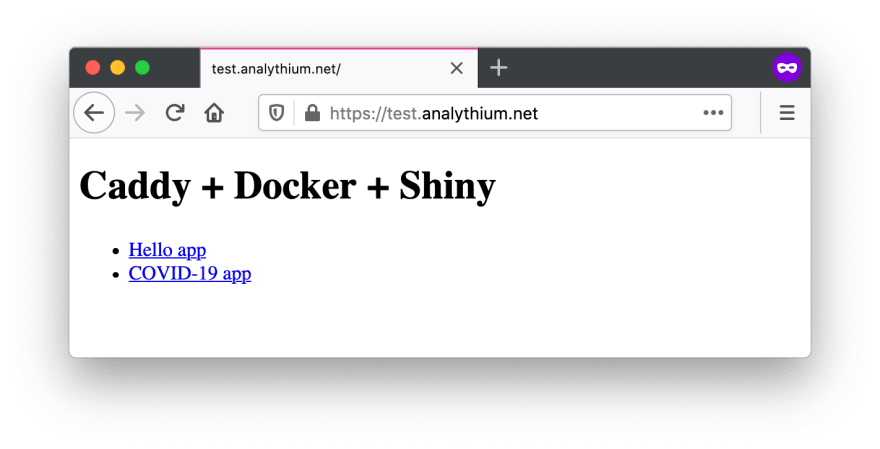
Visit your domain to see the basic HTML page with the two links that will take you to the two apps:
If you are not using your server any longer, don't forget to destroy it at the end. Also, remove the IPv4 address for your custom domain to prevent a possible hostile domain takeover.
Summary
You completed the setup to host your Shiny apps with Docker over HTTPS using your custom domain. This is a good first step but can get out of hand quickly. You have to manage individual containers and edit the Caddy configuration accordingly. Although this is not much different from the way you manage apps with Shiny Server, you might ask: can I do something better? Yes, you can! As you will see in upcoming posts.
Further reading
- Caddy concepts and options
- Docker run documentation

Top comments (0)