The question we all have after building our first website is "how to host" and "where to host" that too for FREE. I've the same question on my mind after creating my first ever website.
Here is a solution of you, In this article I'm going to show you the step-by-step process on how to host a static website in netlify
What and Why Netlify?
Netlify is a cloud computing company that offers hosting and serverless backend services for web applications and static websites.
Netlife is free and easy to use. You can deploy your project in seconds from github repo. It also provides free SSL certificate.
If you haven't signed up yet, Go ahead and Signup for free.
Step 1: Add your website
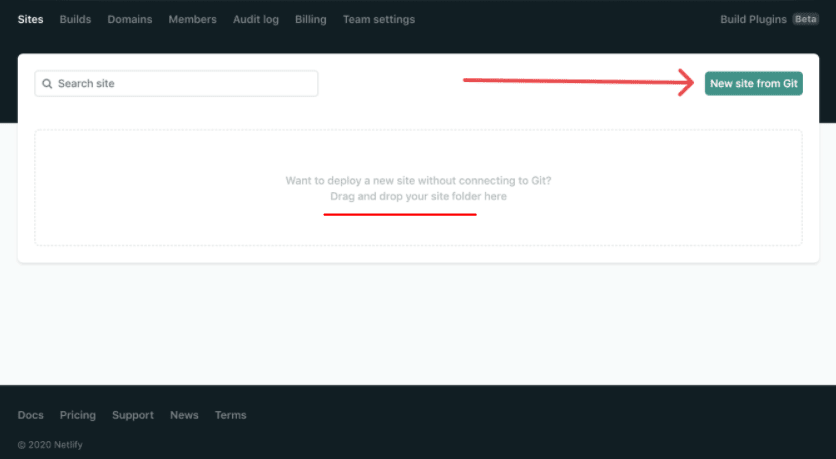
Once you've done with the signup process, You'll be headed to Overview page.There are two ways to add your site in netlify.You can either add from Github, Gitlab or bitbucket (or) You can simply drag and drop your website folder.
First Method (Git)
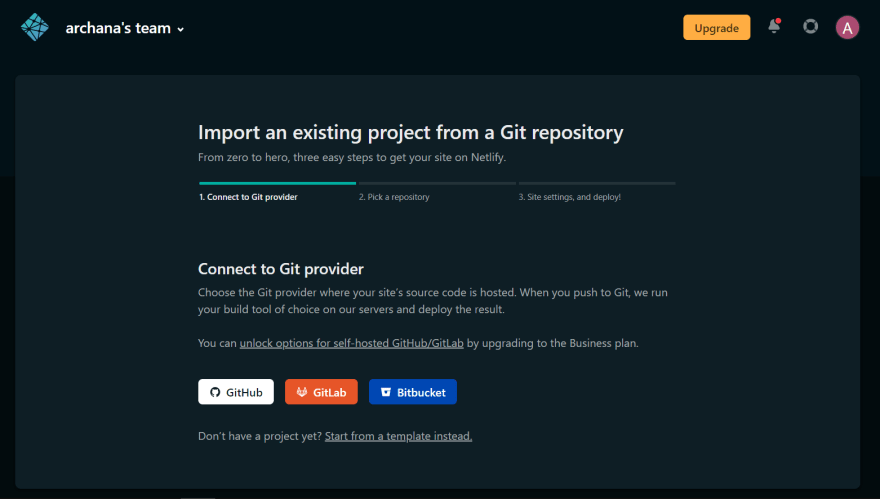
Once you've clicked "New site from Git", This page will appears.
You need to connect to your github account and authorize it.
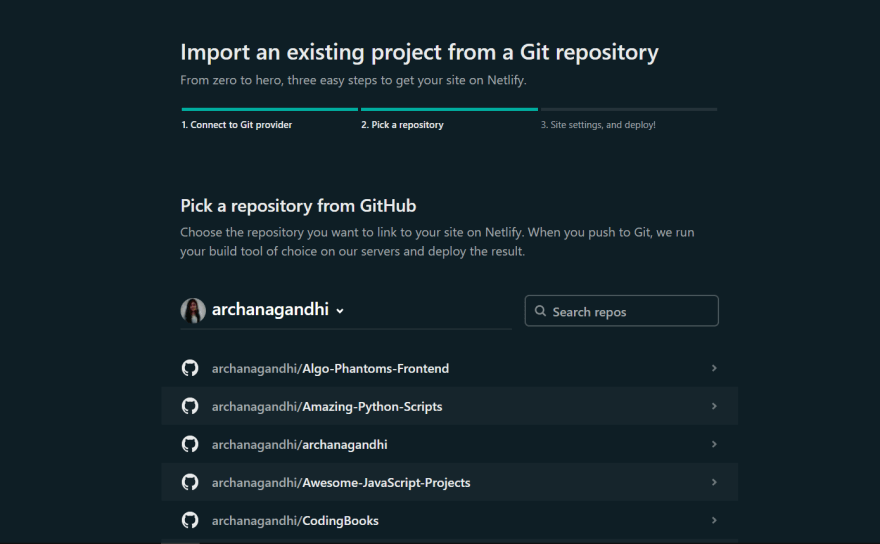
Now just choose the repository you want to deploy and click deploy site.
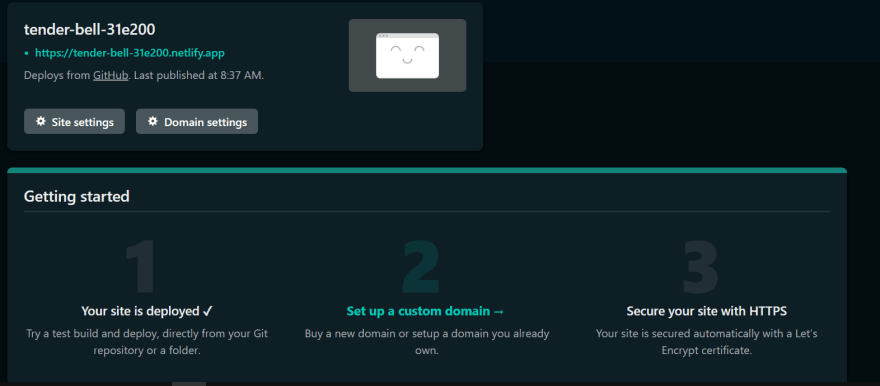
Once the build completes, your site is deployed.
Second Method (drag N drop)
This method is pretty simple, You just need to drag and drop the project folder and you are done with the deployment.
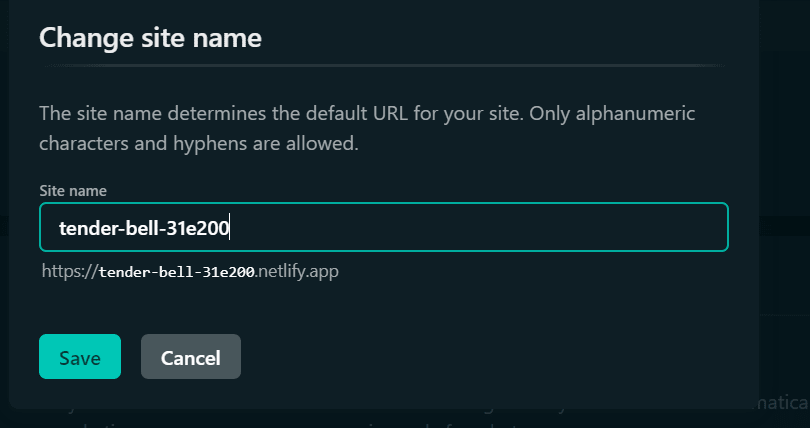
So you can deploy in any of the methods. After deploying, Netlify will automatically create name for your site. You can change it in "site settings -> change site name"
You can also set up custom domain and push new changes to the site.
Anndddd, It's all DONE. You site is now live!!!!
If you like this post, Please like and follow me!




Latest comments (0)