. So this is finally it, my first post trying to create a backend Django web app multi-tenant e-commerce website. What I envision for this website, it is gonna be a virtual market where people could buy and sell project as well as trade good as long as both parties are satisfied with the trade. I think a good name for this project is call "Bazzaarr".... the double z,a and r is to add some jazz.
. For my development environment, I would use my windows 10 PC. I would do my coding with Visual Studio Code. I also have already install Python, pip and pipenv ( for my virtual environment). I will also use GitHub for desktop to simplify the push to Git process.
. To start this project, first open GitHub either through the desktop app or the website... for this project I use the website to create my repo
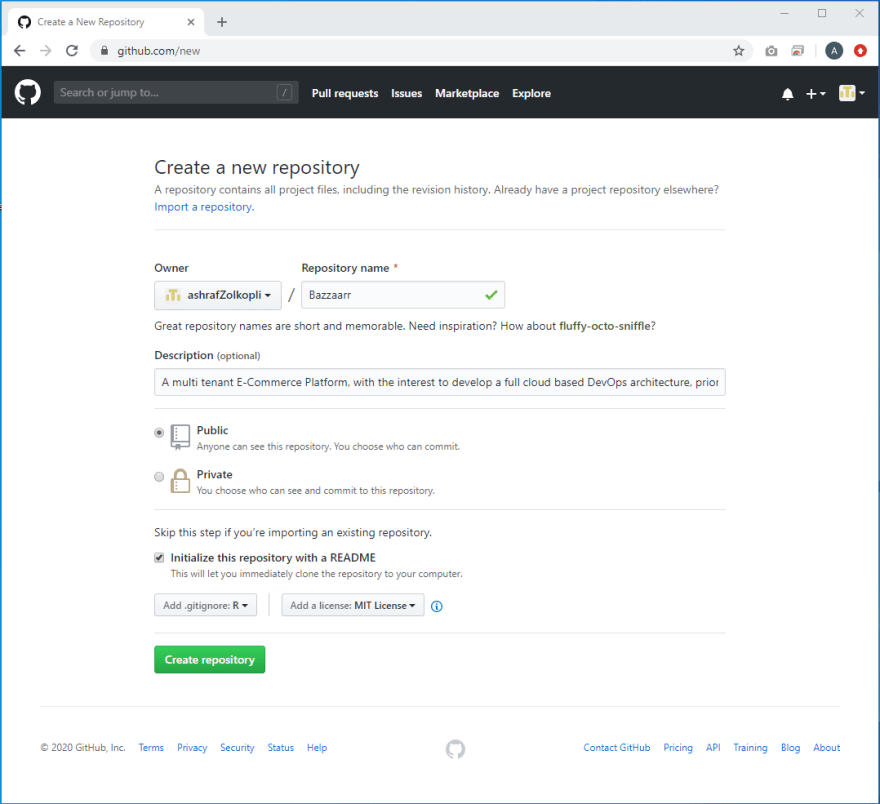
. As you can see in the images, I chose the option to add .gitignore file. this is to makeit easier later on when I start to create .env file for Docker docks. I can just edit the gitignore file to exclude .env file. Dont worry, I will still share the file, but with all my parameter change to reduce the chances someone cloning my repo directly and also reduce the chances of my website being an easy target.
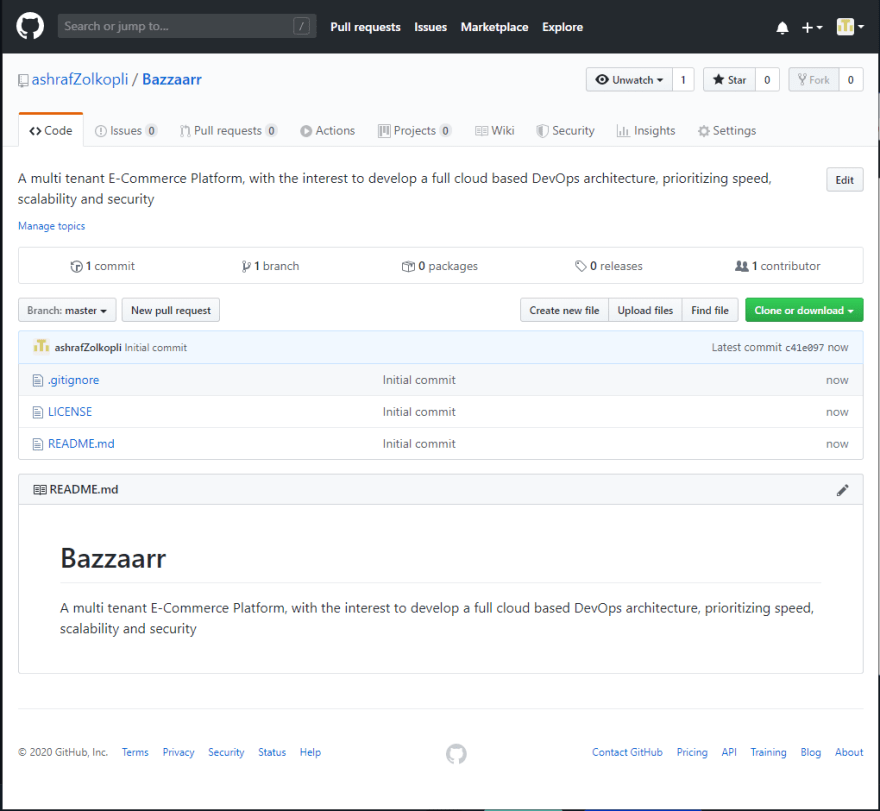
. Now that I have establish a git repo. Its time to clone my repo to my Windows 10 PC.

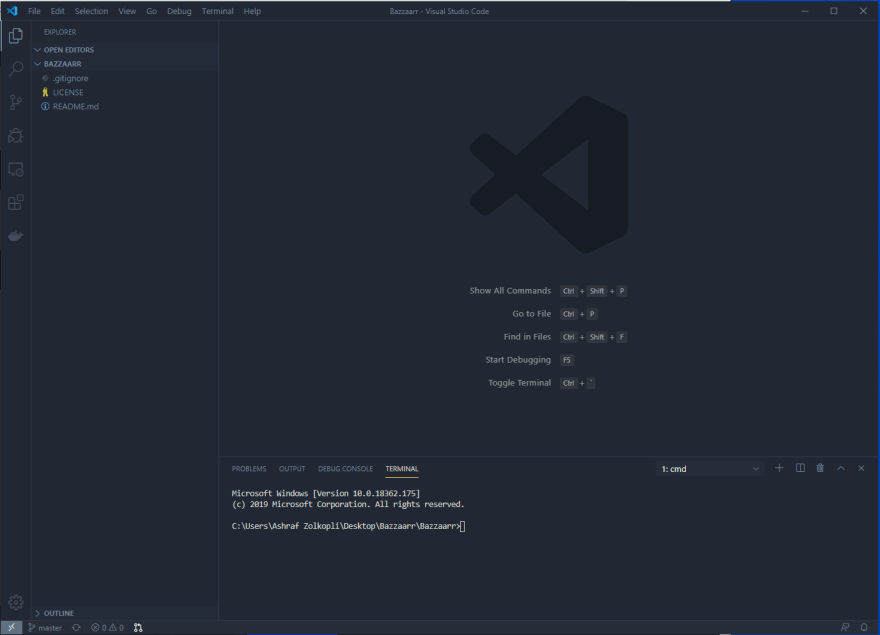
. From here on out we could start working through with our project. First we start a visual studio
From the terminal, We should now start initiate and run pipenv to establish a virtual environment. This way we can install the necessary module without conflicting with other project. To start a pipenv environment, use the following command
pipenv shell
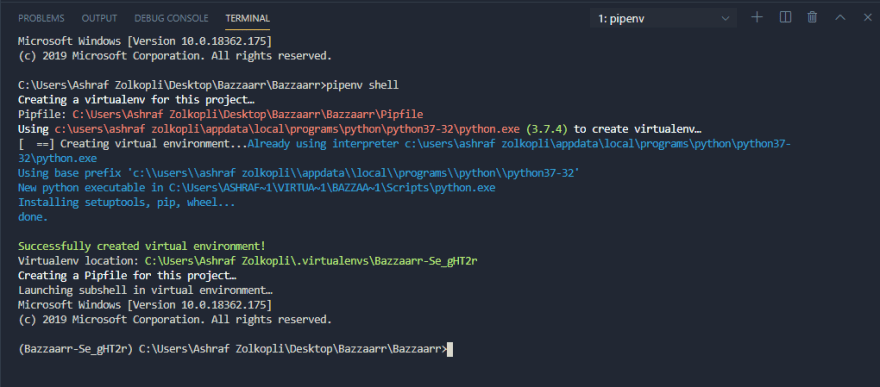
as the image embed above, you can see that the environment is activated when the file name is in () with the virtual serial number. Sorry I don't know how to decode the serial number.
Now we have a clean no nothing environment to start our work. So in this Virtual environment, we cal use the normal pip command to start installing our project module required.
Since from the very beginning I have already talk about this, we would now start to install Code Red CMS. For those who dont know what a cms is, CMS is short for Content Management System. If you ever heard the saying, "Stand on the shoulder of Giants before us" or "do not reinvent the wheel". How does this two relate? well the full premise of Django is to prove a web framework. Wagtail is a module build on top of Django as a CMS Solution and later Code Red CMS stand on top of wagtail to leverage all the benefit that Wagtail and Django had provided.
To install Code Red CMS, it started with a simple command of
pipenv install coderedcms
this might take a while since this command will trigger pip to install all Code Red CMS dependency....

as you can see at the bottom of the link provided above, the way to start a project can be simplify with the code below
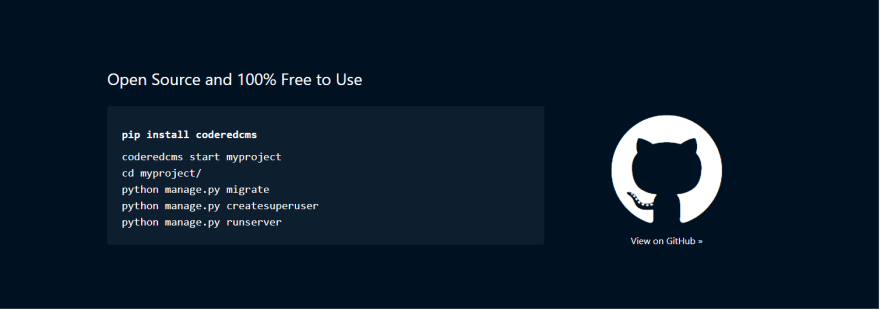
Just incase you all want to just copy and paste all the command
coderedcms start Bazzaarr
cd Bazzaarr
python manage.py migrate
python manage.py createsuperuser
python manage.py runserver
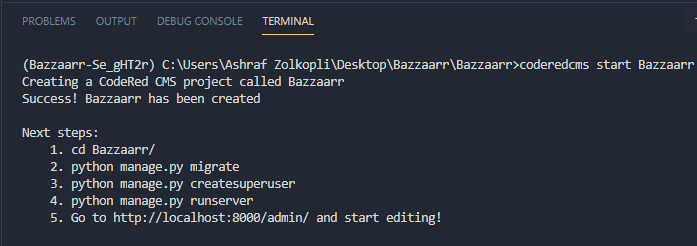
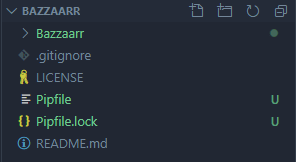
you should also notice that in your file directory, also have a change in file, A file name Bazzaarr have been create. this is consider kickstarter to start our project.
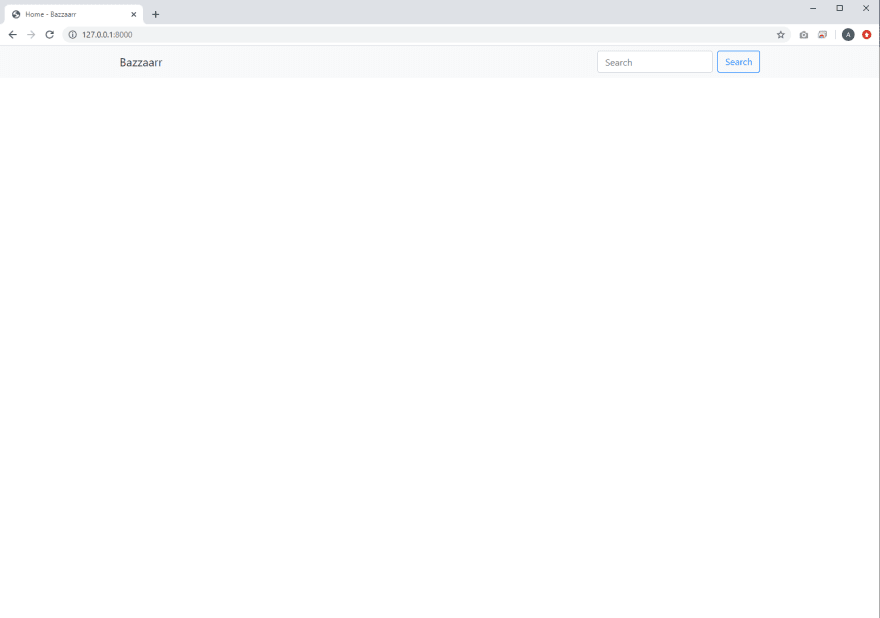
By now we can now start our development server and opening our webpage
who would have known writing such update is time consuming

Top comments (1)
Hey guys. Im still trying to work out how to embedd an image in the post. Can someone show me how ???