“Challenges faced to find the solution of how to configure AWS SSO enabling access for a user in two different AWS accounts using a customized user-portal”. I have checked different ways so that I can be able to access different accounts in the simplest way without having to login to all accounts again and again. I got the solution as users are able to login the accounts once using the switch role for IAM users feature of AWS or using AWS Single Sign-On service. The AWS Single Sign-On service is a short-term access or we can say it gives a user session-based access so the access key and secret key also get changed automatically. As per my requirement, I have chosen AWS Single Sign-On service. In terms of cost, the AWS Single Sign-On service has no charges.
AWS Single Sign-On (AWS SSO) is a cloud service that allows you to grant your users access to AWS resources, such as Amazon EC2 instances, across multiple AWS accounts. By default, AWS SSO now provides a directory that you can use to create users, organize them in groups, and set permissions across those groups. You can also grant the users that you create in AWS SSO permissions to applications such Salesforce, Box, and Office 365. AWS SSO and its directory are available at no additional cost to you. To learn more, read the AWS Single Sign-On.
In this post, you will get to know how to configure AWS SSO enabling access for a user in two different AWS accounts using a customized user-portal. Here I have taken two aws accounts, s3 bucket and rds database. I have enabled SSO with the creation of user, group and permission sets(s3fullaccess and rdsfullaccess). Users are able to access the accounts with s3 and rds services with appropriate permissions using the user portal URL.
Prerequisites
You’ll need an Amazon Simple Storage Service and Amazon Relational Database Service for this post. Getting started with Amazon Simple Storage Service provides instructions on how to create a bucket in a simple storage service. Getting started with Amazon Relational Database Service provides instructions on how to create a relational database. You’ll also need AWS Command Line Interface (AWS CLI) installed and configured on your machine. For this blog, I assume that I have two AWS accounts in an organization(root account and sub-account), S3 bucket with file and RDS database.
Architecture Overview
Diagram
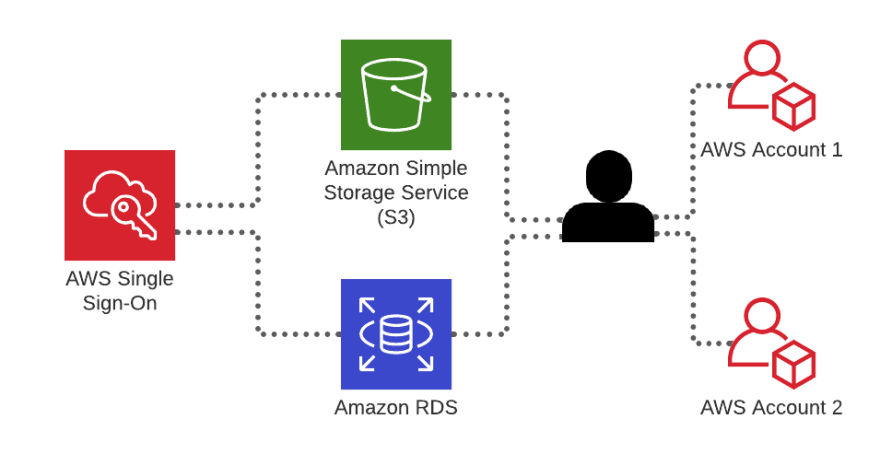
The architectural diagrams show the overall deployment architecture with AWS S3, AWS RDS, AWS Single Sign-On and AWS Accounts.
Solution overview
The blog post consists of the following phases:
- Setup of identity source settings in aws single sign-on console
- Create a User, group and set a permission set on group in aws single sign-on
- Verification of invitation for sso by users and login to aws accounts using MFA authentication with sso service
- Testing of access to the account for users from the management console and command line
I have two AWS accounts in an organization(root account and sub-account), S3 bucket with file and RDS database as below →


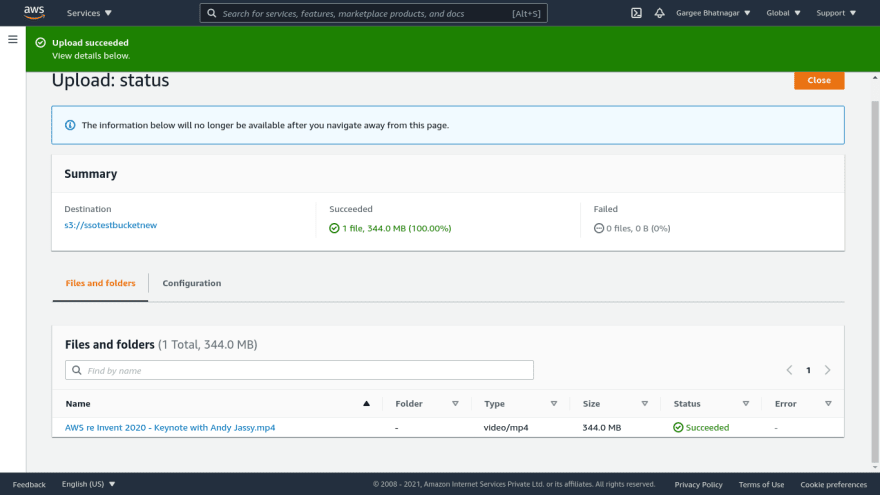

Phase 1: Setup of identity source settings in aws single sign-on console
- In the AWS Single Sign-On console, click on the aws sso option to enable it.
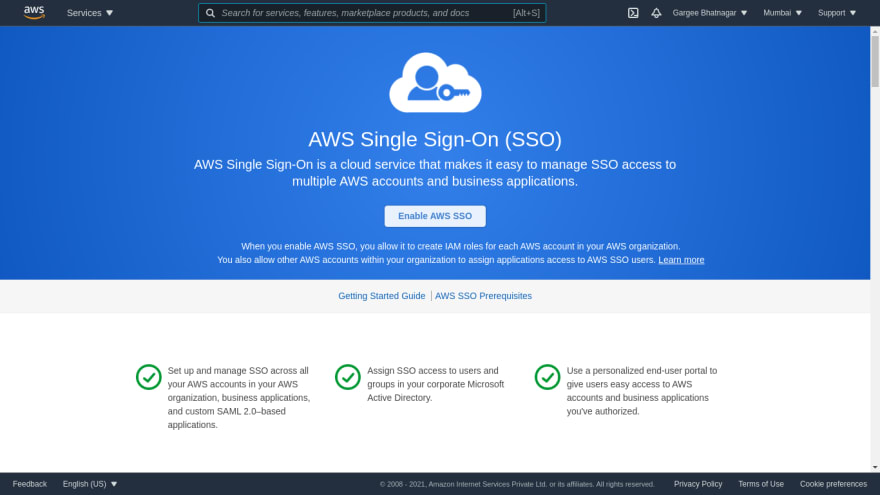
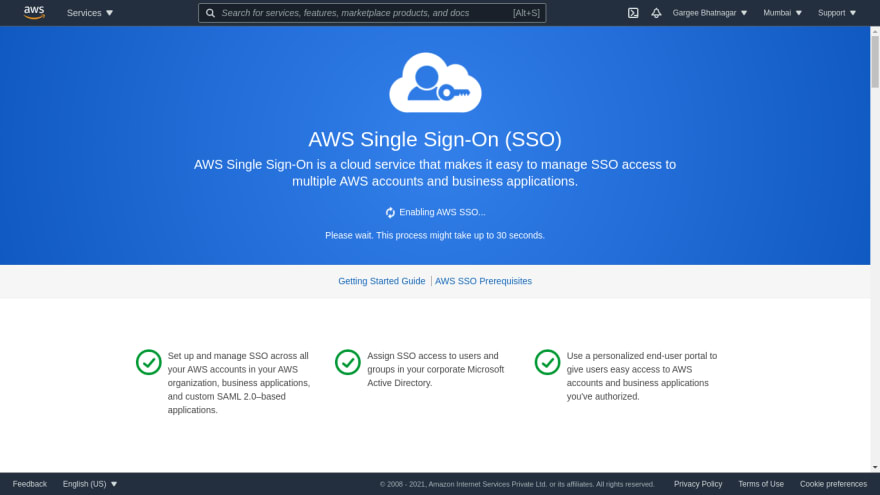
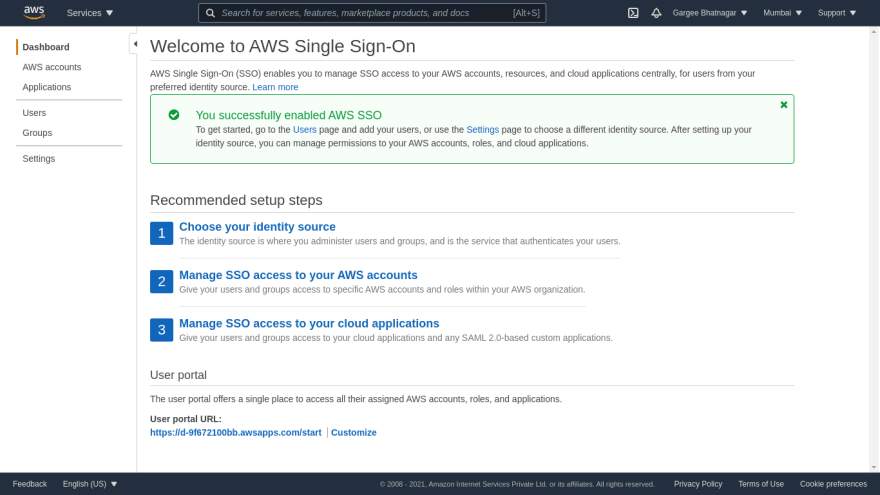
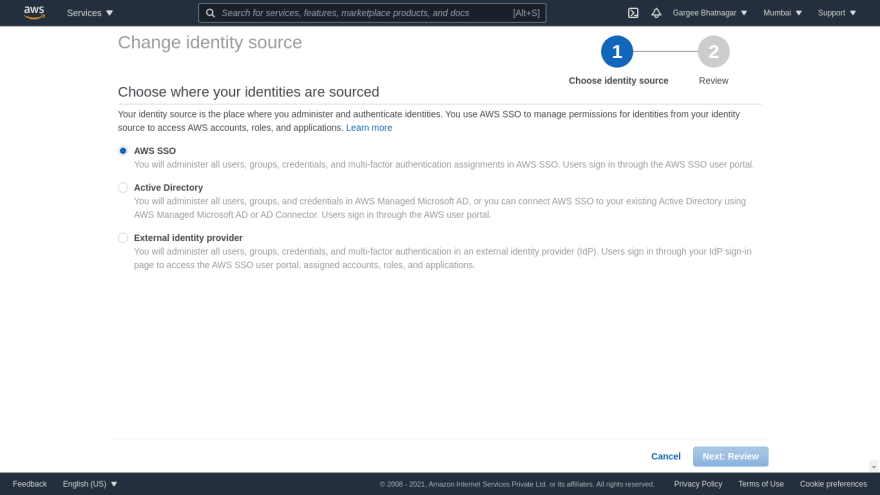
- Choose your identity source option, In identity source select aws sso option. Other options are also available as active directory and external identity provider. Click on the customize button and give the user portal URL of choice.


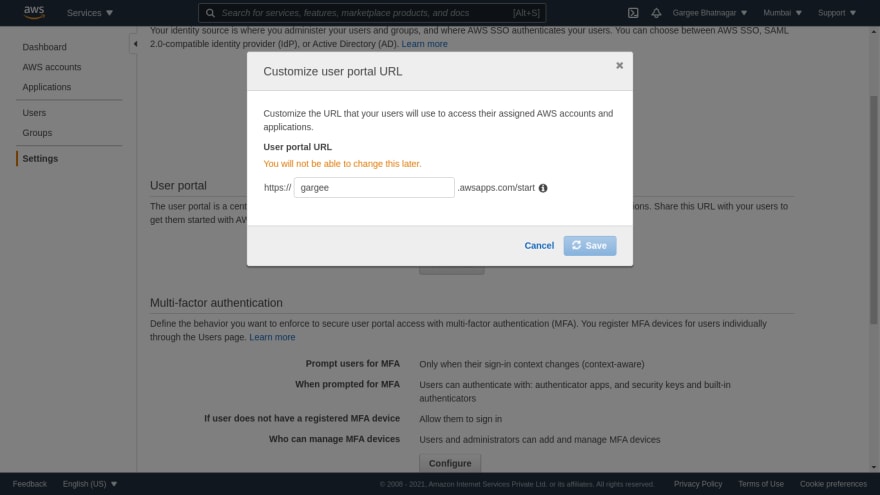
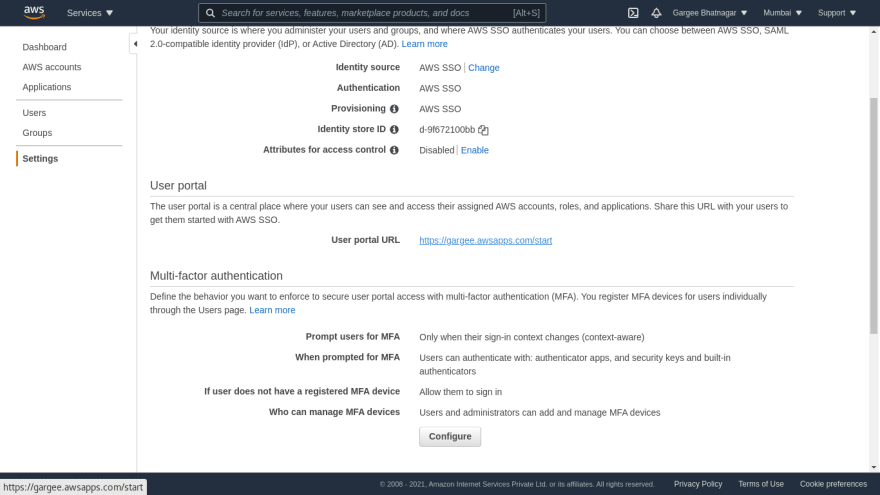
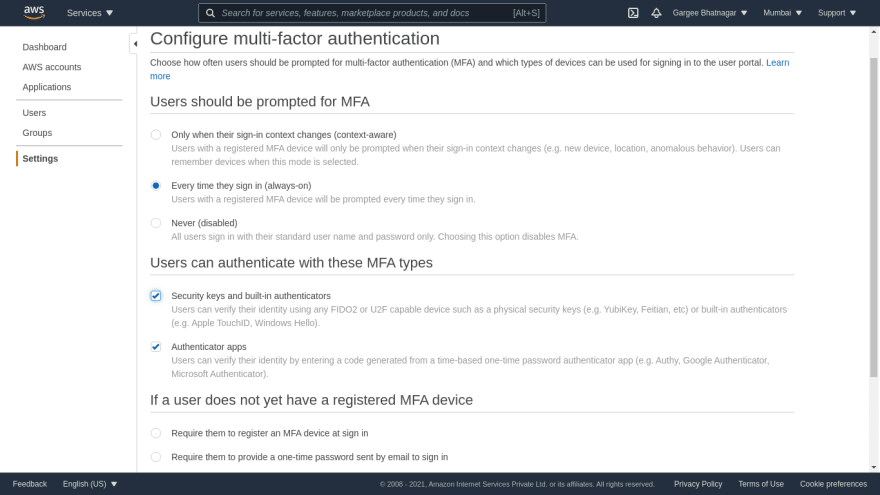
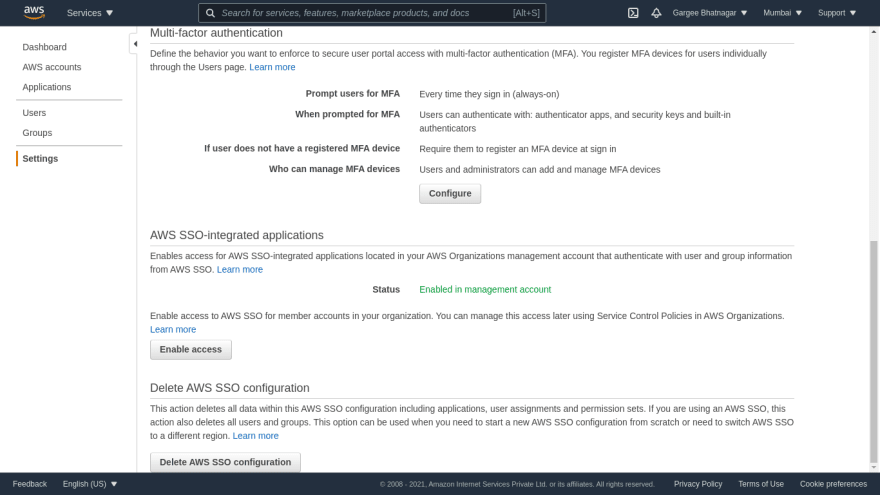
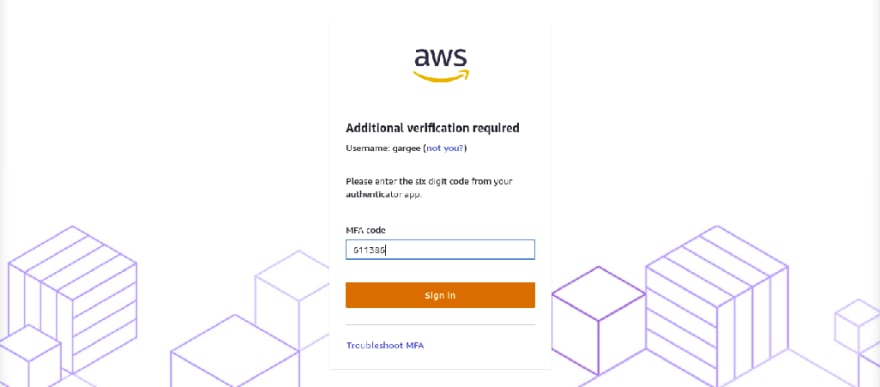
- You can also set the multi-factor authentication settings as per your requirement. I have set every time they sign in with both security authentication MFA types. And set the option as required to sign in with MFA only.

Phase 2: Create a User, group and set a permission set on group in aws single sign-on
- In the dashboard click on users option, I have added a user named as gargee with email verification option and give required details of user such as email id, first name, last name... And leaving other options as default.


- Click on the create group option, specify the group name as S3andRDSaccess and then create it. Then select the group and add a user in it. User "Gargee Bhatnagar" has been successfully added to the group.

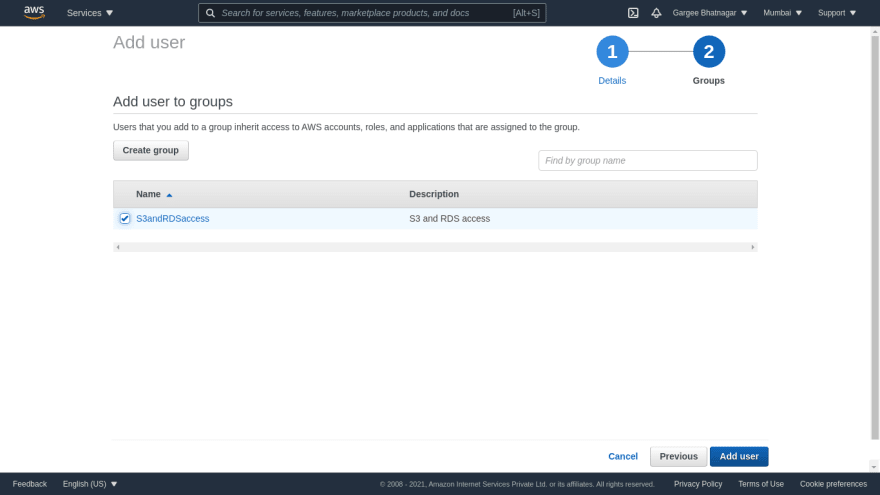

- Goto AWS Accounts option, click on the permission sets tab then create a permission set as custom named as S3andRDSaccess with 12 hours session duration and AWS managed policies(S3fullaccess and RDSfullaccess) and create it.
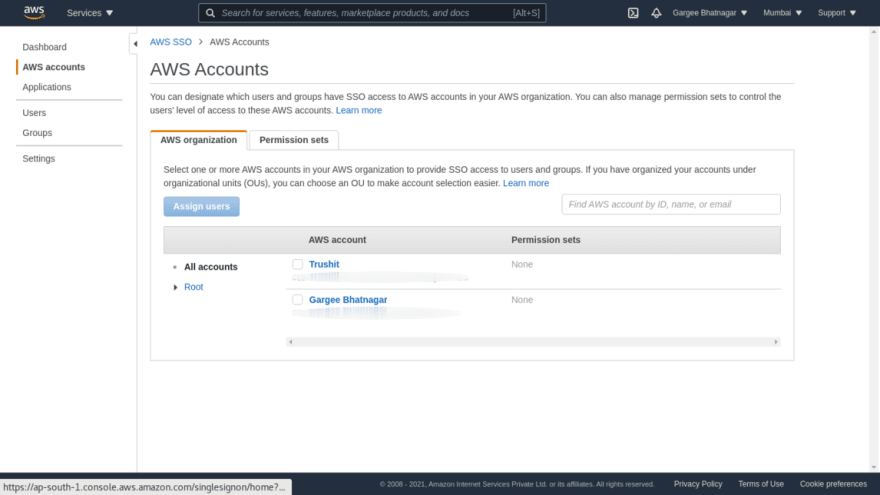


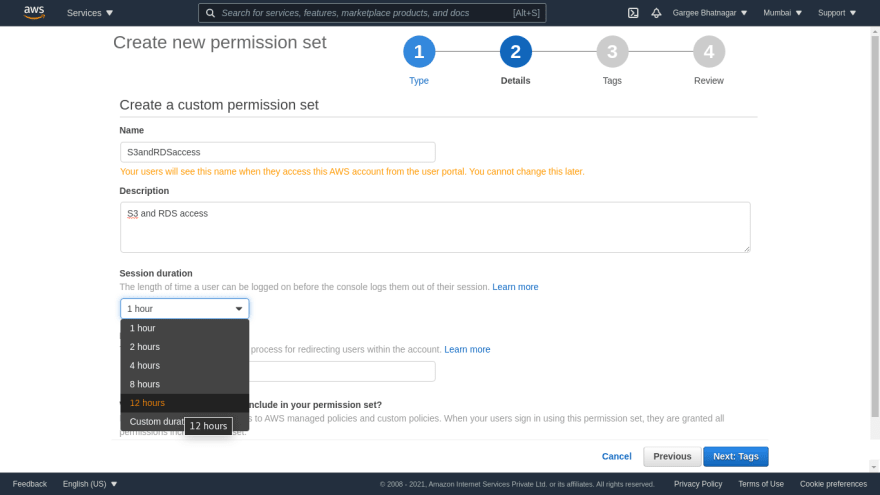

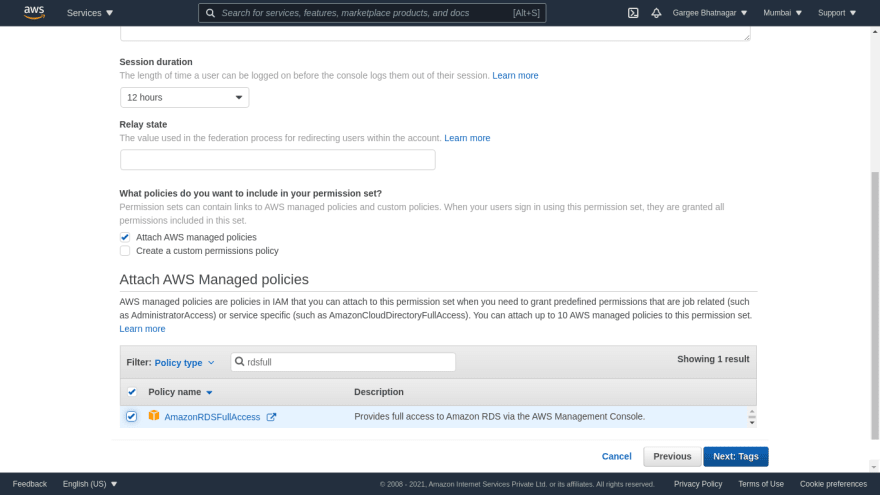
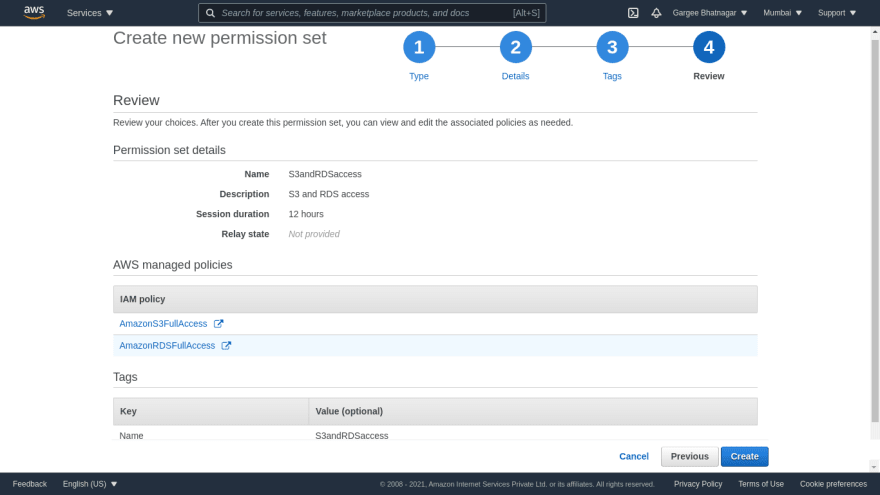
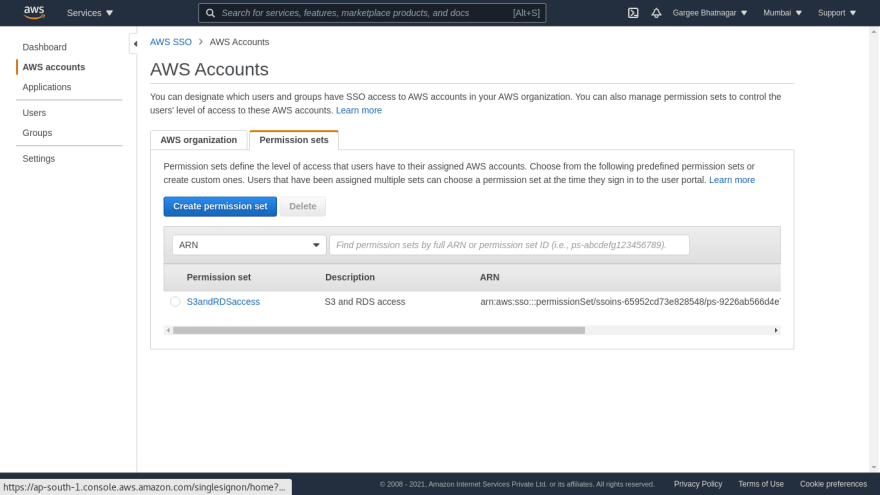
- In the AWS Organization tab, assign users all existing AWS accounts and assign a permission set to the group.

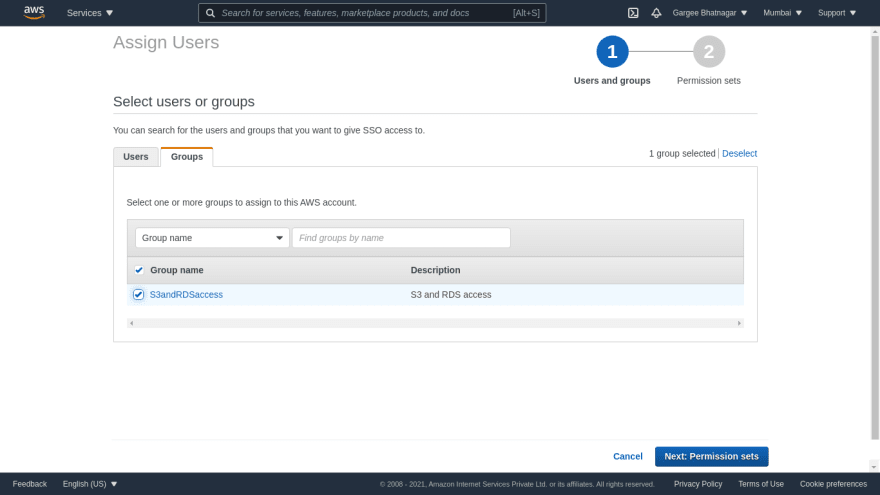

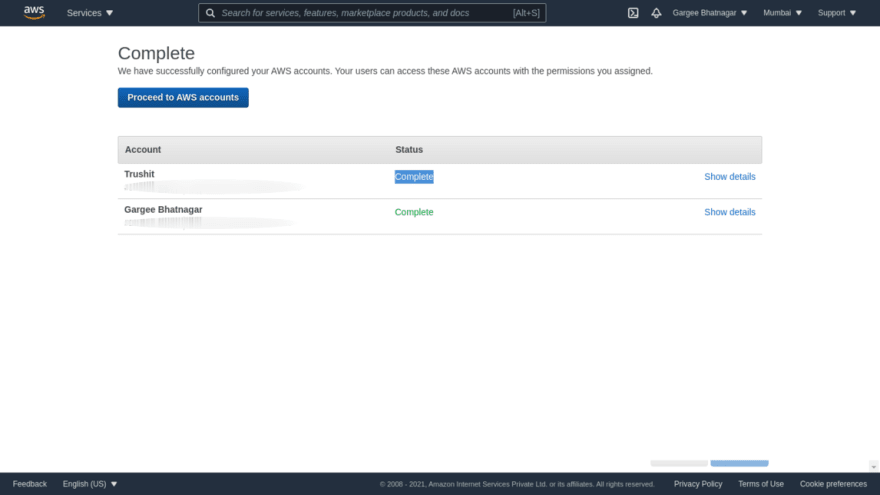
Phase 3: Verification of invitation for sso by users and login to aws accounts using MFA authentication with sso service
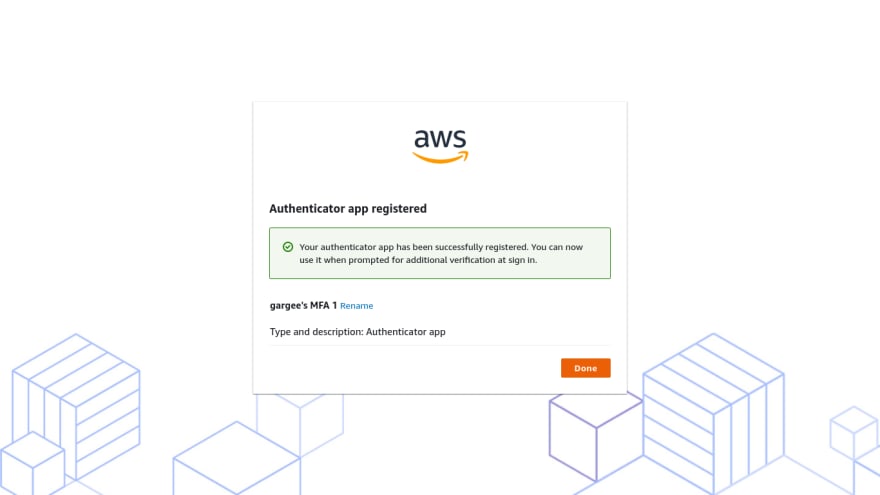
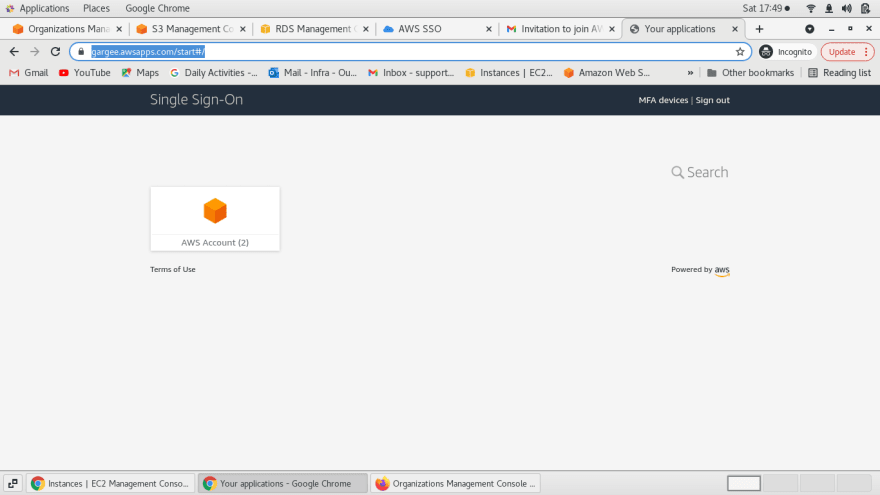
- In the mail, accept the invitation and then access the user portal URL in the browser. Set a new password for user login and configure an MFA on users sso login.
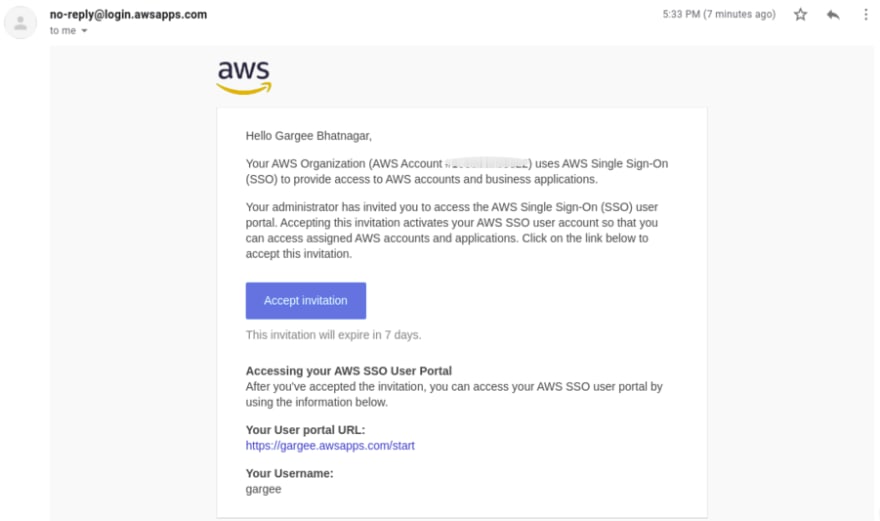
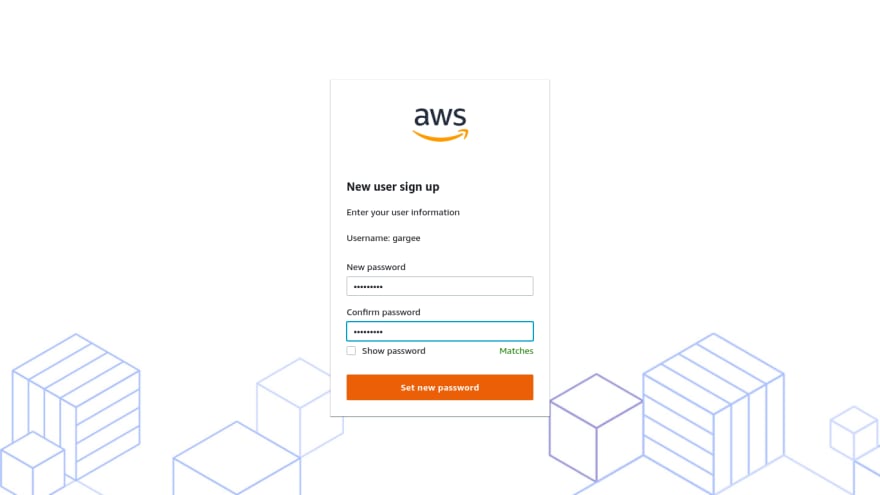
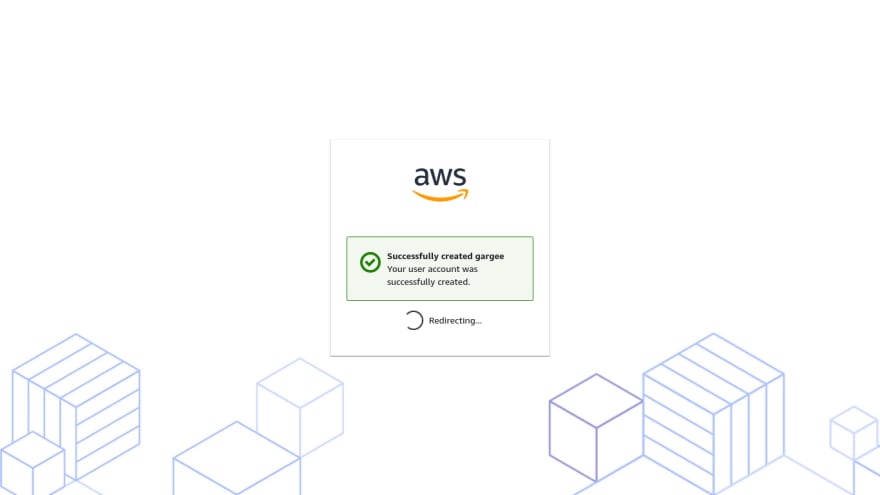
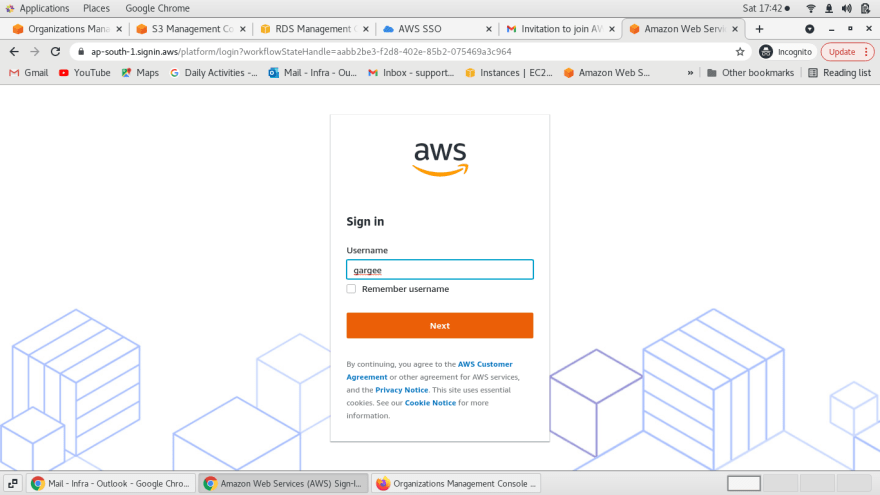
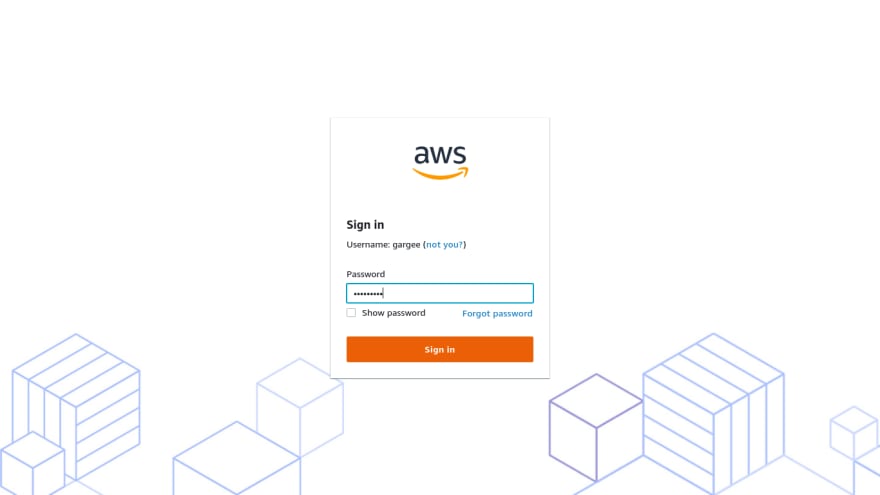

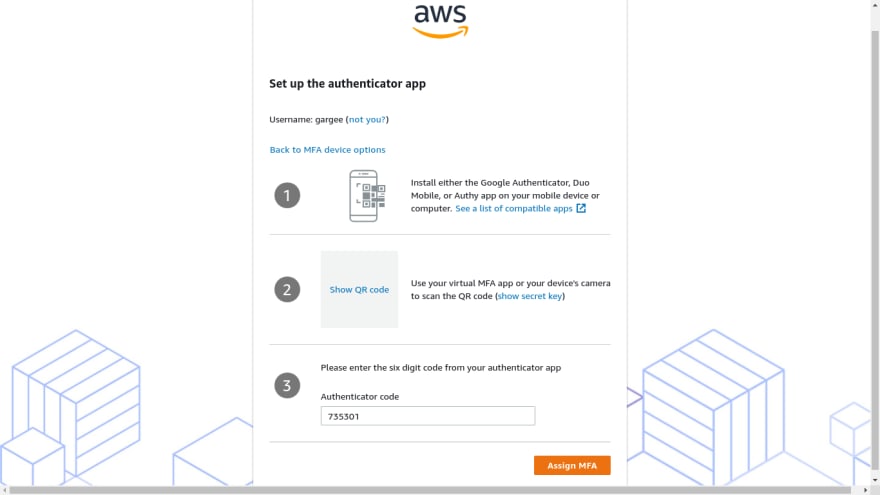
- Click on aws account, you can see the access permissions of users with console and command line links.
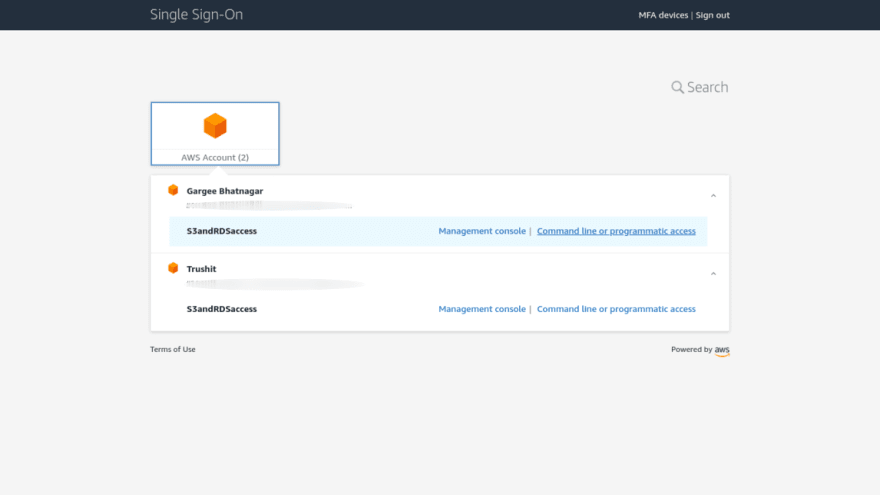
Phase 4: Testing of access to the account for users from the management console and command line
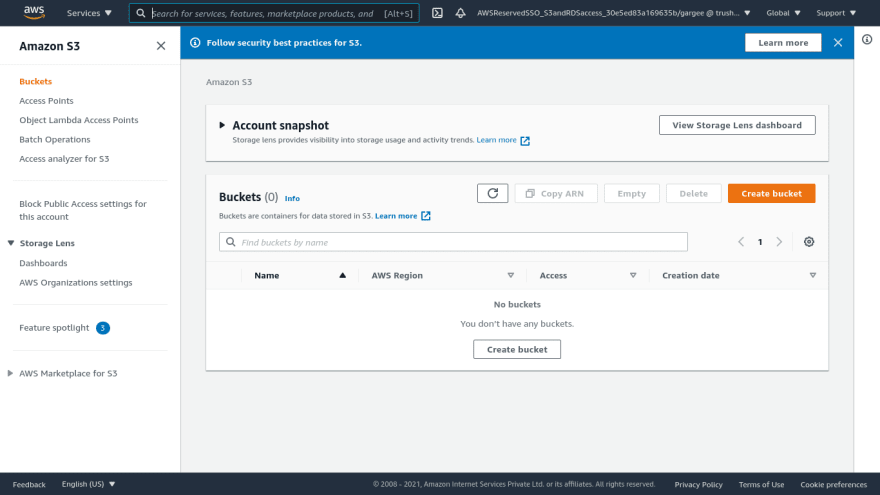
- For gargee user, check access for s3 and rds from the console. EC2 console cannot be accessible for gargee as showing API error.
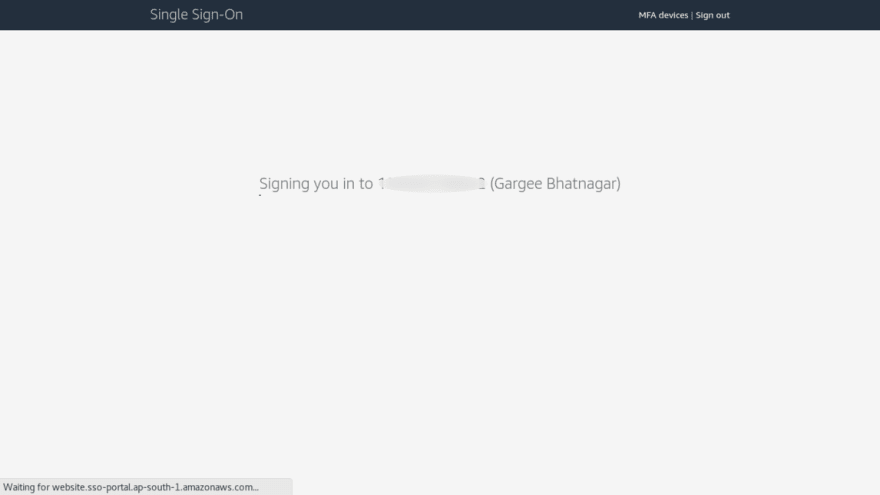
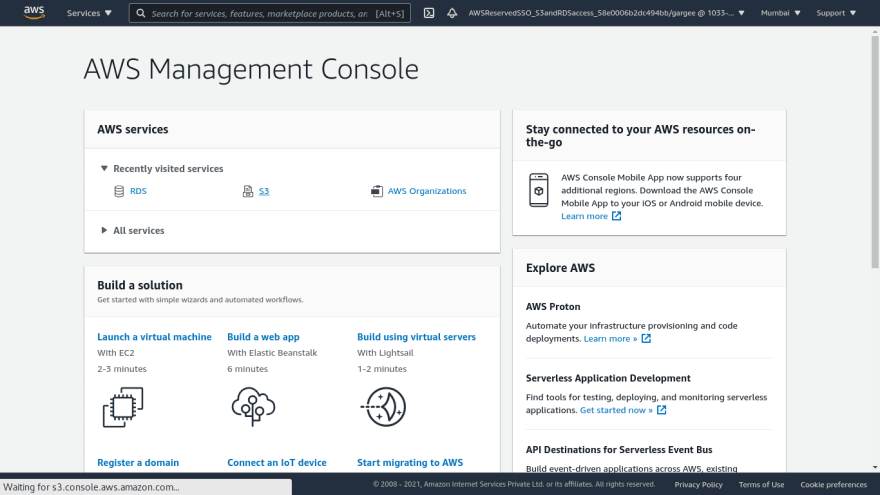
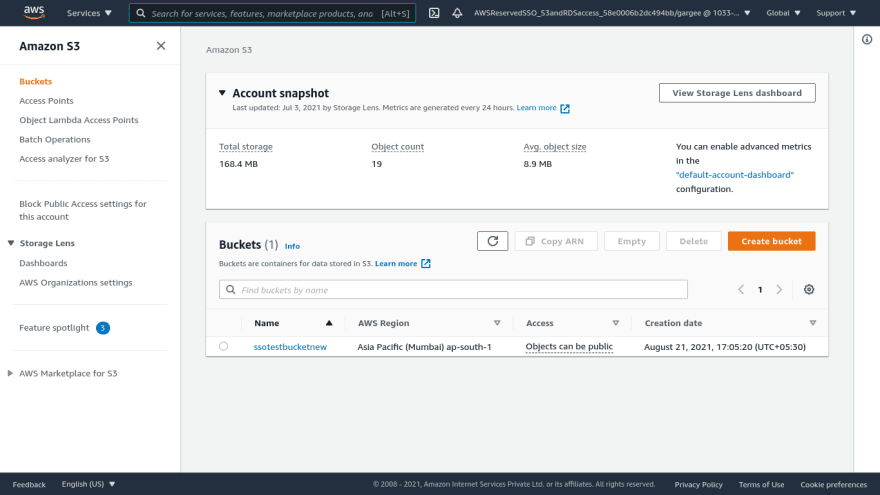
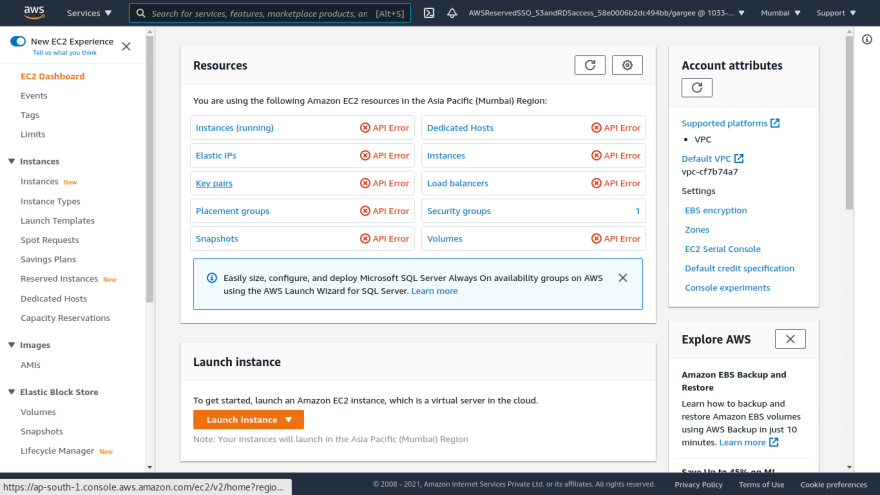
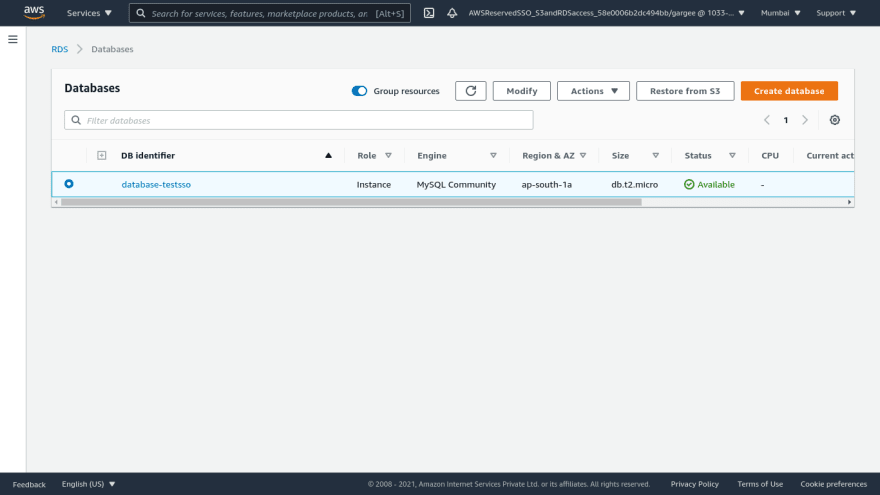
- For other user, check access for s3 and rds from the console as nothing is displayed due to no data being there in s3 and rds.


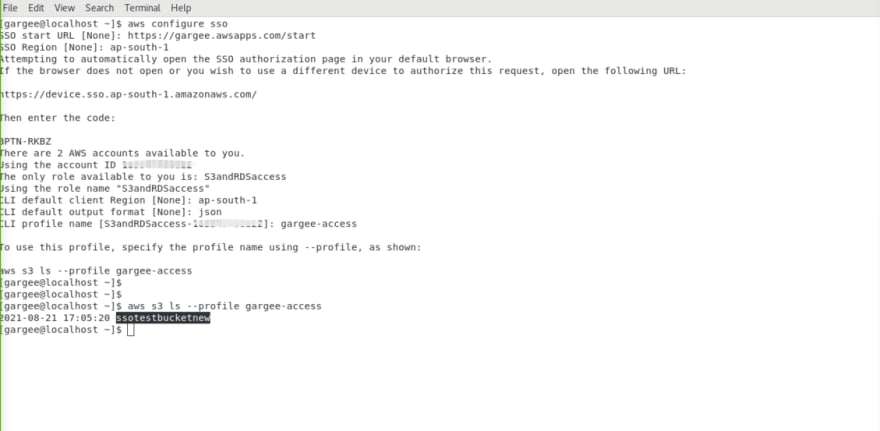
- For gargee user, access from command line. Run command “aws configure sso” in terminal and give required details as URL and region. Give MFA and authenticate the request for command line access.
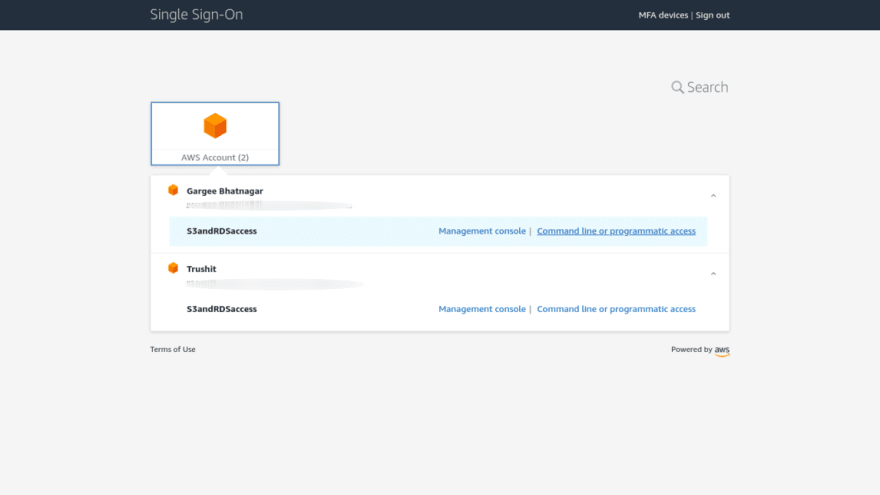
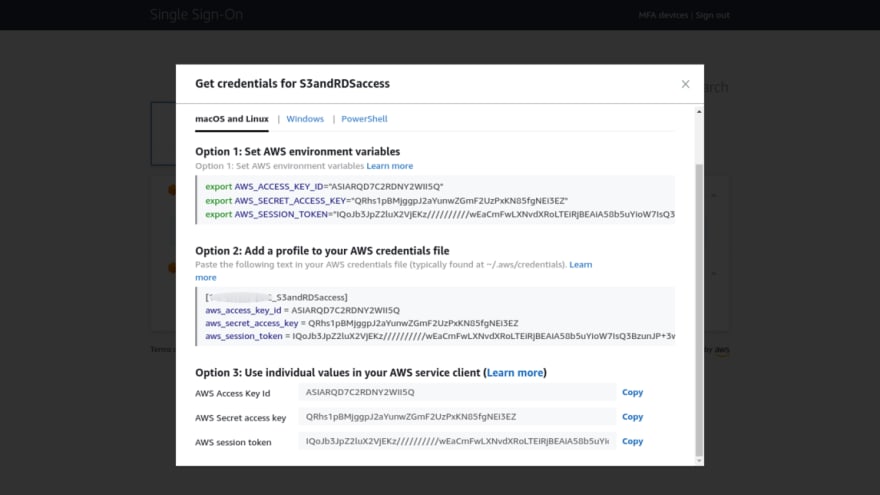



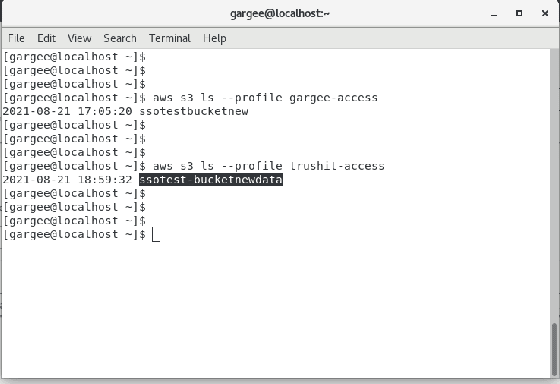
- You can see the two accounts available with roles on it. Input the region, output format and profile name. I have set up a profile for gargee and other users. You can list the s3 bucket using the “aws s3 ls --profile gargee-access” command for users with a profile name. You can even list rds using the “aws rds describe-db-instances --db-instance-identifier database-testsso --profile gargee-access” command.
You can even check configuration and expiration of a session with access and secret key in folders of aws config files.



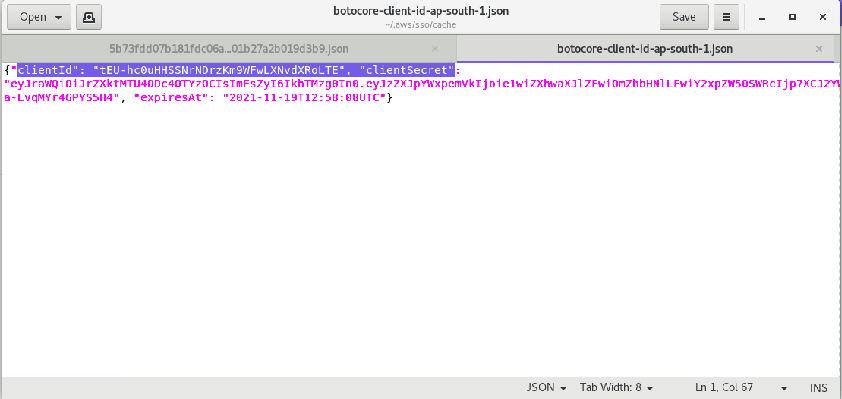

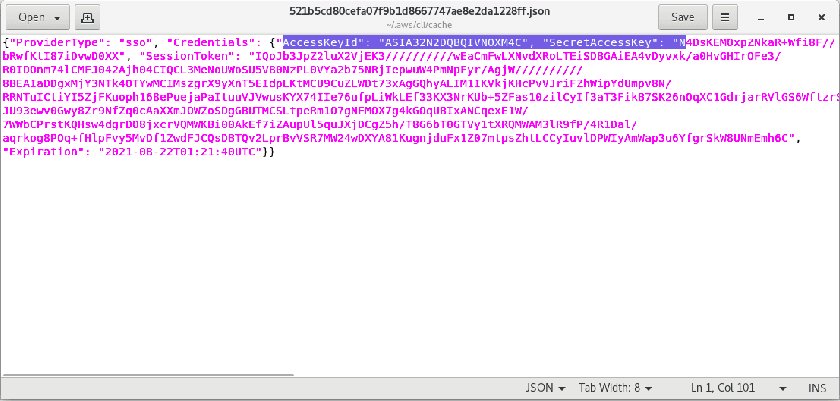



- After deletion of an aws sso, you are not able to access the user portal URL.


Clean-up
Delete the environment as: Single Sign-On Service, RDS, S3.
Pricing
I review the pricing and estimated cost of this example -
For Relational Database Service →
Cost for USD 0.024 per db.t2.micro instance hour (or partial hour) running MySQL = $0.05
For Simple Storage Service →
Cost of APS3-Requests = $0.00
No charges for AWS Single Sign-On Service.
Total Cost = $(0.05+0.00) = $0.05
Summary
In this post, I have shown you how to configure AWS SSO enabling access for a user in two different AWS accounts using a customized user-portal.
For more details on single sign-on service, Checkout Get started with AWS Single Sign-On, open the AWS Single Sign-On Service console. To learn more, read the AWS Single Sign-On documentation.
Thanks for reading!
Connect with me: Linkedin


Oldest comments (2)
Wow, epic article! Nice. 👏
Thank You so much😀