In this tutorial, we will walk through the process of building an Android application that connects to the BleuIO USB dongle via a serial port using Capacitor 6, Angular, and TypeScript. This application allows users to send and receive AT commands to configure and interact with BLE (Bluetooth Low Energy) devices directly from an Android device.
BleuIO is a powerful BLE USB dongle that enables communication with Bluetooth devices, making it an excellent tool for developing, debugging, and testing BLE applications. With this project, we can use an Android device to send AT commands to BleuIO over a serial connection, making it possible to configure and manage BLE operations without requiring a PC. This project works both on BleuIO and BleuIO Pro
Why Use Capacitor, Angular, and TypeScript?
This project is built using Capacitor 6, which provides seamless access to native device functionality, including USB serial communication. Angular is chosen for its structured approach, and TypeScript ensures type safety and better maintainability.
Capacitor plugins allow us to communicate with hardware like USB devices, and in this project, we use the @adeunis/capacitor-serial plugin to establish the serial communication with the BleuIO dongle.
Project Features
- Establish a serial connection with BleuIO on an Android device.
- Send AT commands to BleuIO and read responses.
- Scan for nearby BLE devices directly from the Android app.
- Built with Angular + TypeScript for scalability and maintainability.
- Uses Capacitor 6 for direct hardware interaction.
Prerequisites
Before starting, ensure you have the following installed:
- Node.js 18+
- Angular CLI (
npm install -g @angular/cli) - Capacitor CLI (
npm install -g @capacitor/cli) - Java 17 (required for Capacitor 6)
- Android Studio
- Android device with OTG support
- BleuIO USB Dongle
- OTG cable (to connect BleuIO to your Android device)
Cloning the Repository & Setting Up the Project
1. Clone the Repository
First, clone the GitHub repository and navigate to the project folder:
git clone https://github.com/smart-sensor-devices-ab/bleuio-serial-android-angular-typescript.gitcd bleuio-serial-android-angular-typescript
2. Install Dependencies
Run the following command to install all required dependencies:
npm install
3. Build the Angular Application
Next, build the Angular app for production:
ng build --configuration production
4. Sync with Capacitor for Android
After building the Angular app, we need to sync it with Capacitor so it can run on an Android device:
npx cap sync android
5. Open the Project in Android Studio
To launch the project in Android Studio, run:
npx cap open android
6. Run the Application on an Android Device
- Connect your Android device via USB.
- Enable USB debugging in Developer Options.
- Click Run in Android Studio to install and launch the app.
Using the Application
1. Connect to BleuIO
- Press the Connect to BleuIO button.
- The app will request USB permissions for BleuIO.
- Once granted, a serial connection is established.
2. Send AT Command
- Press the Send ATI Command button.
- This command retrieves device information from BleuIO.
- The response will be displayed on the screen.
3. Scan for BLE Devices
- Press the Scan BLE Devices button.
- This will send the AT+CENTRAL command, followed by AT+GAPSCAN=3.
- The list of nearby BLE devices will be displayed.
Understanding the Code
1. Serial Service (Handling Communication with BleuIO)
The SerialService handles serial communication with BleuIO. It requests USB permissions, opens the connection, sends AT commands, and processes responses.
Key Methods
-
connectToSerial(): Requests OTG permission, establishes a serial connection, and listens for incoming data. -
sendATCommand(): Sends AT commands and processes the response. -
scanBLEDevices(): Sends the BLE scanning commands and displays detected devices.
2. App Component (User Interface Logic)
The AppComponent connects the UI with the SerialService to handle user interactions.
Key Features
- Calls
connectToSerial()when the user clicks Connect to BleuIO. - Calls
sendATCommand()when the user clicks Send ATI Command. - Calls
scanBLEDevices()when the user clicks Scan BLE Devices.
3. UI (HTML & Styling)
The application provides three buttons:
<button (click)="connect()">Connect to BleuIO</button><button (click)="sendATCommand()">Send ATI Command</button><button (click)="scanBLEDevices()">Scan BLE Devices</button>
A response area is updated dynamically:
<pre>{{ responseText }}</pre>
Troubleshooting & Common Issues
1. USB Permission Denied
- Ensure that you grant permissions when prompted.
- If the issue persists, check OTG support on your Android device.
2. App Not Detecting BleuIO
- Verify that the OTG cable is properly connected.
- Ensure that the BleuIO dongle is recognized by your Android device.
3. npx cap sync android Fails
- Make sure that Android Studio and Java 17 are installed.
- Run
npm installagain to ensure all dependencies are installed.
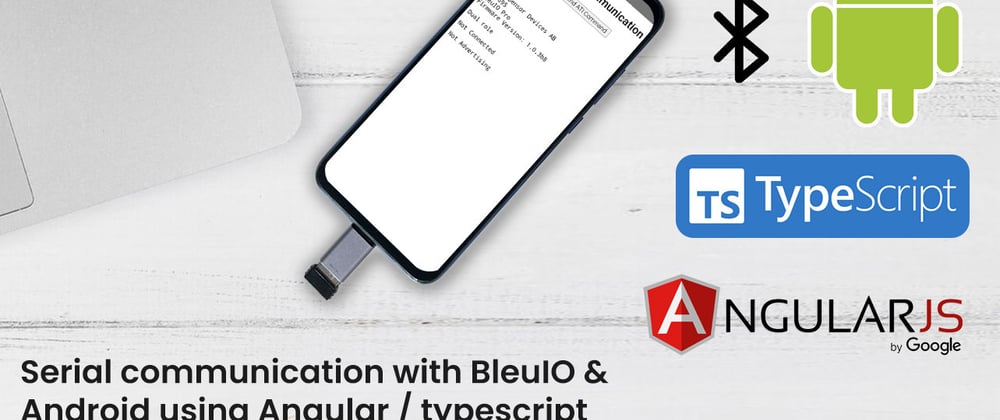
Output

Source code
Source code is available on this GitHub Repository.
This project demonstrates how to connect and communicate with BleuIO using Capacitor 6, Angular, and TypeScript on an Android device. By leveraging the @adeunis/capacitor-serial plugin, we can send AT commands, retrieve device information, and even scan for BLE devices directly from an Android app.
With this foundation, developers can expand the application by adding custom AT commands, integrating data logging, or even building more advanced BLE applications. The full source code is available on GitHub for further customization and enhancements.

Top comments (0)