
Intro: What Gear Do I Actually Need for Electronics?
Jumping into electronics? Awesome! But the list of potential parts and tools can seem endless. If you're wondering, "What's the minimum hardware I need to buy to start building stuff?", you're in the right place.
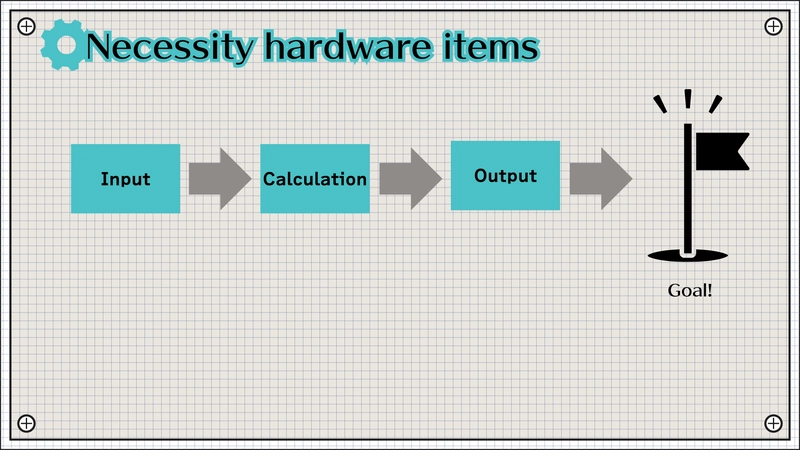
We can simplify this by thinking about the typical flow: Input -> Calculation -> Output. Let's break down the necessary hardware based on this flow and the essential support items.
Chapter 1: The Core Project Trio
Most beginner projects involve these three functional blocks:
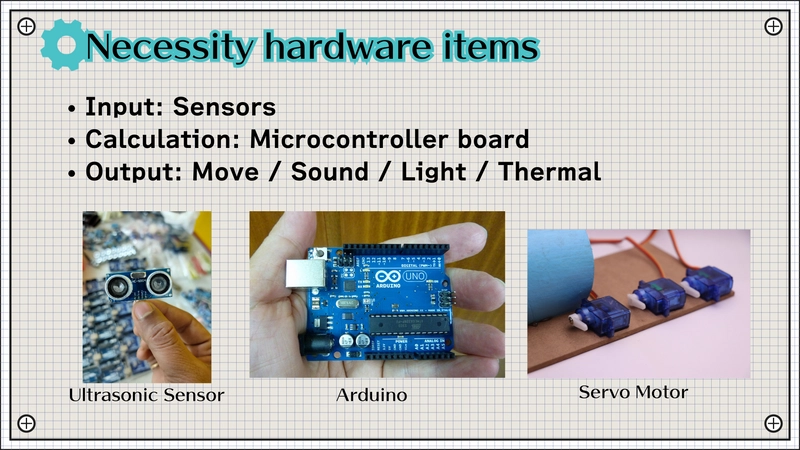
1. Input Devices (Sensors)
These components sense the real world.
- Purpose: Get data (light level, temperature, distance, button press).
- Examples: Photoresistors, DHT11/DHT22 temp/humidity sensors, HC-SR04 ultrasonic sensors, push buttons.
- Why: Lets your circuit react to its environment.
2. Calculation (Microcontroller Boards - The Brain)
This processes the input and decides what to do.
- Purpose: Run your code, make decisions.
- Examples:
Arduino Uno/Nano,Raspberry Pi Pico,ESP32/ESP8266. - Why: Provides the intelligence for your project.
3. Output Devices (Actuators & Indicators)
These act on the world based on the microcontroller's commands.
- Purpose: Provide feedback or perform an action (light, sound, motion).
- Examples: LEDs, small DC motors, servos, buzzers, LCD displays.
- Why: To show the result of your project's logic.
Chapter 2: The Foundation - Power & Basic Components
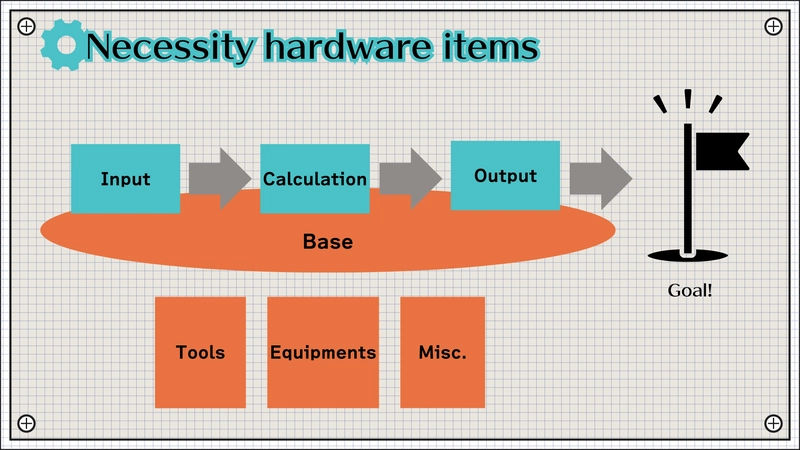
You can't build a circuit without these basics:
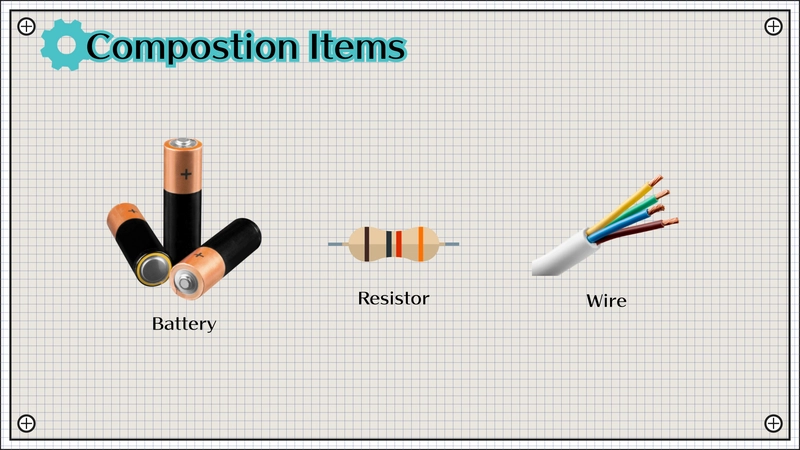
- Power Source: Need to make the electrons flow!
- Options: Battery pack (e.g., 4xAA), 9V battery clip, USB power bank, dedicated 5V/3.3V power supply module for breadboards.
- Jumper Wires: Essential for connecting components without soldering.
- Types: Male-to-Male, Male-to-Female, Female-to-Female. Get an assortment.
- Resistors: Critical for controlling current and voltage.
- Why: Protect LEDs, act as voltage dividers, pull-up/pull-down resistors. Start with a kit of common values (e.g., 220Ω, 1kΩ, 10kΩ).
Chapter 3: Essential Prototyping Tools
These tools make building and testing much easier:
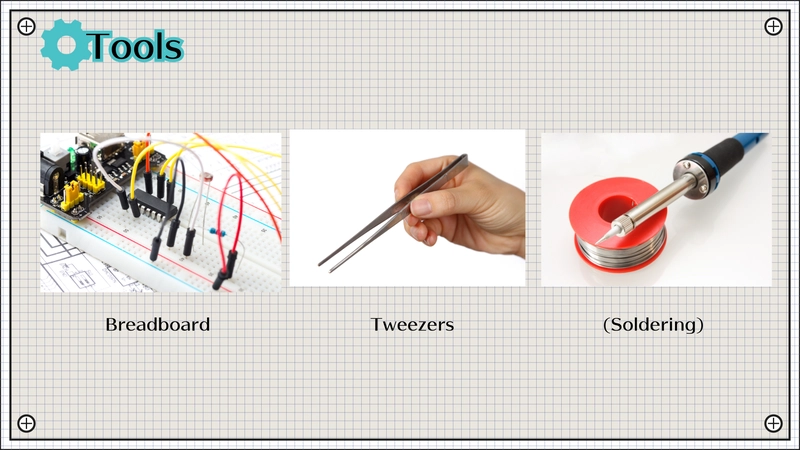
- Breadboard: Non-negotiable for beginners. A solderless way to quickly build and modify circuits. Components plug right in. Get at least one standard-size (e.g., 830 point) board.
Tweezers: Handling tiny resistors, capacitor legs, and wires is much easier with tweezers. You don't need expensive ones.
Soldering Iron (Not Yet!): While essential for permanent circuits, stick to the breadboard first. Master the basics without the heat and fumes. You'll know when you're ready to make things permanent.
Chapter 4: Debugging Gear - Finding Problems
Things won't always work the first time. This tool is key:
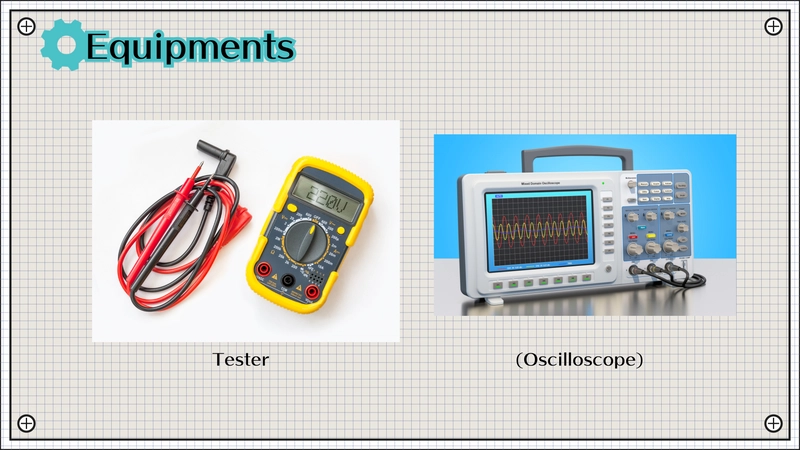
- Multimeter: Your primary troubleshooting tool.
- Measures: Voltage (DC/AC), Current (DC/AC), Resistance, Continuity (checking connections - often has a beep!).
- Why Essential: Helps answer questions like "Is this component getting power?", "Is this wire broken?", "Is this the right resistor value?". Get a basic digital multimeter (DMM).
- Oscilloscope (Advanced): Visualizes electrical signals over time. Powerful, but overkill for most beginners. More expensive and complex. Start with the multimeter.
Chapter 5: Programming Your Microcontroller
You need a way to write and upload your code:
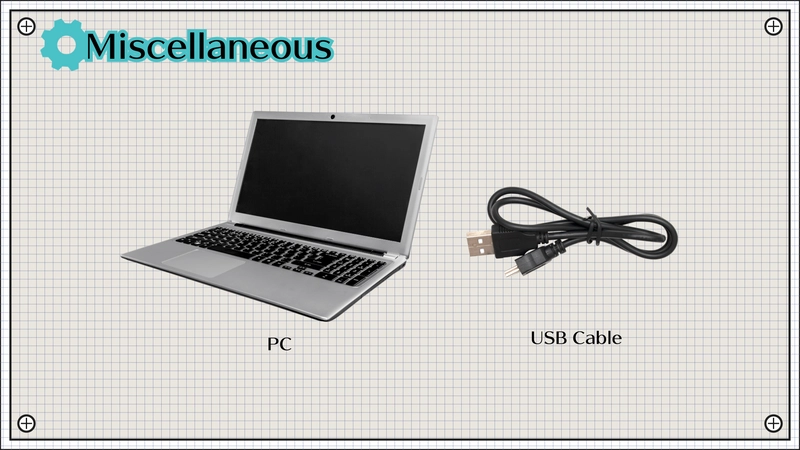
- PC/Laptop: Where you'll write your code using an IDE (like Arduino IDE, PlatformIO in VS Code, Thonny for MicroPython).
- USB Cable: Connects your microcontroller board to the PC for power (often) and code transfer. Make sure you get the right type for your board (e.g., USB-A to USB-B for Arduino Uno, USB-A to Micro-USB or USB-C for others).
Chapter 6: Summary - Your Starter Hardware Checklist
Focus on getting these items first:
- Microcontroller: An Arduino Uno/Nano or Raspberry Pi Pico is a great start.
- Input/Output: A starter kit often includes basic sensors (button, photoresistor), LEDs, and maybe a small motor or buzzer.
- Foundation: Breadboard, jumper wires, basic resistor kit, power source (battery pack or USB cable if board supports it).
- Tools: Tweezers, Multimeter.
- Programming: Your existing PC/Laptop, the correct USB cable for your chosen board.
With this setup, you're well-equipped to tackle your first electronics projects!
Happy Building!
subscribe my YouTube channel!
I'm an electronics YouTuber in Japan.
you can learn how to make your own gadget, what electronics is, and more.
let's check it out!
[Beginner] Start electronics if you want a hobby

Top comments (0)