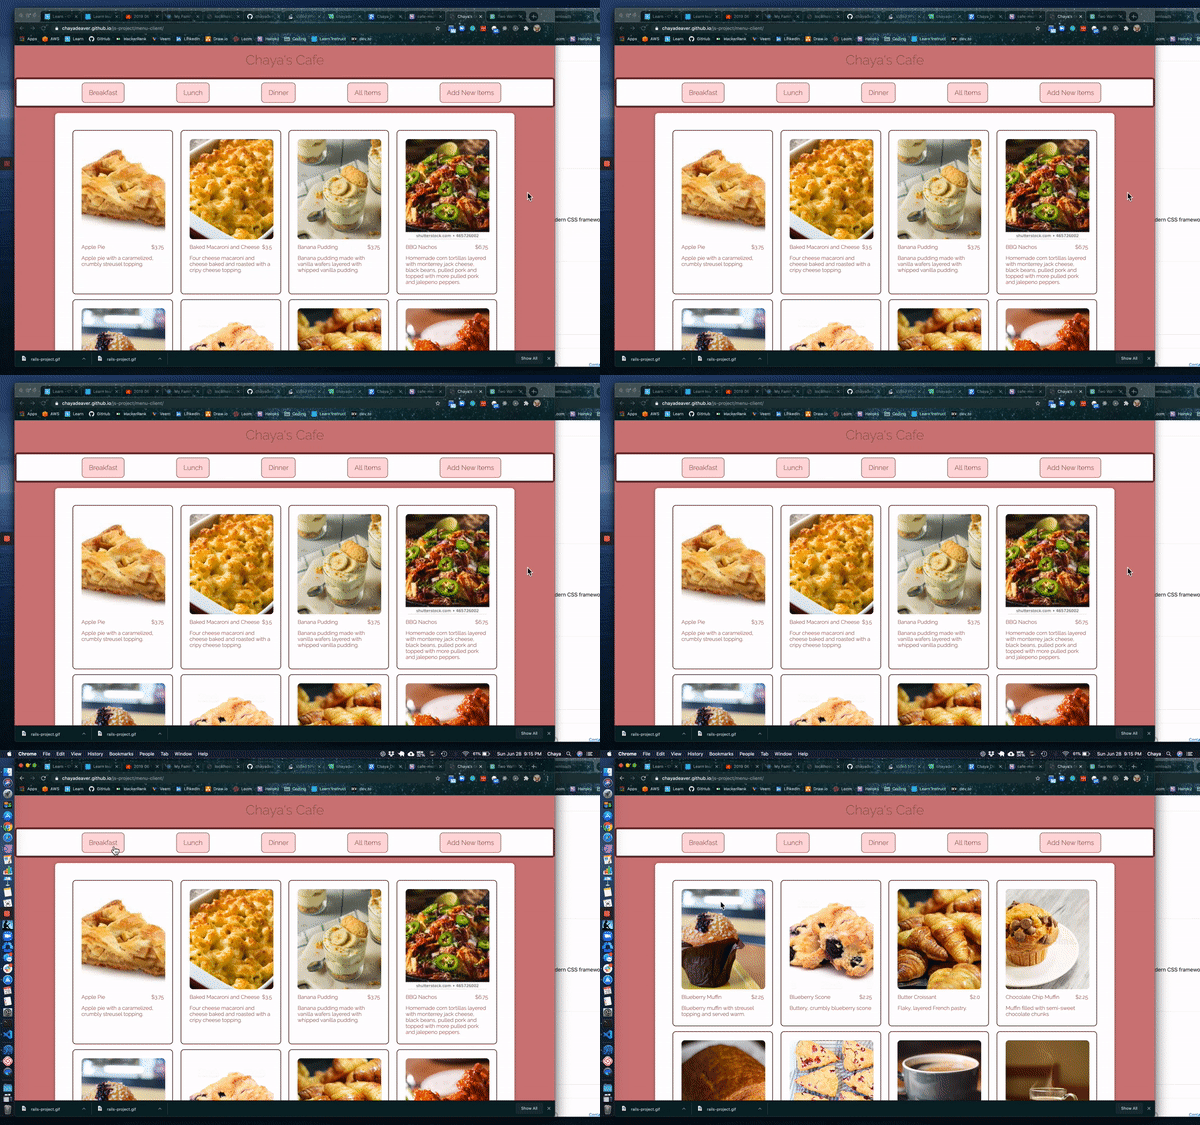
My fourth portfolio project for Flatiron School involves creating a web application using Rails API for backend and Vanilla JavaScript for frontend. This will be my first time using separate utilizing different frameworks for frontend and backend. My original idea for this project was to build on my Rails project idea, which was an online-ordering application that uses a shopping cart feature, a third-party authentication with GitHub and an admin role that can add items to my database. I quickly realized that the JavaScript/Rails project requirements were much simpler that the previous one and learned that my idea was beyond the scope fo the project. I then decided to restart my project but instead of having a shopping cart feature, I would just show that I can send fetch requests to create, read, and delete from the server. Even though I opted for a more simpler route this time around, it allowed me to take a step back and get a better understanding of what I needed to do within scope of the project. I also learned more about CSS styling and used Bootstrap to render my form. This my thought process throughout project build.
I started by creating a main project directory that holds two directories, one for backend, one for frontend. I then created my Rails app while inside the backend directory. I used Postgresql instead of SQLite3 that comes with Rails by default. I have deployed my Sinatra and Rails project to Heroku and the database has to be Postgresql to do so. To generate a Rails app with Postgresql, write this in the terminal:
`rails new rail-app-api --api --database=postgresql`
Because I'm using Rails purely for backend, I need to add the --api flag so it doesn't generate any views folders. Adding the --database=postgresql will create the app with Postgres instead of SQLite3. The big difference when setting up database with Postgres is before migrating the database this commands needs to be run rails db:create. One more thing before getting Postgres to work is to have Postgres App running on your computer the whole time during project build. You can download Postgres app here.
Once I set up my Postgres, I created two models: Menu and Item. The Menu model just contains name that is a string. There were three types of menus: Breakfast, Lunch, and Dinner. For this project, my Menu has a has_many relationship with Item and Item has a belongs_to relationship to Menu. I then created some items in my seeds file where items are created associated to a menu. After seeding my database, I made sure I had paths in my routes and wrote controller actions for index, show, create, and destroy for my ItemsController and index and show for MenusController. Instead of rendering each action to a views route, I rendered each action with JSON, so my JavaScript will be able to read it and render it to the DOM.
For the JavaScript side, I started by creating index.html and index.js. My index.html contains script tags for each JavaScript file that I would use and some hard-code features such as my navigation bar and my item form. My index.js calls on my app.js file. My App class is where my app starts and it starts with rendering all my items. To render all my items, I had to fetch from the server using AJAX. With AJAX, one can:
- Update a web page without reloading the page
- Request data from a server - after the page has loaded
- Receive data from a server - after the page has loaded
- Send data to a server - in the background
I used AJAX to fetch from the server and received data and was able to create an instance of Item on the client side to render items to the DOM. I made a method called renderAllItems that fetched from the server and converted the JSON into new Item objects. I then made another method called createItemCard that creates DOM elements base on the properties of Item matching the server. I rendered all items inside the Menu class and created the DOM elements in the Item class on the JavaScript frontend(client). In order to be able to call a method that belongs to Item class inside of Menu class, I had to create a new Item object inside the Menu class and then be able to call createItemCard This is how it looks:
// Menu class
renderAllItems() {
        this.itemsAdapter.getItems().then(items => {
            items.forEach(item => {
                const itemObj = new Item(item.attributes.name, item.attributes.price, item.attributes.description, item.attributes.image_url, item.id, item.attributes.menu.id, item.attributes.menu.name)
                itemObj.createItemCard()
            });
        })
    }
// Item class
createItemCard() {
        const container = document.querySelector(".container")
        const itemCard = document.createElement("div")
        itemCard.className = "item-card"
        itemCard.setAttribute("data-id", `${this.id}`)
        itemCard.setAttribute("data-menu-id", `${this.menu_id}`)
        const itemImage = document.createElement("div")
        itemImage.className = "item-image"
        itemImage.style.backgroundImage = `url("${this.image_url}")`
        itemImage.style.backgroundRepeat = "no-repeat"
        itemImage.style.backgroundSize = "cover"
        itemImage.style.backgroundPosition = "center"
        itemImage.style.height = "300px"
        itemImage.style.borderRadius = "10px"
        // const imgTag = document.createElement("img")
        // imgTag.src = this.image_url
        const itemNamePrice = document.createElement("div")
        itemNamePrice.className = "name-and-price"
        const itemName = document.createElement("div")
        itemName.className = "item-name"
        itemName.textContent = this.name
        const itemPrice = document.createElement("div")
        itemPrice.className = "item-price"
        itemPrice.textContent = `\$${this.price}`
        const itemDesc = document.createElement("div")
        itemDesc.className = "item-description"
        itemDesc.textContent = this.description
        const deleteBtn = document.createElement("button")
        deleteBtn.className = "delete-item"
        deleteBtn.textContent = "Delete Item"
        deleteBtn.addEventListener("click", (e) => this.deleteItem(e))
        //appending to parent
        // itemImage.appendChild(imgTag)
        itemNamePrice.append(itemName, itemPrice)
        itemCard.append(itemImage, itemNamePrice, itemDesc, deleteBtn)
        container.append(itemCard)
    }
I then proceeded to write methods that rendered items that belonged to each menu and added those methods to an event listener and loop through each time a different navigation bar "link" is clicked.
I feel like I had the hardest time with this project than the last three so far. I couldn't grasp fetch and how to create DOM elements until I was half-way through finishing my project that it finally started to make sense. I know that it's part of the learning process and challenges will come up. I'm glad I didn't give up and stayed the course. Onward to React!


Top comments (0)