React context API was introduced in 2018 in version 16.3.0. Its main purpose is to manage global states. It’s a really good alternative to prop drilling. In other words, sending props from higher level components to lower levels, that means passing data around to components that don't even really need it.
How to use Context Api:
Separate the code from your component structure. Normally you would create a folder called context and create different files depending on the context. Examples: Theme context, user authentication context, language context.
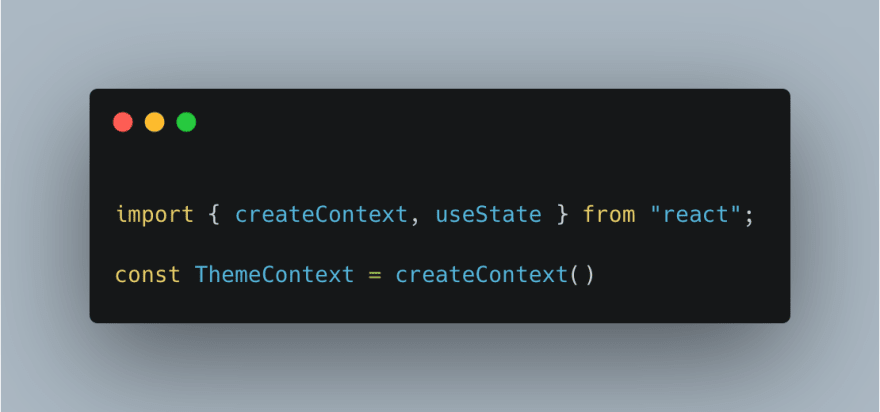
Then we import “create context” and proceed to use the method createContext() as follows.
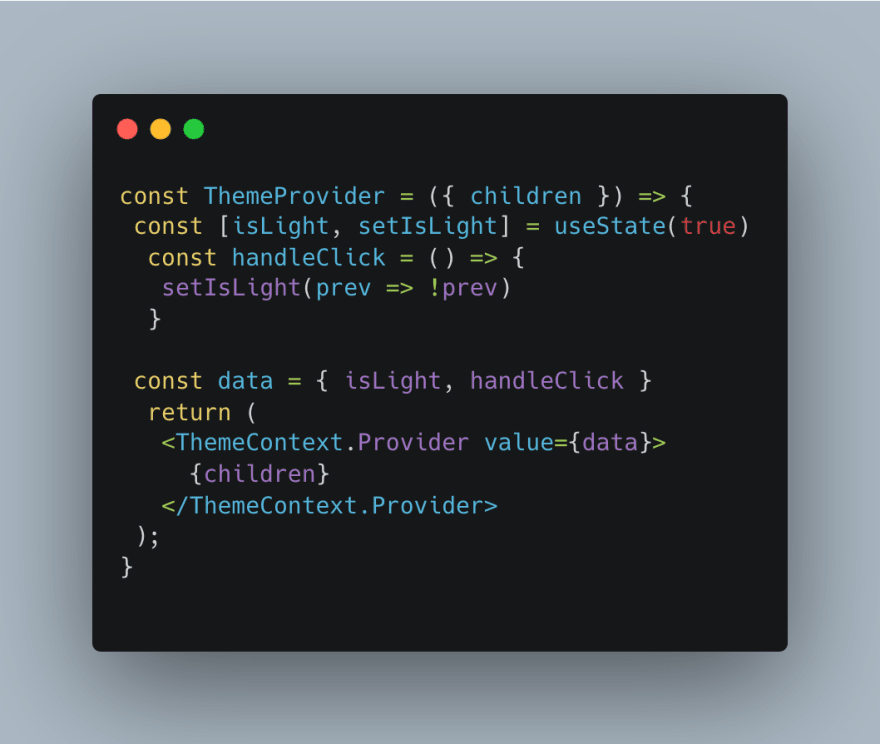
- Now we are going to create the Provider component. The idea is to wrap all the components that need the data inside the Provider.
- As you can see on the code snippet above, we create the ThemeProvider and pass the children as a prop. We return the ThemeContext.Provider who is in charge of pass the data necessary to the children inside this component.
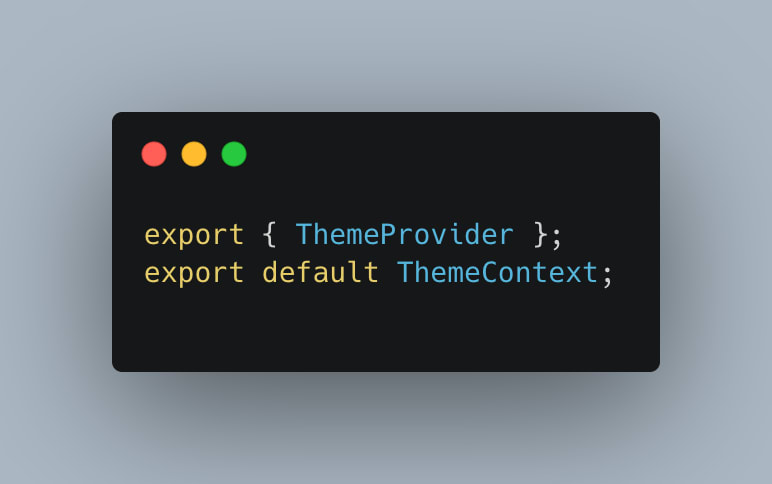
Export context and provider. remember not to ad {} on any data that we are going to export as default.
Import the ThemeProvider the most near possible to the components that are going to use the data.
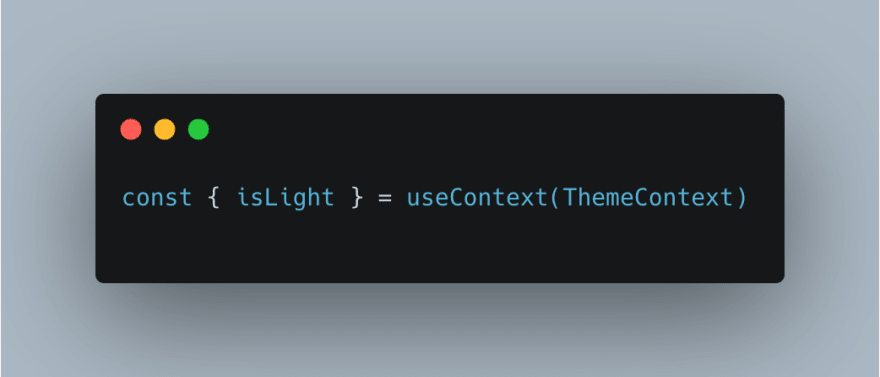
And finally, in order to consume the context, we need to use the useContext hook.
In this final line we use destructuring to only bring the data we need on that particular component.
Conclusions:
Context API is a great option for small projects because it is a built in package and thus, does not extend the size of our project. As you can see It’s really easy to understand.
However, context api is not advisable for large-scale applications. This is because every time the value of the context changes all the consumer components rerender. And this can become a nightmare when it comes to your app performance.


Top comments (2)
Great read!
Some comments may only be visible to logged-in visitors. Sign in to view all comments.