Originally posted here: https://austincooper.dev/2020/02/02/azure-active-directory-authentication-in-asp.net-core-3.1/
Intro
Using Azure Active Directory for authentication is super simple in .NET Core 3.1. There's a couple of things that need to be just right, and then it "just works." This guide assumes that you're already familiar with ASP.NET Core 3.1 and how those projects are structured. GitHub repo for this guide is here: https://github.com/cooperaustinj/azure-auth-demo
Set up Azure Active Directory in the Azure Portal
First, create a new directory:

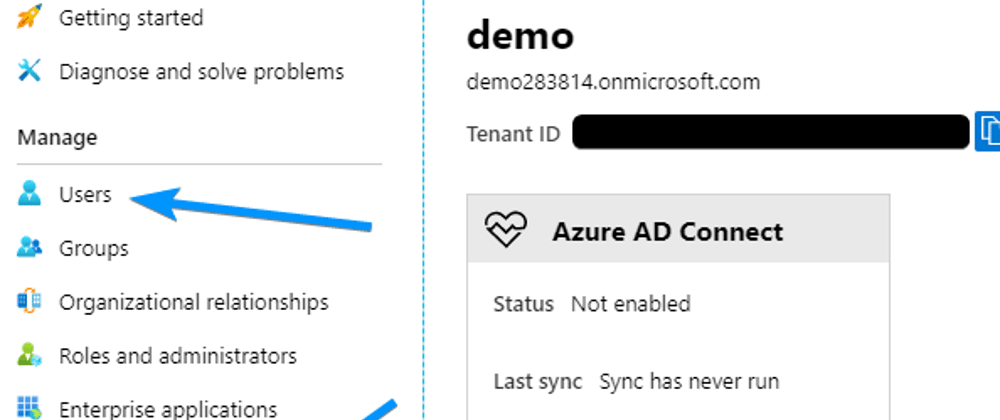
Next, you can set up a test user under the Users section. Once you're happy with that, go to App registrations

When creating the new app registration, make sure to add a Redirect URI of http://localhost:5000/signin-oidc.

Under Overview in the app, note down your Client ID and Tenant ID.
Then, go to Authentication and check the two boxes under Implicit Grant. You can also add a logout URL if you're using HTTPS:
Integrate Azure Active Directory with ASP.NET Core 3.1
I'm using a new blank project created from dotnet new web. The following steps should work for an existing project as well.
First we need to add a package for Azure AD, so run:
dotnet add package Microsoft.AspNetCore.Authentication.AzureAD.UI.
Next, add the following to Startup.cs to register Azure Active Directory as an authentication provider and register controllers. Take careful note of the comments specifying the order we need to make calls on the application builder.
// Startup.cs
public void ConfigureServices(IServiceCollection services)
{
    var config = new ConfigurationBuilder()
        .SetBasePath(Directory.GetCurrentDirectory())
        .AddJsonFile("appsettings.json", false)
        .Build();

    services.AddAuthentication(AzureADDefaults.AuthenticationScheme)
    .AddAzureAD(options => config.Bind("AzureAd", options));

    services.AddControllers();
}

public void Configure(IApplicationBuilder app, IWebHostEnvironment env)
{
    if (env.IsDevelopment())
    {
        app.UseDeveloperExceptionPage();
    }

    app.UseRouting(); // UseRouting must come before UseAuthentication
    app.UseAuthentication(); // UseAuthentication must come before UseAuthorization
    app.UseAuthorization();
    app.UseEndpoints(endpoints => // UseEndpoints must come after UseAuthentication and UseAuthorization
    {
        endpoints.MapControllers();
    });
}
We need to give our application the Tenant ID and Client ID from our app registration, so add the following to your appsettings.json (careful not to check this into source control with your IDs):
"AzureAd": {
    "Instance": "https://login.microsoftonline.com",
    "Domain": "demo283814.onmicrosoft.com",
    "TenantId": "<tenant id>",
    "ClientId": "<client id>",
    "CallbackPath": "/signin-oidc"
}
Wrapping up
That's it! You can now put [Authorize] attributes on your controllers and/or actions to require the user be logged in to visit them. You can even use Security Groups to only allow certain users access to endpoints, but that's outside the scope of this guide. Here's an example of a controller using the [Authorize] attribute. If the user tries to go to /secret without being logged in, they will be redirected to a Microsoft login screen. After logging in, they'll be redirected to the secret page.
[Route("/")]
public class HomeController : Controller
{
    [Route("/")]
    public IActionResult Index()
    {
        return Ok("Home page");
    }

    [Authorize]
    [Route("/secret")]
    public IActionResult Secret()
    {
        var identity = ((ClaimsIdentity)HttpContext.User.Identity);
        var name = identity.Claims.FirstOrDefault(c => c.Type == "name")?.Value;
        var email = identity.Claims.FirstOrDefault(c => c.Type == "http://schemas.xmlsoap.org/ws/2005/05/identity/claims/name")?.Value;
        return new OkObjectResult(new { name, email });
    }
}


Top comments (0)