
Passkeys are emerging as a passwordless and more secure way to log into websites. In this article, we’ll learn how to use the Corbado web component to implement passkey login functionality for a great user experience. Using Python and the Flask framework, we'll build a login page that accepts passkeys to authenticate users. With just a few lines of code, you can add this cutting-edge login method to enable fast, simple, and secure access to your web app.
1. What we'll build
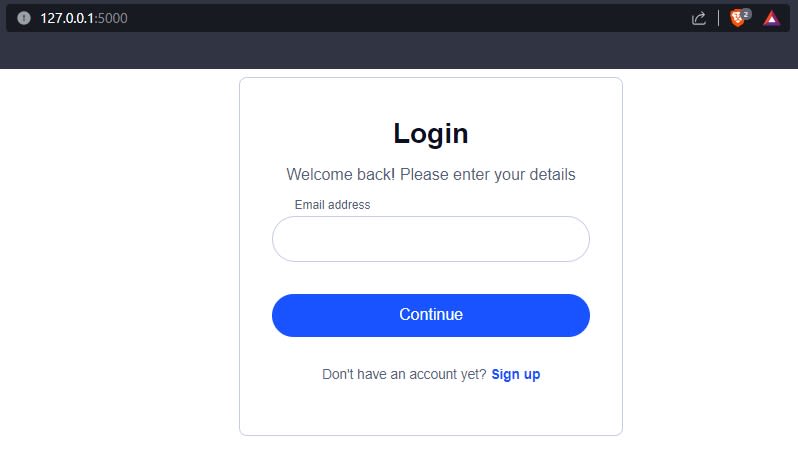
The image below provides a preview of the passkey login page we will create by following the step-by-step instructions in this tutorial:
2. Python passkey project prerequisites
This tutorial is suitable for both beginner and experienced developers. To follow along, you'll need to have the following:
- Have Python and Pip installed
- Basic knowledge of HTML, JavaScript, Python, and Flask - though you can still follow along even if you're new to these.
3. Repository structure for Python passkey project
For reference, the image below outlines the directory structure of the Flask passkey login page we'll be coding in this tutorial. You can grab the full source code for the complete project from this GitHub URL. Copy the .env.example file and rename it to .env.
Explanation:
/templates: This folder will contain the HTML templates for your login and home pages.
.env>: This file will store Corbado project ID in a secure manner.
corbado-auth.py: This is the main file where your Flask application will be defined.
4. Flask project setup
Follow the steps below to setup your project:
Create your project directory, here:
mkdir example-passkeys-python-flask-main
cd example-passkeys-python-flask-mainVerify if Pip is installed by running:
pip --versionFinally, let's install the required packages, we will use pip to install Flask, python-dotenv, jose, python_jose, and Werkzeug:
pip install flask python-dotenv jose python_jose Werkzeug
This will install:
-
Flask- A lightweight WSGI web application framework for Python -
python-dotenv- For loading environment variables from a .env file -
jose- JSON Object Signing and Encryption library -
python_jose- JOSE implementation in Python -
Werkzeug- WSGI utility library for Python
5. Configure Corbado for passkey authentication
5.1 Create your Corbado account and project
Follow the steps below to set up the Corbado web component for passkey authentication:
Go to the Corbado developer panel and sign up for an account. You'll experience their passkey sign-up flow.
In the project wizard that appears, select "Integration guide", "Web app" as the integration mode, and "No existing users" since we're building a new app.

- Now, select the frontend and backend technologies. For this project, we used HTML, CSS and vanilla JavaScript on the frontend and Python with the Flask framework on the backend.

- Open the integration guide in the "Getting started" section, which will help configure the required settings.
- Define a new authorized origin, which for our localhost Flask app will be "http://localhost:5000" (name it whatever you want, e.g. "local").

Generate an API secret key to later retrieve user data from Corbado's backend.
Set these Application URL values in Corbado's dashboard. You can configure them as needed:

- Application URL: http://localhost:5000
- Redirect URL: http://localhost:5000/home
- Relying Party ID: localhost
We'll cover adding Corbado session management and using passkeys later in the tutorial.
5.2 Configure environment variables
In the .env file, you will store sensitive credentials like your API key and project ID as environment variables. This is a security best practice to avoid hardcoding these values directly in your scripts.
- To get your API secret and project ID, visit your Corbado developer panel.
Please refer to the Corbado docs for more details on obtaining the necessary credentials and integrating Corbado authentication in your application.
5.3 Create Flask routes and load environment variables
Create corbado-auth.py file, which holds our Flask app that integrates with Corbado for authentication. In this code, we loaded credentials from environment variables using python-dotenv. A Session class validates JWTs from cookies to determine the current user. The / route displays a login page, while /home shows the user's profile if authenticated, else raises Unauthorized.
Routes are protected by validating JWTs in short-lived session cookies. JWT signatures are verified using public keys from a JWKS URI. The Session class handles JWT validation, and protected routes grant access only to valid users.
5.4 Create templates with session management
Now, create HTML templates for the login and home pages. The project ID will be dynamically inserted into these templates using Jinja2 template engine, which is integrated with Flask.
Login Page (login.html)
Copy and paste this codes in the templates/login.html file to create the login page using Corbado web component:
Home Page (home.html)
Now, we create our protected home page, visible only after user authentication and validation. It showcases user details and incorporates the Corbado SDK for authentication, allowing users to log out with a simple button click.
In both templates, the PROJECT_ID is dynamically inserted using PROJECT_ID to include the project ID from the environment variables.
5.5 Run the Flask application
Now, run your Flask application using the following command in the terminal:
python corbado-auth.py
Your Flask application will start, and you can open a web browser to visit http://localhost:5000 to see your login page.

After a successful login and session validation, you should be redirected to the home page where you can see some user data and the logout button as shown in the image above.
6. Conclusion
Implementing passkey authentication creates a seamless and secure login experience for users, removing the vulnerabilities of passwords. This tutorial showed how to easily integrate passkeys into a Flask app using the Corbado web component.
With just a few lines of Python code, we built a login page that accepts decentralized, cryptographic passkeys for authentication. Passkeys represent the future of login technology, eliminating phishing and breaches tied to reused passwords. By following this guide, you can add cutting-edge passkey support to your own Flask apps and take a step towards a passwordless web.

Top comments (0)