This is the first of a three parts Guides:
- Part 1 - Project Setup and Introduction to Web Component
- Part 2 - Add Custom Style and Property Binding
- Part 3 - Output Event and Allow Retrocompatibility.
Part 1 - Project Setup and Introduction to Web Component
Today we are going to discover a way to share components across React and Angular projects using Nx and Web Components. We are going to set up a simple Monorepo project using NX, and utilize web components to share some simple UI elements across Angular and React. If you do not know about Nx and Monorepos, follow this introductive blog post :
Introduction to NX and Monorepos.
### 1. What are web components?
As developers, we all know that reusing code as much as possible is a good idea. But this has traditionally been hard for markup language like HTML, where repetition is often complicated to avoid. Nowadays, popular frameworks like React and Angular became a standard because they allow the reusability of templates and logic. Web Components aims to solve such problems and make it possible to develop framework-agnostic, custom components that use the HTML syntax. Modern browsers can natively interpret them without any third-party library.
Now, this sounds great, why are we using React at all then? Well, Frameworks bring a lot more to the table than simple Web Components.
State machines, routing, retro compatibility, etc... But Web Components can still be useful in some cases. Let's suppose we have a few applications in our company using different frameworks, that we would like to share some UI elements. Well, it would be nice to make a library of those elements that would work the same way independently of the framework used. Web Components can be a good choice for this.
There is a lot of documentation about Web Components and I invite you to read some more in-depth posts about it : A Complete Introduction to Web Components in 2021
2. Create Our Workspace
We are going to start by creating an Nx Monorepo, with two projects inside (one in Angular and one in React), and a library (using the Custom Element API).
First, let's create an empty Nx workspace :
npx --ignore-existing create-nx-workspace demo-shared --preset=empty
Followed by an Angular and a React application, that you can name the way you want :
npm i -D @nrwl/angular
npx nx g @nrwl/angular:app demo-angular
We install the angular "extension" for Nx, then create a project.
npm i -D @nrwl/react
npx nx g @nrwl/react:app demo-react
Same here for react
You will now see in your apps folder 4 new applications, the Angular + Angular e2e and React + React e2e.
Great!
We are ready to add the library where we will add our shared components, and use them athwart Angular and React.
npx nx g @nrwl/workspace:lib demo-library
Ok, our workspace should be set up, and if you did it all correctly, your work tree should look something like this :
demo-shared/
├── apps/
│   ├── demo-angular/
│   ├── demo-angular-e2e/
│   ├── demo-react/
│   └── demo-react-e2e/
├── libs/
│   └── demo-library
│       ├── src/
│       │   ├── lib/
│       │   └── index.ts
│       ├── jest.conf.js
│       ├── tsconfig.lib.json
│       ├── tsconfig.json
│       ├── tsconfig.spec.json
│       └── tslint.json
├── README.md
├── angular.json
├── nx.json
├── package.json
├── tools/
├── tsconfig.base.json
└── tslint.json
Looking good? Great! Let's go to the next step, and start coding our shared component.
3. Shared Component using Web Components
You are now ready to do some basic Web Components. Our opening example will be a simple component that displays a title using an attribute and will change based on its value.
Add a new folder and file inside the lib folder :
demo-title/demo-title.element.ts
And let's add some example code
export class DemoTitleElement extends HTMLElement {
  public static observedAttributes = ['title'];

  connectedCallback() {
    console.log('Appended and connected to document')
  }

  disconnectedCallback() {
    console.log('Disconnected from document')
  }

  attributeChangedCallback(name: string, old: string, value: string) {
    console.log(`Element's attribute ${name} was ${old} and is now ${value}`);
    this.innerHTML = `<h1>Welcome From ${this.title}!</h1>`;
  }
}

customElements.define('demo-title', DemoTitleElement);
Quite a few things are available in the Web Components Lifecycle Methods :
observedAttributes: Define the name of theattributesthat we will be able to bind as Input in React/Angular and receive updates in our Web Component Lifecycle method. In the above case,titleis a property that can be assigned when creating the component.connectedCallback: Invoked each time the custom element is appended and connected to the document's DOM.disconnectedCallback: Invoked each time the custom element is disconnected to the document's DOM.attributeChangedCallbackInvoked each time that one of theobservedAttributesis changed.customElements.define('demo-title', DemoTitleElement);Defines a new custom element, mapping the given name to the given constructor as an autonomous custom element.
It is very important to note that Web Component attributeChangedCallback works with attributes and NOT with properties. To keep your HTML page valid, you should only use valid HTML attributes. Attributes are also required to be plain strings, so objects will require to be JSON.stringify first.
If you would like to pass custom attributes, you should use the HTML markup [data-*](https://developer.mozilla.org/en-US/docs/Web/HTML/Global_attributes/data-*) and bind anything you want to it.
In the second part of this post, we will discover a way to use properties instead, and bind any type of data.
Ok, Before being able to use our Web Component, we must NOT forget to add this element to our library's exports. Otherwise, we will not be able to import it, and we will break Nx cache and affected commands (the useful Nx command that will build only modified projects and dependencies each time a file is changed)
In your library folder, go to index.ts and add the export line :
export * from './lib/demo-title/demo-title.element';
Now that our component is available outside of our library. Let's connect it with Angular and React, starting with Angular.
4. Setup Angular and React for Web Component
4.1 Setup Angular to use Web Component
Inside your angular app, import the library, You can do it inside the main.ts
import '@demo-shared/demo-library'; // <-- our library

import { enableProdMode } from '@angular/core';

import { platformBrowserDynamic } from '@angular/platform-browser-dynamic';
import { AppModule } from './app/app.module';

import { environment } from './environments/environment';

if (environment.production) {
  enableProdMode();
}

platformBrowserDynamic()
  .bootstrapModule(AppModule)
  .catch((err) => console.error(err));
we also need to register CUSTOM_ELEMENTS_SCHEMA in our app module
import { CUSTOM_ELEMENTS_SCHEMA, NgModule } from '@angular/core';
import { BrowserModule } from '@angular/platform-browser';

import { AppComponent } from './app.component';

@NgModule({
  declarations: [AppComponent],
  imports: [BrowserModule],
  providers: [],
  schemas: [CUSTOM_ELEMENTS_SCHEMA],
  bootstrap: [AppComponent],
})
export class AppModule {}
this will tell the Angular compiler to refrain from throwing errors when seeing non-standard element tags in our templates.
Finally, let's add the component to our app. Head to app.component.html and just add our title component as if it was a normal Angular component. Remember, the component name is the one you chose previously inside the method customElements.define
app.component.html should be as simple as this after you removed the boilerplate HTML autogenerated by Nx:
<demo-title [title]="'Angular'"></demo-title>
Start the app :
npx nx serve {angular app name}
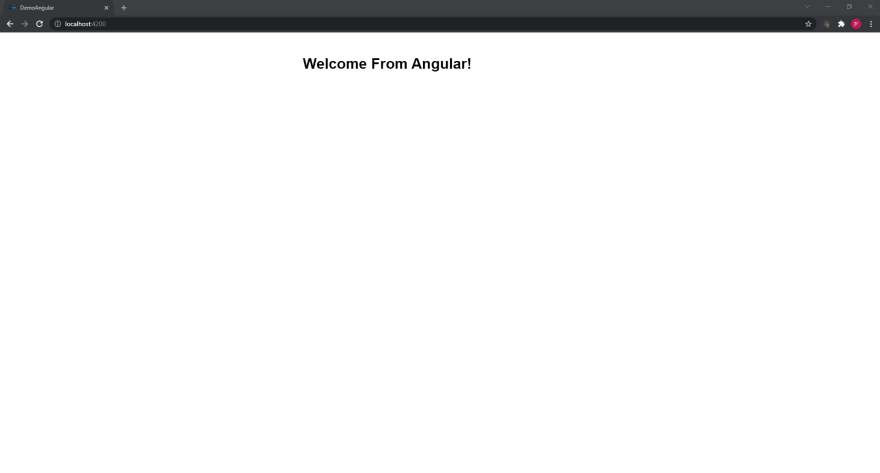
and if all has been done correctly, you should see your component appearing with the Attribute you set!
4.2 Setup React to use Web Component
Let's do the same with React :
Inside main.tsx let's again import our library :
import '@demo-shared/demo-library'; // <-- our library

import { StrictMode } from 'react';
import * as ReactDOM from 'react-dom';

import App from './app/app';

ReactDOM.render(
  <StrictMode>
    <App />
  </StrictMode>,
  document.getElementById('root')
);
Also, same as in Angular, we need to tell React to allow components that are not defined within it. To allow this, we will need to create a type file on the root of the src folder or the React project. Name it intrinsic.d.ts and add inside the following :
declare namespace JSX {
  interface IntrinsicElements {
    [elemName: string]: any;
  }
}
Let's add our component in React :
export function App() {
  return (
    <div className={styles.app}>
      <demo-title title={"React"} />
    </div>
  );
}

export default App;
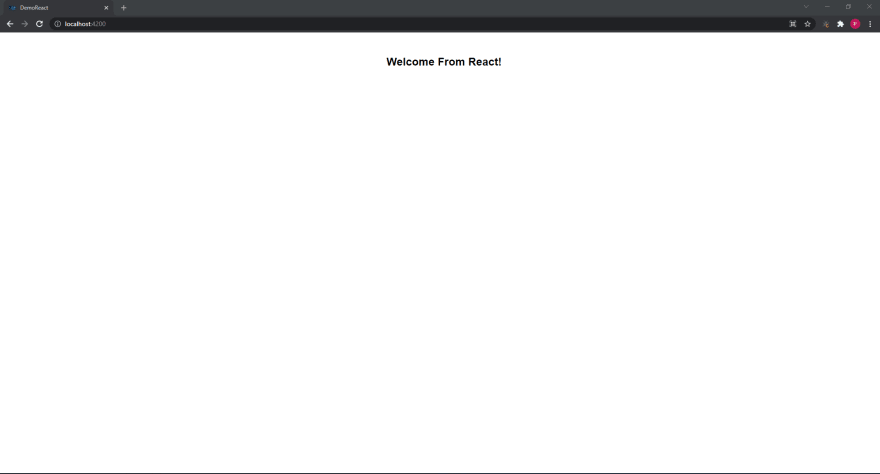
Run the React App, and you will see the same component but this time in React!
/!\ If you have a warning about the webpack version, and your react app does not start, you can opt into webpack 5 npx nx g @nrwl/web:webpack5 and then serve the app again
more Webpack 5 Migration
5. Conclusion
In this first part, we made a very simple Web Component and used it across our two different projects. There are many things to do with Web Components, you may have noticed that we only used extends HTMLElement. But Web Components can extend and customize any HTML element. You could for example create your customized HTMLVideoElements and use it in all the projects you want, even the ones in pure HTML/Javascript. Compatibility is still not perfect, But we will see how we can add polyfill to use our component on old browsers. Let's head to Part 2 where we going to customize our components and pass value using properties instead.
You can find the full repo here :
Found a Typo or some problem?
If you’ve found a typo, a sentence that could be improved, or anything else that should be updated on this blog post, you can access it through a git repository and make a pull request. Please go directly to https://github.com/Crocsx/dev.to and open a new pull request with your changes.


Top comments (0)