Hi! , I'm Nate, a Software Engineer at Culture Amp. This content isn't directly related to the work that we do at Culture Amp, it's more something on the side that I found interesting from a frontend perspective and that I hope you do too.
Anyway, roll the intro!
Intro
I noticed the other day while watching a YouTube video, around the edge of the video there was a subtle glowing effect that matched the content of the video.

It's probably inspired by the recentish trend to put LED light strips on the back of your TV. The fancy version of this syncs the light colours to what's playing on your TV.
In it's simplest form, it's supposed to reduce eye strain and help improve the perceived contrast of the screen. In the more complex form it could improve the immersion of the video by allowing it to escape it's box. Or it just looks pretty because colours.
Table Of Contents
Investigate
Back on YouTube, I was wondering how they achieved their glowy effect. Let’s dig in and see.
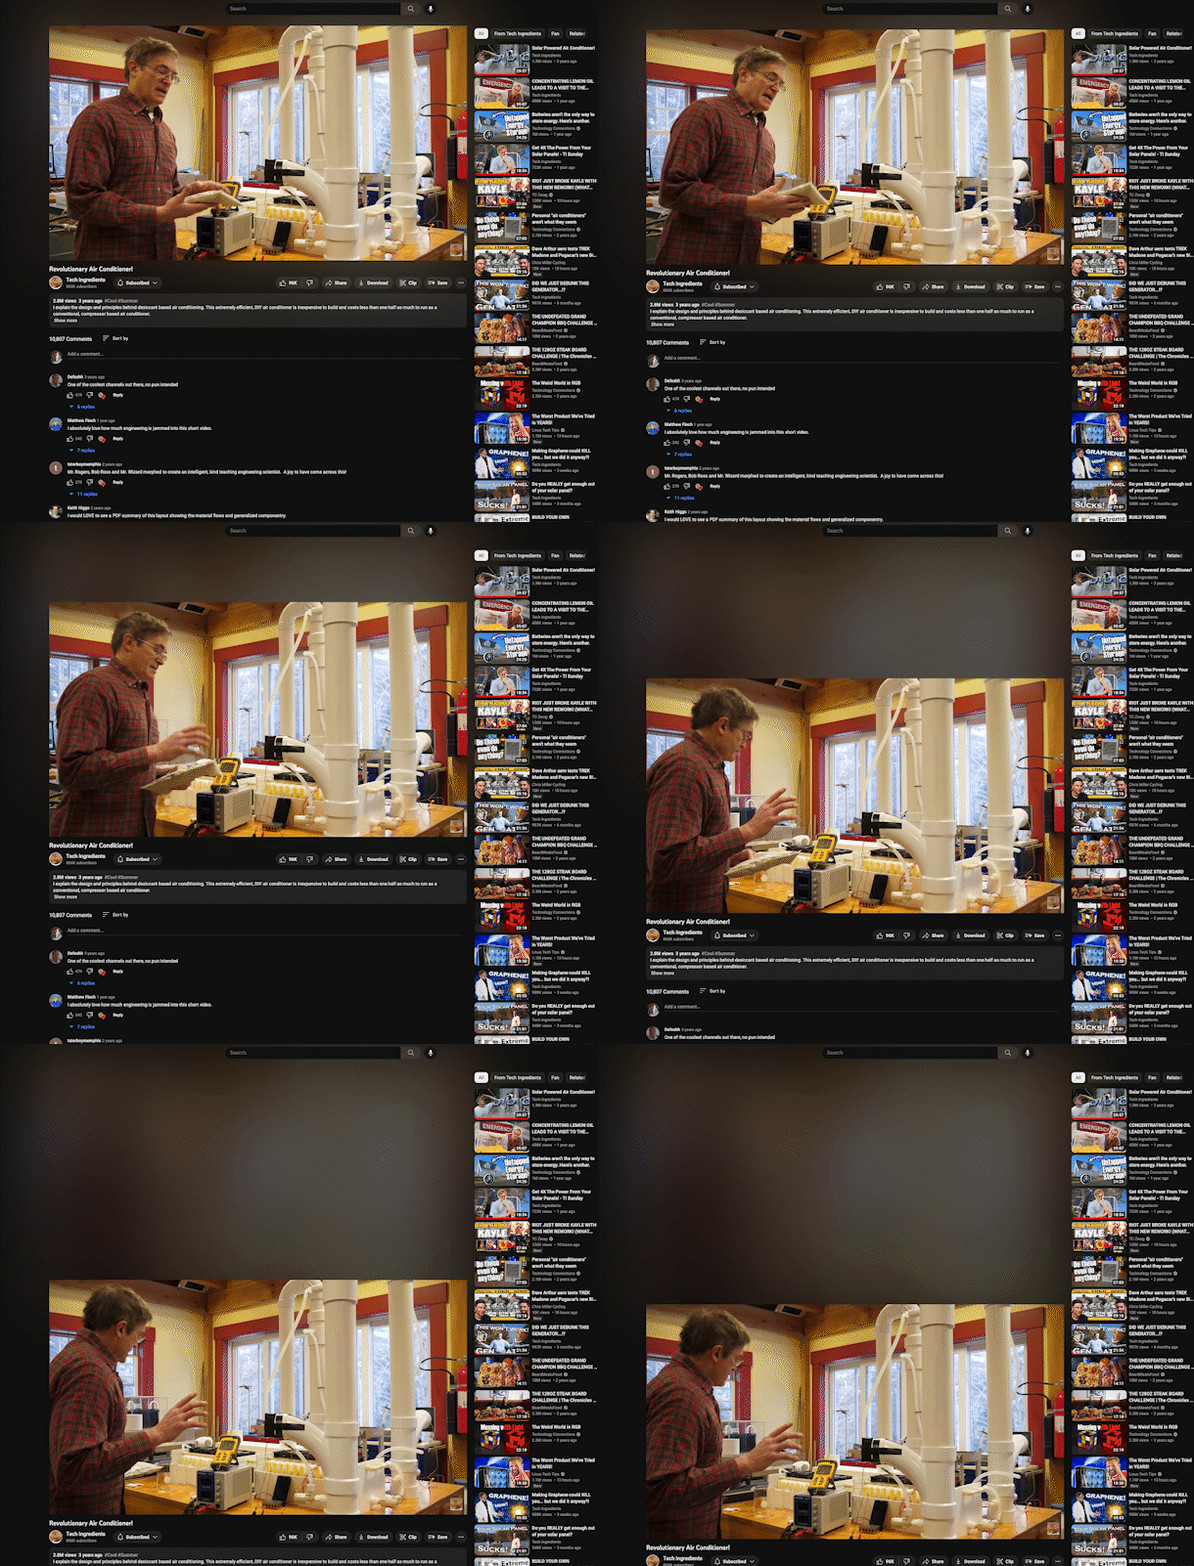
Start by moving the video out of the way.
When we do this we can see that under the video is what appears to be a blurred version of the current place in the video.
It sits under the video, with the blurred edges peeking out giving this pretty soft glow effect.
When you blur an image, depending on the method, it becomes larger due to the mixing of the pixels at the edges with the surrounding canvas and the overall softening effect.
An inspection of the DOM shows some canvas elements being actually responsible for displaying the blurred content.
<div id="cinematics-container" class="style-scope ytd-watch-flexy">
    <div id="cinematics" class="style-scope ytd-watch-flexy">
        <div style="position: absolute; inset: 0px; pointer-events: none; transform: scale(1.5, 2);">
            <canvas width="110" height="75" style="position: absolute; width: 100%; height: 100%;"></canvas>
            <canvas width="110" height="75" style="position: absolute; width: 100%; height: 100%; opacity: 1;"></canvas>
        </div>
        <div></div>
    </div>
</div>
If we unroll the elements, we can see the arrangement. The previous frame, the next one and the actual video.
A couple of observations so far.
- The blurred “frame” doesn’t update at the same rate as the video, every now and then it’s a little out of sync. This isn’t a problem for the effect as it’s in the background anyway.
- The image alternates between the two canvas elements, swapping back and forth with a simple crossfade between them every 10ish seconds.
- Because it’s canvas, this must be some kind of programatic rendering with javascript.
I still have questions though. Let’s dig deeper
How it's done
After digging though the code a bit, I found the javascript driving the canvas and this very quickly revealed a couple of things.
It's interesting to note that for this simple effect, there are no libraries in use here. This is possibly to keep the frontend lightweight.
There is an matrix of images used to create the blurred backgrounds. In the case of long video’s there are several matrixes of 10x10 images like the below.
Each time the video playback changes, an event is fired and the background images are updated by looking them up in the matrix and selecting which frame to crop out of it.
The cropped image is rendered onto the canvas, then a blur is applied. Animations are used to alternate between in incoming canvas with the new background image and the previous canvas with the old background image.
Neat.
Example
I built a simple version of it using one of the matrixes to show how the effect can be achieved.
If you're curious as to the video I was watching while writing this, I've added it below.


Top comments (1)
youtube.com/@laljithakur5220