Well now it's time to talk about the practices using java for web applications. first of all we are going to need a server to run our developed apps, so in this post i will explain how to install apache tomcat for that purpose.
Step 1: Download.
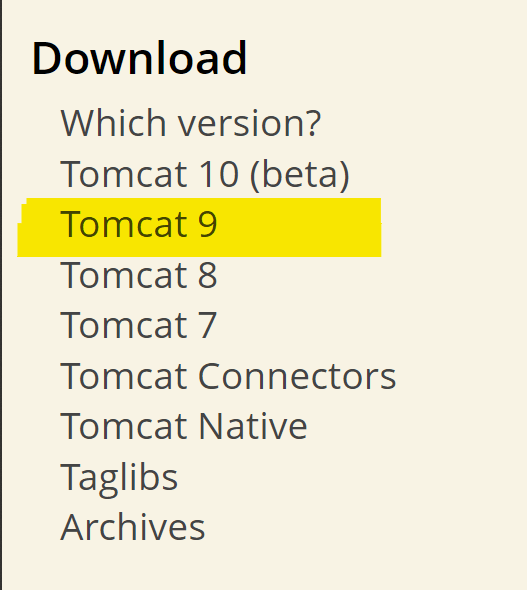
You can download the latest stable version of apache in this link in the download section (the latest stable version is the one below the "beta" version), in this case, and in this time, the stable version is the 9.0.41.

In this page you will select the zip file that fits with your type of OS in the section of "Binary distributions > Core" , in my case, I will download the file "64-bit windows zip".
Configuring the apache server with the zip file is easier than configuring the executable, and if you don't need it anymore in the future, you can just delete the extracted files instead of fighting with the [un]installer.

Step 2: Installation.
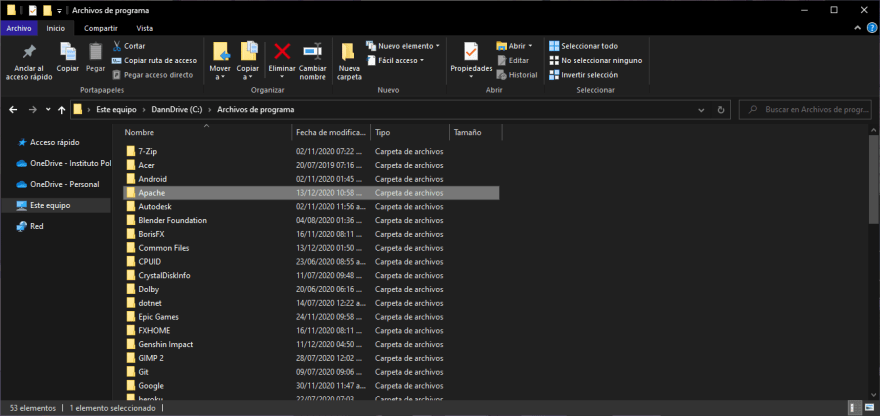
Substep 1: Once you have the zip file downloaded in your coputer, go to the "Program Files [x86 for 32 bits]" folder on your computer and add a new folder called Apache.
Substep 2: Now unzip the file that you downloaded before, delete the zip file, move the unzipd folder to the "Apache" folder previously created, and there you have, Apache tomcat is now installed in your computer.


Step 3: Environment variables Configuration.
Now it's time for the configuration of the environment variables to ease the use of the server.
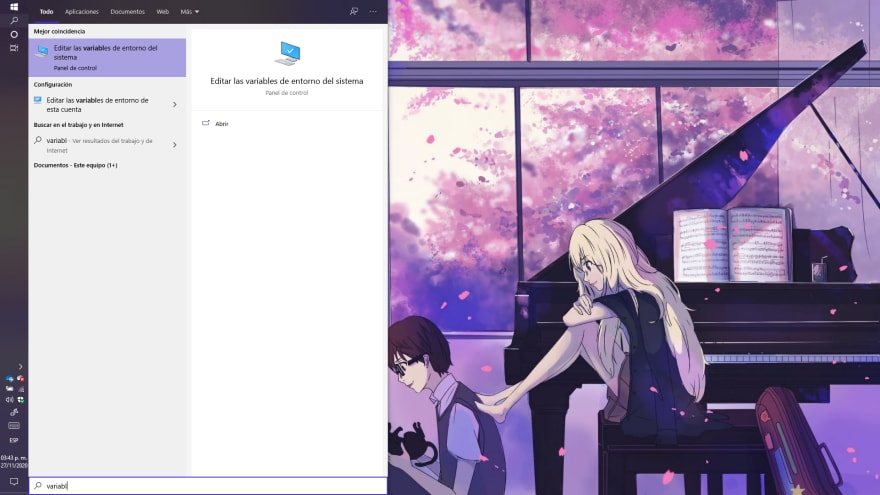
Substep 1: On your keyboard press the "Win"+"Q" keys to open the search bar and search for the "environment variables" ("variables de entorno") and then click open.
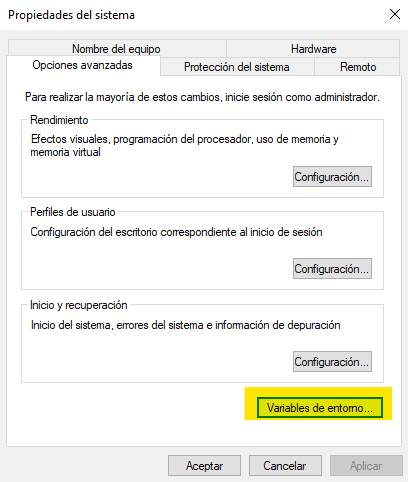
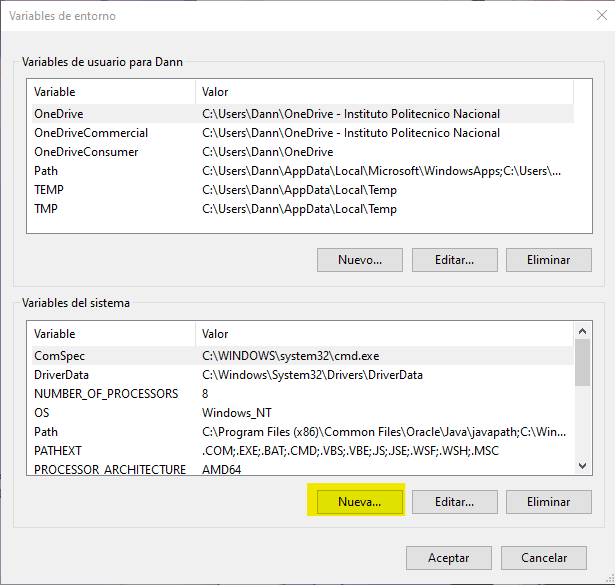
Substep 2: Once the "System properties" windows appear click the "environmental variables" button.
Once again we will mess up with the "CLASSPATH" environment variables, besides of the creation of a new envirnment variable.
Substep 3: First, we need to add a new environment variable with the following values.
| variable | Value |
|---|---|
| TOMCAT_HOME | the route of installation of the Server |
And when you are done, click the "Ok" button.

Substep 4: Now it's time to edit the "CLASSPATH" variable, click it twice from the list of variables, and at the end of the value of the variable put a semicolon (;) to separate the old values from the new one. Now add the value described in the table below. Once finished click "Ok" to exit the editor, then "Ok" again to exit the "Environment variables" window and once again to exit the "System properties" window.
| variable | Value |
|---|---|
| CLASSPATH | %TOMCAT_HOME%\lib* |


and that's all, now you have configured Apache tomcat for your use, adding the value to the "CLASSPATH" variable will let you use the tools of the libraries from Apache Tomcat to develop your web apps.

Top comments (0)