So... Fisrt things first, if you are a student of ESCOM and you are going to take the opp class with Tecla then this series is for you.
This is the first post of a series of 4 to configure all you need to do your oop practices. This series is intended for windows users as is the OS that I use.
During the course, Tecla is not going to teach how to install Java, Java 3D, apache tomcat or MySQL anytime, so i'll try to explain the process that at least worked for me and my classmates. Also the programs will be writen in text editors, you can use an IDE but at last that will make your work harder to integrate, so keep it as simple as possible.
To begin with, I'll explain how to install the Java runtime environment (JRE) and the Java Developmet Kit (JDK).
Step 1: Download.
To download any Oracle product you have to create an Oracle acount and you can create one by clicking this link, you can fill the information required as show the image below.

Once the registration is completed you just need to go to this site and scroll down to the "Java SE 8" section, click the download hyperlink and in the redirected page select the installer that fits with your computer (windows x64 in my case), accept the "Oracle Technology Network License Agreement for Oracle Java SE", and wait till the download finish.


Step 2: Installation.
Once you have the installer in your computer, run it.
Substep 1: Start the installation by clicking "next" in this window.

Substep 2: Select the features to be installed and click "next".

Substep 3: wait till the process finish.

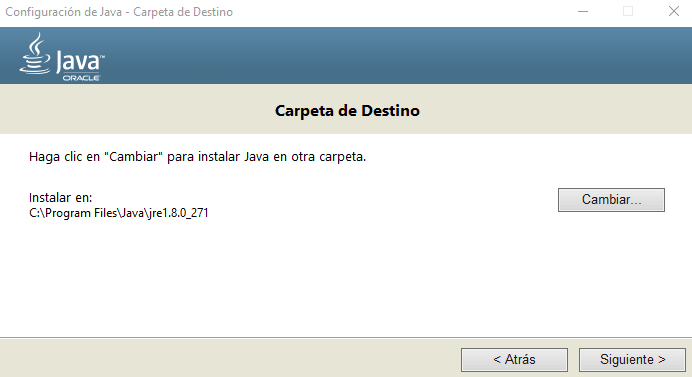
Substep 4: Once this windows is shown select where where you want to install the JDK (to ease further installations of some complements as Java 3D keep the default installation route).
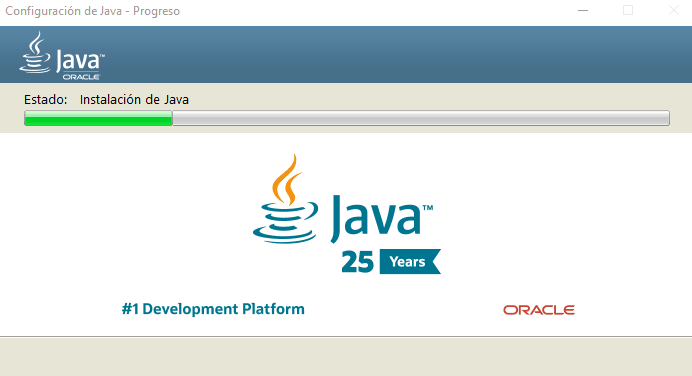
Substep 5: Wait till the installation finish.
Substep 6: And click "Close" to exit.

This version of the JDK includes the JRE so you don't need to download any extra file.
Step 3: Environment variables configuration.
To finish configure java in your computer you need to create or edit some environment variables so you can work with any tool to compile and execute your programs.
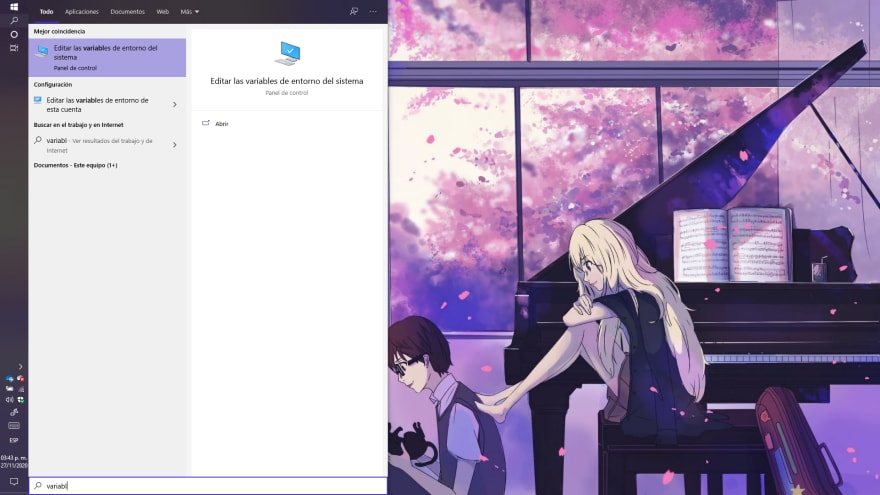
Substep 1: On your keyboard press the "Win"+"Q" keys to open the search bar and search for the "environment variables" ("variables de entorno") and then click open.
Substep 2: Once this windows opens click the "environmet variables" ("variables de entorno") button.

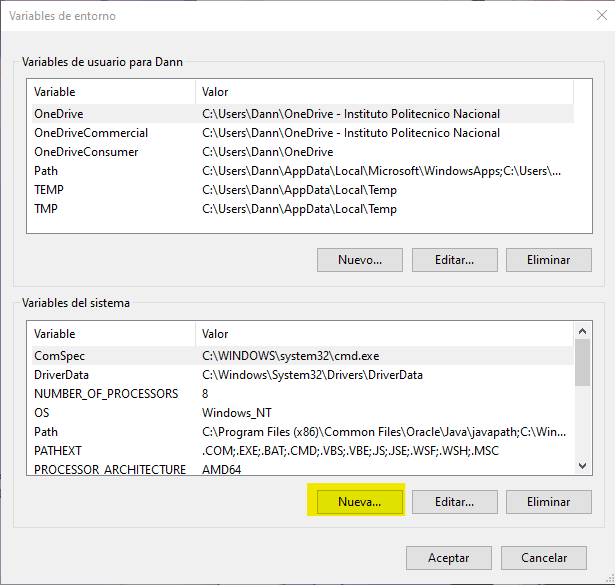
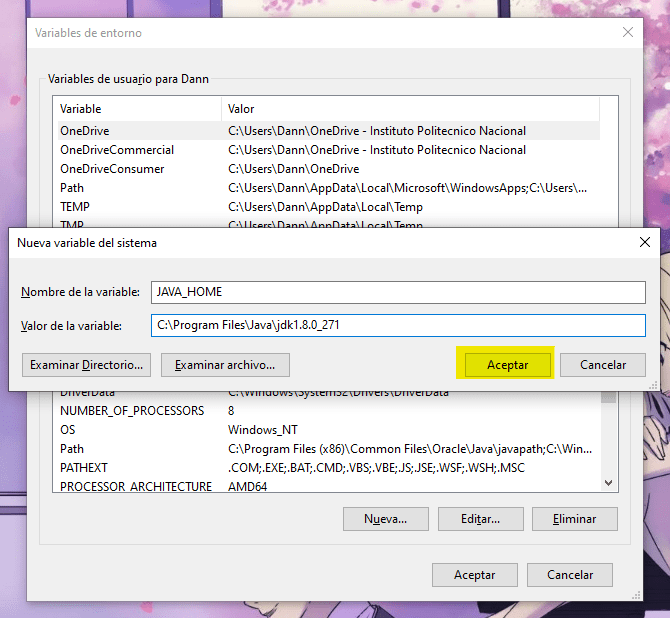
Substep 3: Wait till the next window appears and to add a new environment variable click the "New" option.
Substep 4: In the fields that appear you must to insert the next values and then click "OK".
| variable | Value |
|---|---|
| JAVA_HOME | the route of installation of the JDK |
Add another environment variables as before with the next values.
| variable | Value |
|---|---|
| JRE_HOME | %JAVA_HOME%\jre |
| CLASSPATH | .;%JAVA_HOME%\lib\*;%JRE_HOME%\lib\* |
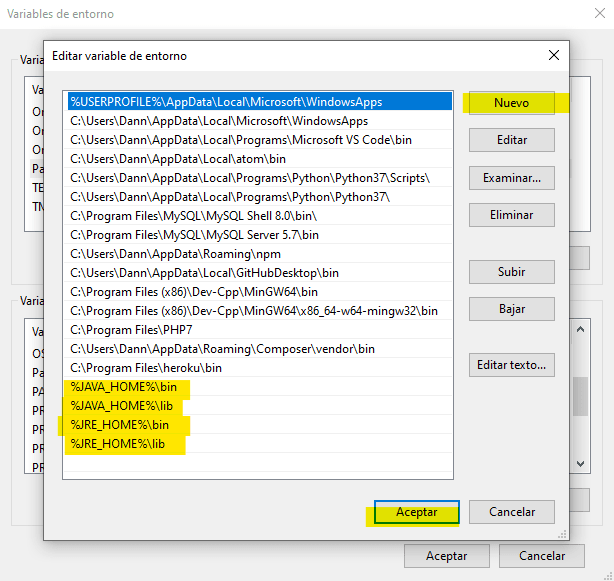
Substep 5: Now we need to add some values to the variable "Path" if your computer have a single user or your profile is the only one that need the development tools, then you can add the next values to the variable "Path" of your user as shown in the image below, otherwise you can add them to the System variable "Path".

once you click twice that variable a window will show and you have to add the following values to the list, first click on "New" then add one of the new values and repeat the process for the rest.
| values |
|---|
| %JAVA_HOME%\bin |
| %JAVA_HOME%\lib |
| %JRE_HOME%\bin |
| %JRE_HOME%\lib |
Finally Click "OK" on this window, an then click again "OK" on the window of the third point of this step, restart your computer and now you can start programming with java.

Top comments (0)