In this article, I demonstrated how to trigger an instant flow from a canvas app, now I will demonstrate the same but in a model driven app.
The Flow button
In a model driven app, there is a Flows button on the details page that allows you to run adhoc commands on the current record.
It's a little bit confusing because they use the word "Flow" but there's actually two ways to create these "flows". The first is the old fashioned way using on-demand workflows which you can do by just ticking the "As an on-demand process" in any clasic workflow.
The other method is by creating an instant flow in Power Automate and this article is will explain how.
Scenario
As a simple example to demonstrate the concept, what I'd like to do is create a button to allow me to email the details of a Lead to a hard-coded email address.
Create the Instant Flow in a solution
Don't click the "Create a flow" button cause that will create a personal flow. We want the flow in a solution so that we can exercise good ALM practices.
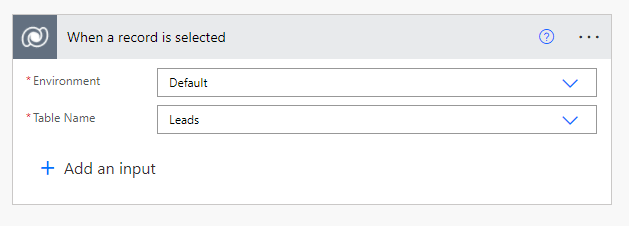
Select the "When a row is selected" trigger. This is in the old Dataverse (legacy) connector. At the time of this writing, the new connector doesn't have this trigger yet.
Your Environment should be "Default" and under Table, select the record type. For this example, I've selected "Leads".
Adding inputs
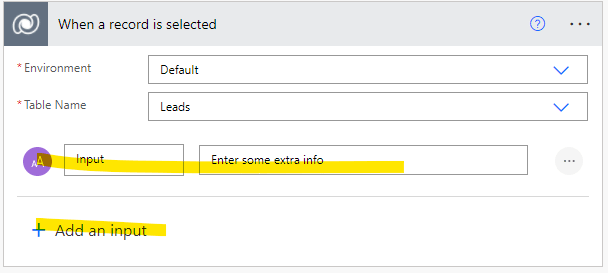
You can feed information into the instant flow by clicking "Add an input" - here I've added a field to enter extra info about the lead.
Adding the Email action
Select the Office 365 Outlook connector and Send an email (v2) action.
Fill in the email as you wish.
Once this is done, you should save the flow and publish the solution.
Executing the instant flow
To execute the flow, simply navigate to the Lead that you want. It should now appear under "Flow".
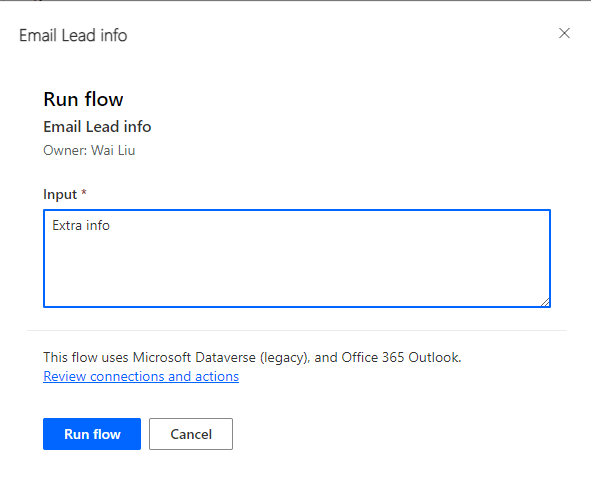
As we asked for extra input, it'll prompt for this.
Conclusion
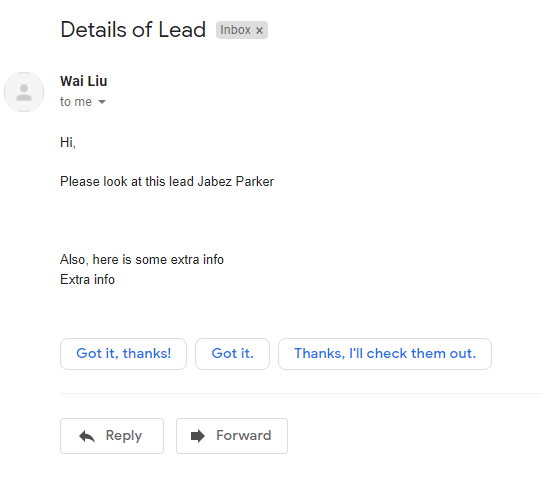
Below is the email I get once the flow is executed.
Instant flows allows developers to easily use the features of Power Automate to add extra functionality to their model driven apps.


Top comments (0)