DotVVM is open source MVVM framework for ASP.Net Core and OWIN and it is member of .Net Foundation. DotVVM is a free to use under Apache License but also have commercial extensions.
DotVVM lets you build interactive web UIs with just C# and HTML using MVVM pattern. DotVVM framework is shipped with many build-in controls like GridView, FileUpload, Validators, and more.
To learn more about DotVVM framework visit DotVVM.com.
In this article we will see how to secure your DotVVM web application using IdentityServer4.
What is IdentityServer4?
IdentityServer4 is an OpenID Connect and OAuth2.0 framework for ASP.Net Core. it enables:
- Authentication as a service
- Single Sign-n (SSO)
- Access control for APIs
and more.
It is an open source framework you get its code from GitHub repository and the full documentation
You can check my previous article to know how to install DotVVM extension.
First of all we need to prepare our IdentityServer4 as our authentication service. IdentityServer4 has different templates to use, for simplicity we will use out of the box IdentityServer4 UI template which provides a complete UI for defining roles, users, clients, claim types,.etc.
To install IdentityServer templates for dotnet CLI run this command in console window.
dotnet new -i IdentityServer4.Templates-
From cmd or windows PowerShell run following commands
md dotvvm/src //create folder for our solution
cd dotvvm/src
dotnet new sln -n dotvvm
dotnet new is4admin -n dotvvm.auth
dotnet sln add .\dotvvm.auth\dotvvm.auth.csproj
Open your solution in vs2019 or vs code, your solution should look like

build and run you solution it should see a page like this
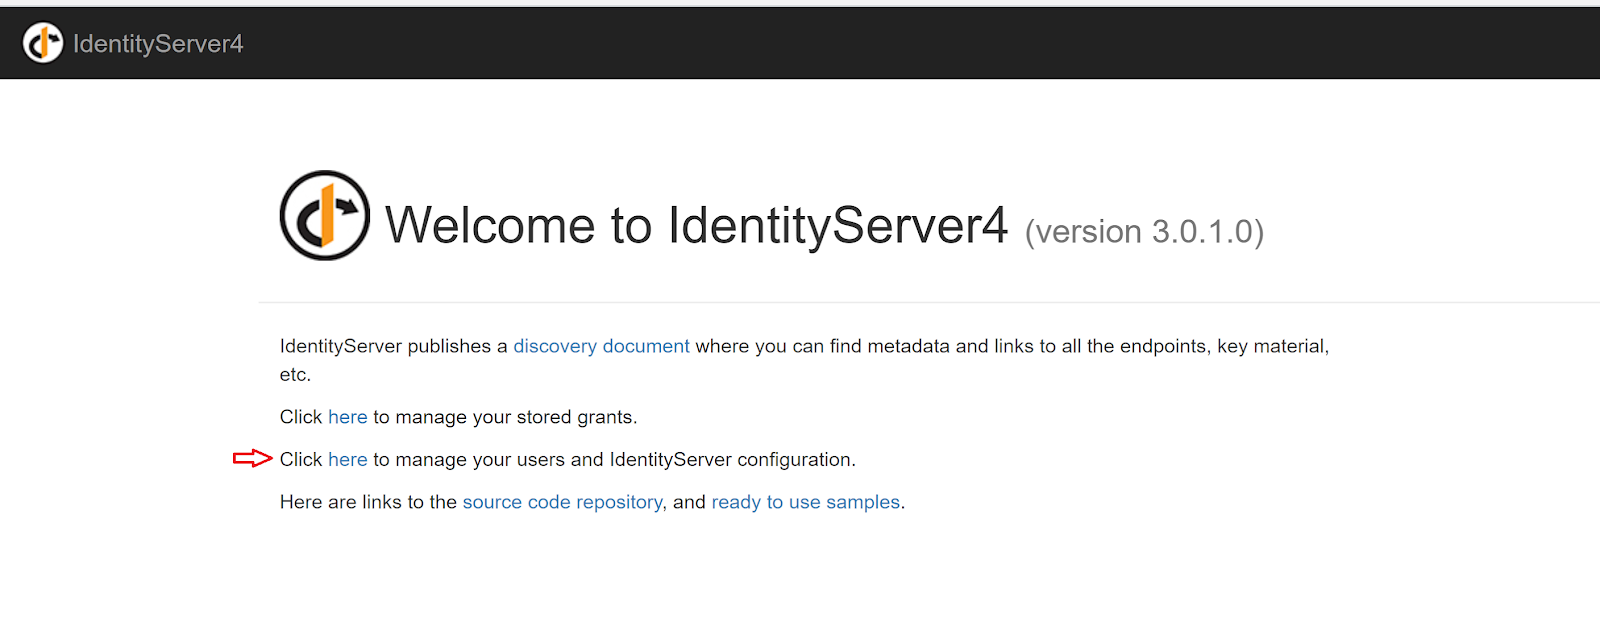
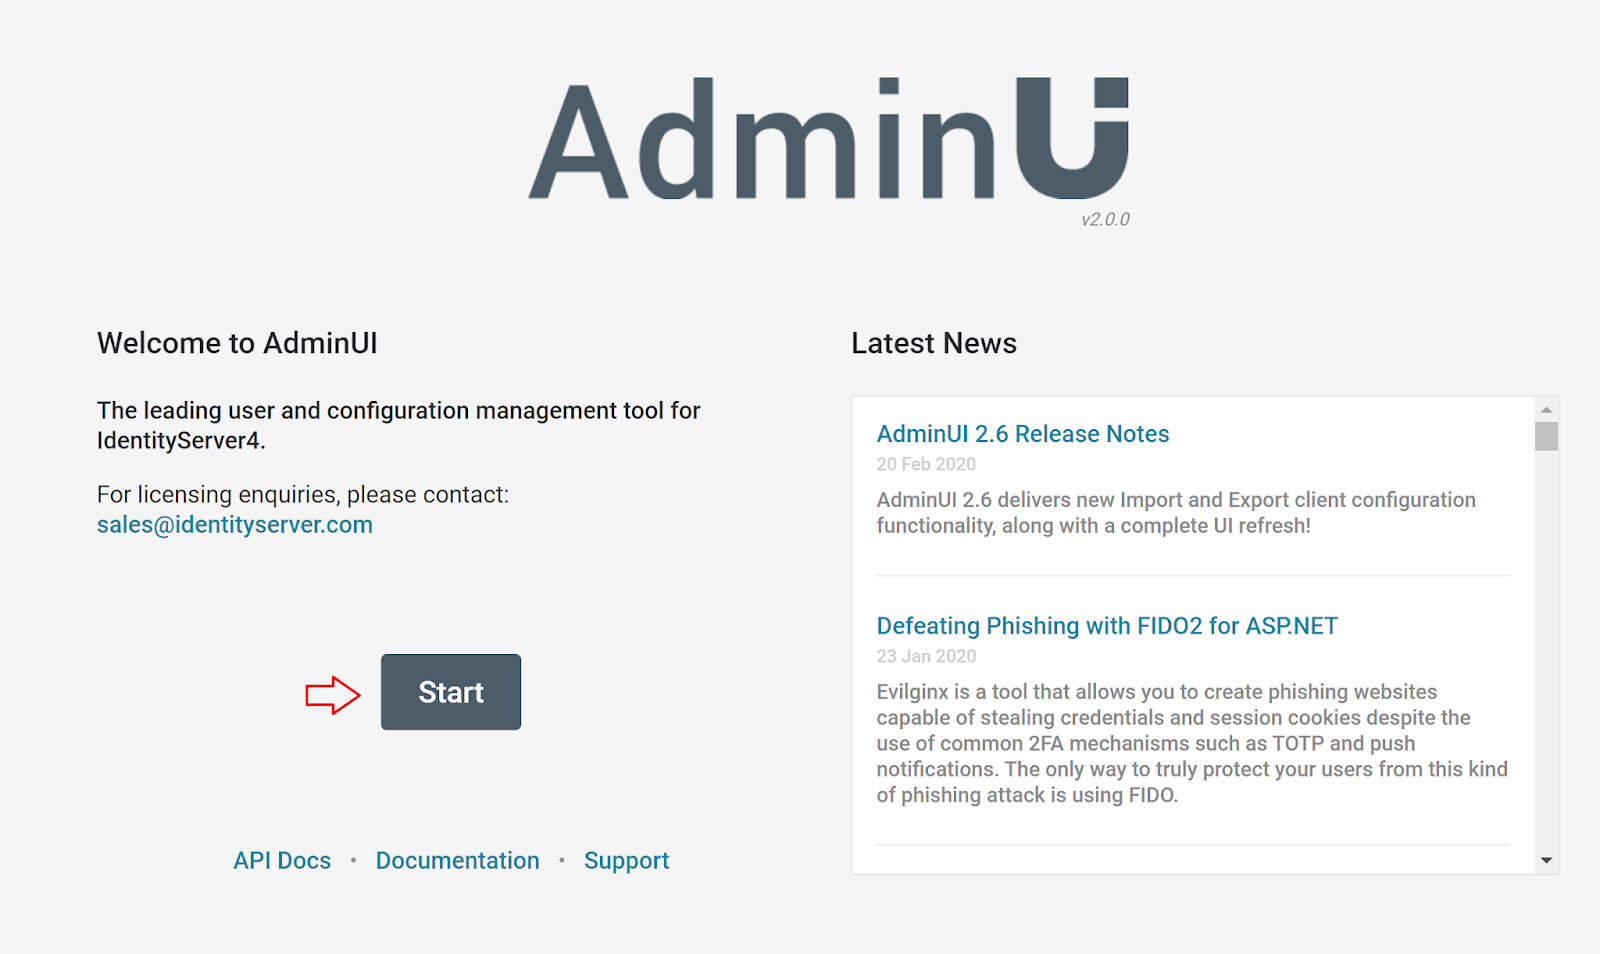
To add your users, roles, and clients, click on highlighted link then click on start
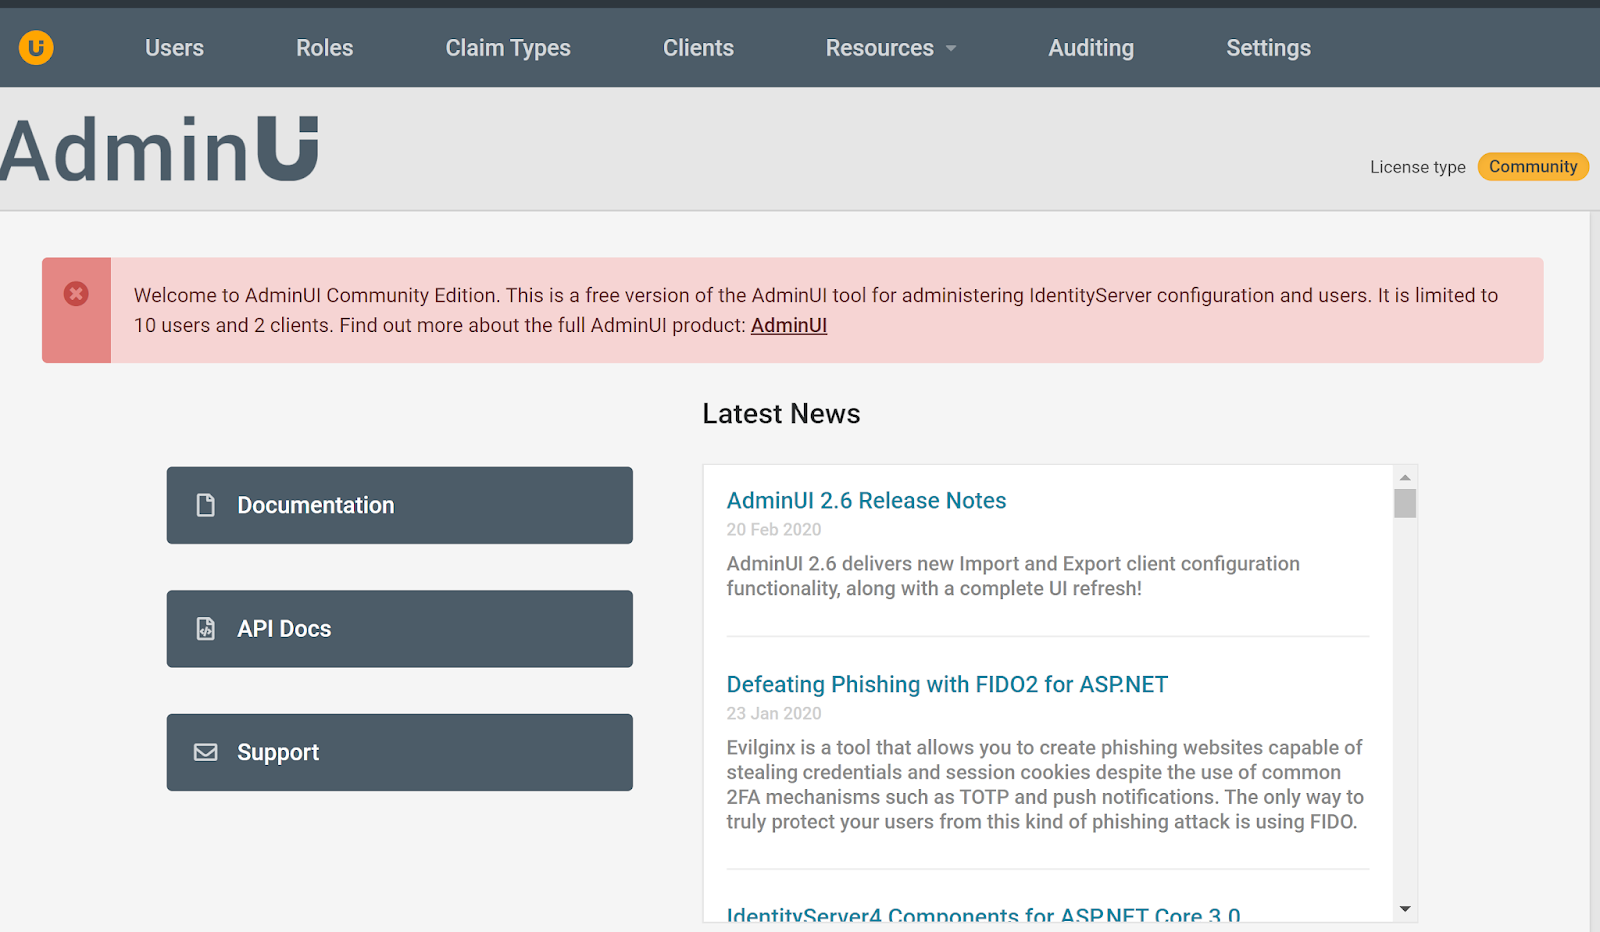
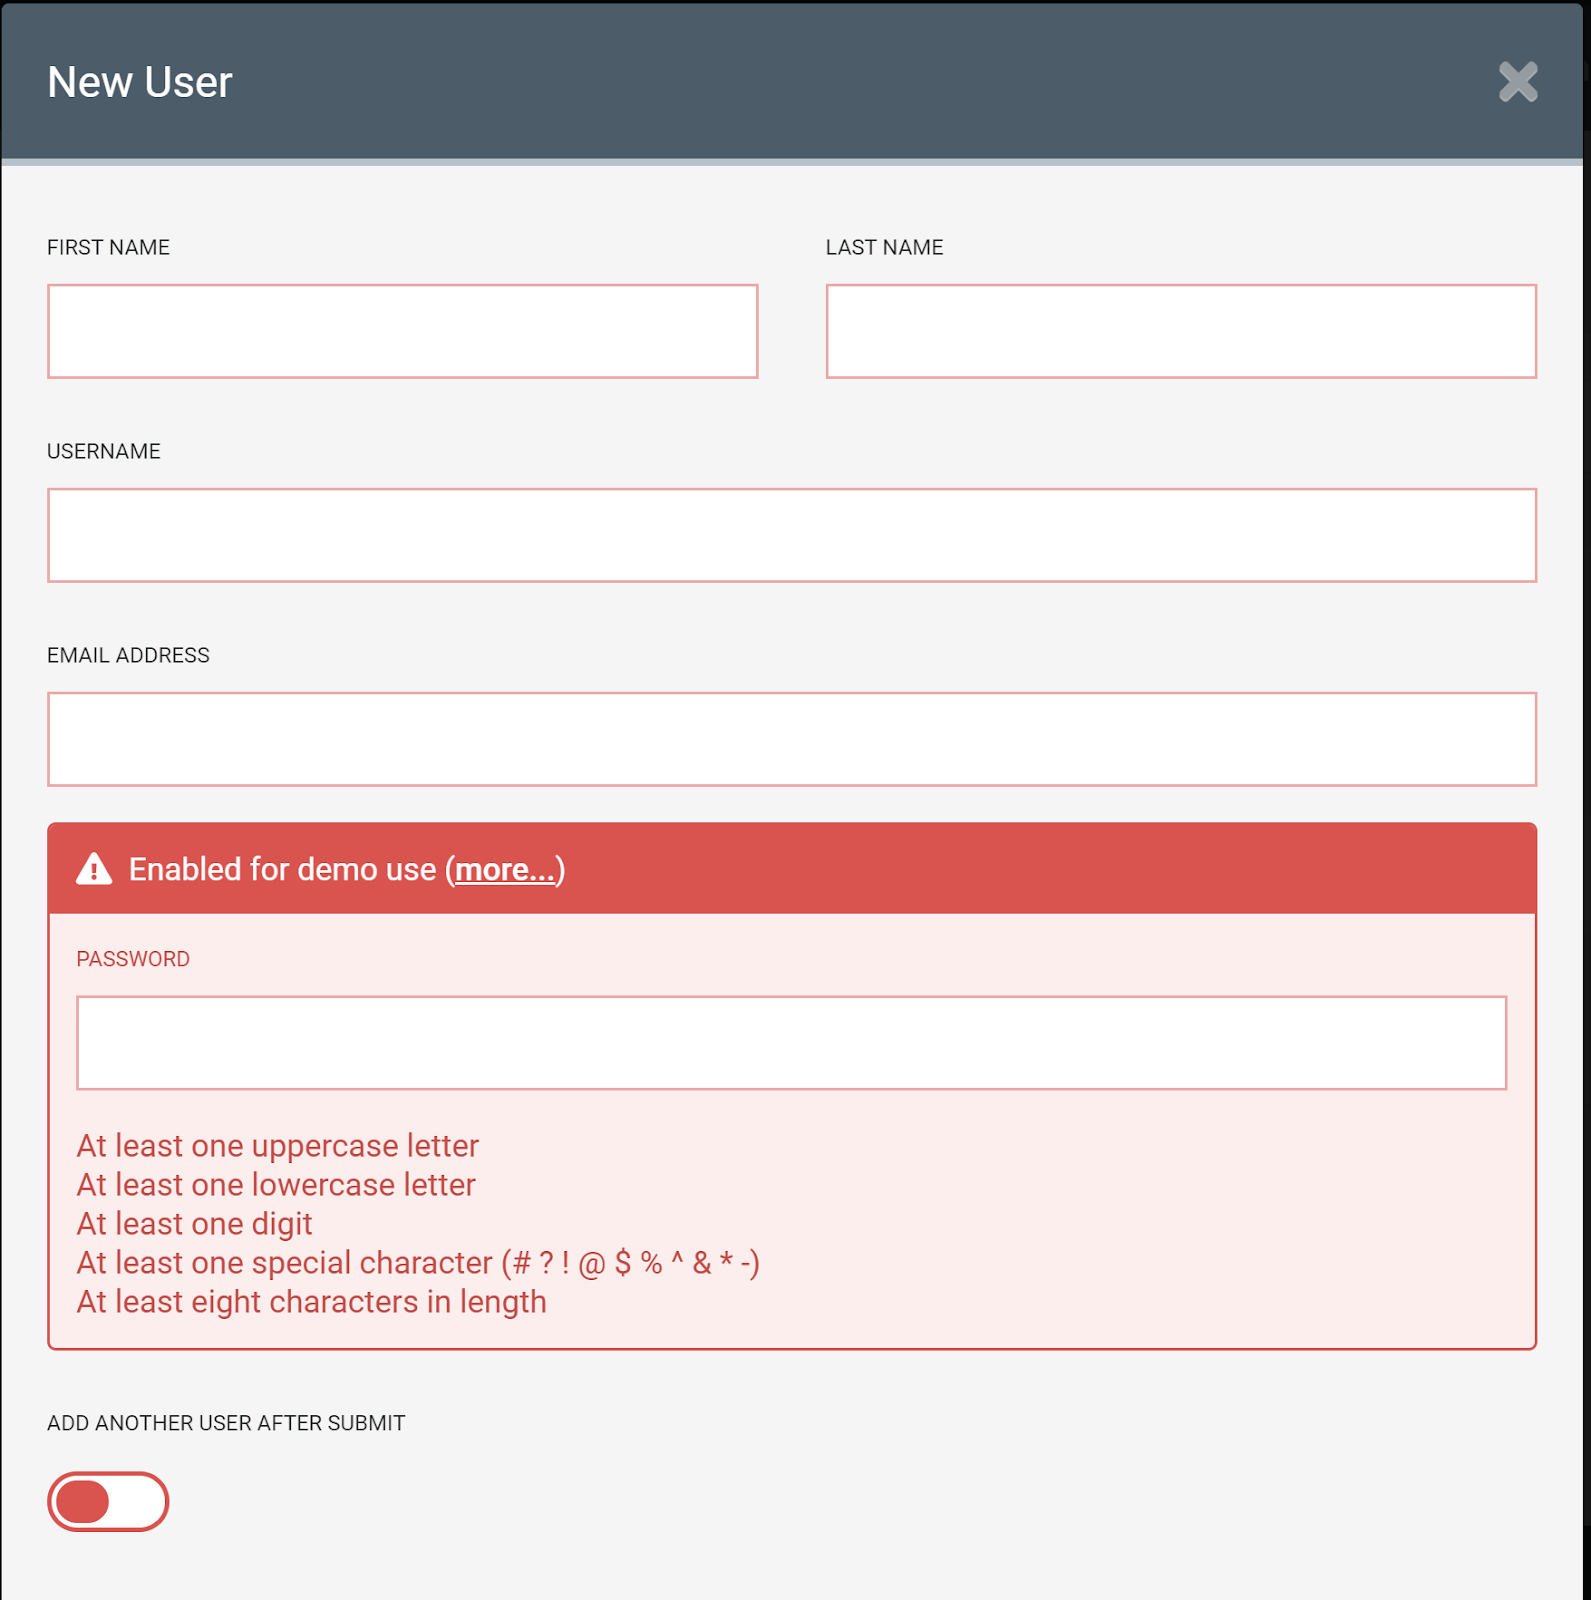
Open Users page and click on Add User button then fill the New User form where you define your user and his login credentials.
Note : Save user name and password as you will use it when you run your DotVVM application.
Define your application as Client
- Open Clients page and click on Add Client button
- Select Web App then click Start
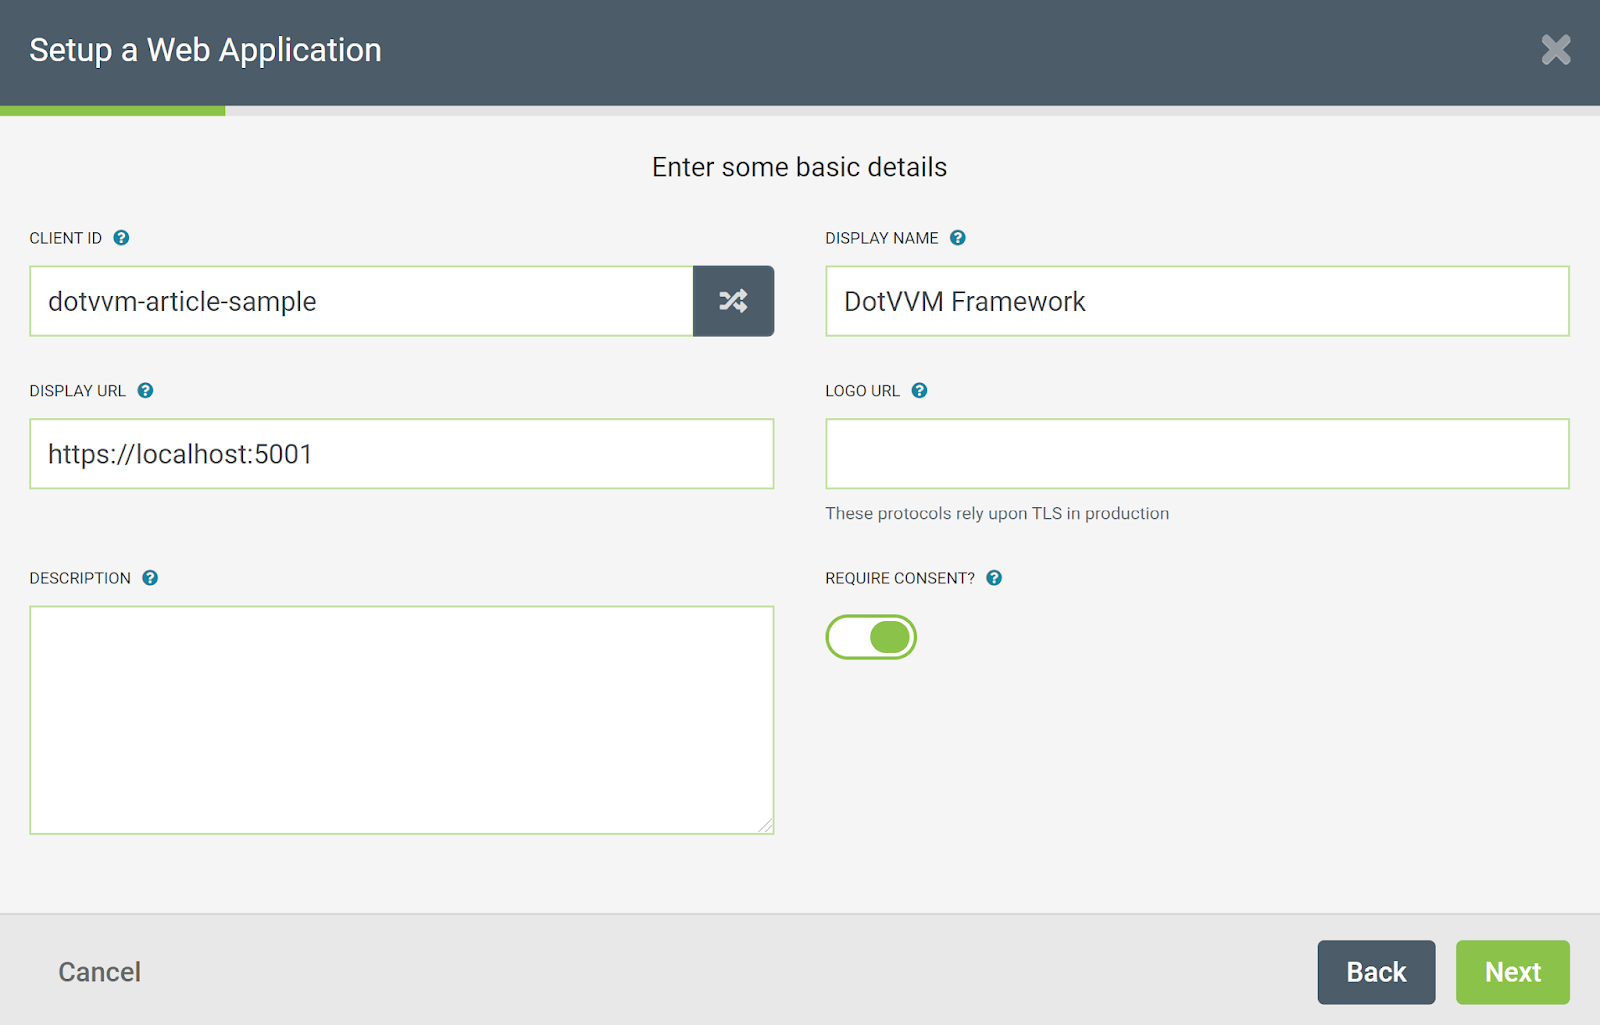
Fill your application main details then click Next.
Client ID : dotvvm-article-sample.
DotVVM Framework
https://localhost:5001

Callback URL. It is a URL to a page in your DotVVM application where IdentityServer will redirect to it if sign-in is succeeded. Enter https://localhost:5001 then click next.
Post-logout URL: leave it empty and click next
-
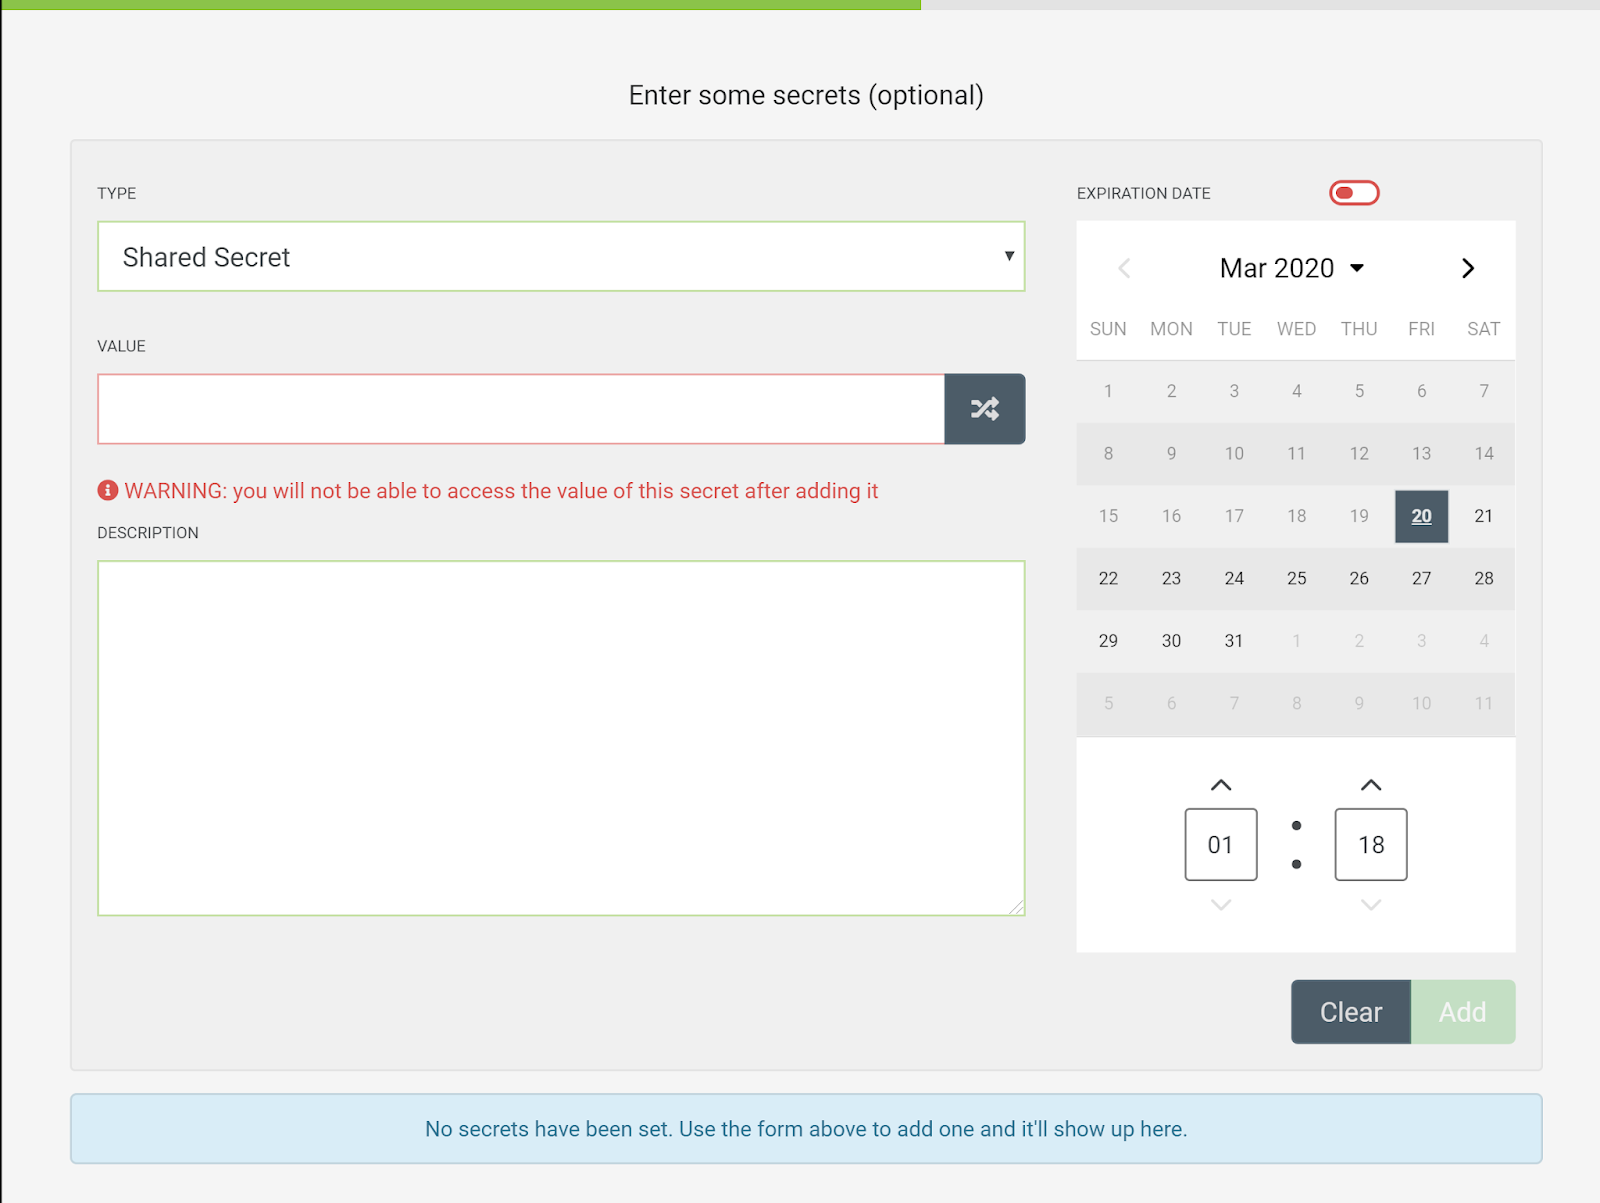
Secret: in this screen you specify a secret key for your DotVVM application. That key will be used in DotVVM application to identify your requests to IdentityServer. enter these values and click Add then click Next.
Type: Shared Secret
Value: dotvvm-secret
Expiration Date: 03/18/2025

-
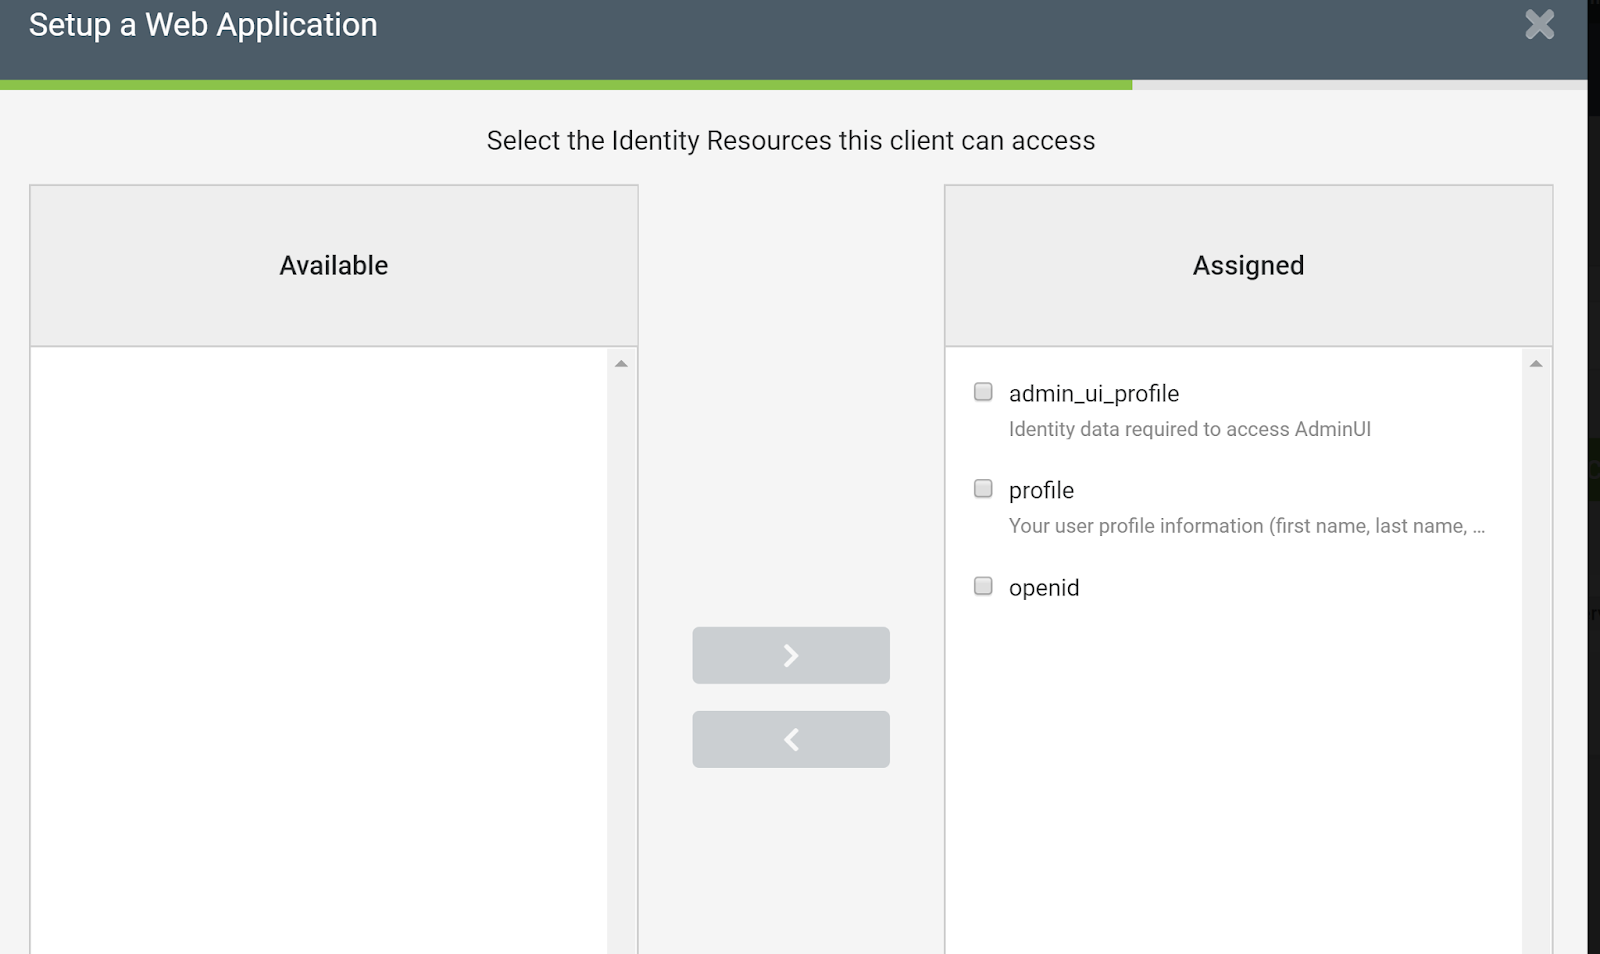
Identity Resource: select all available resource that can be accessible by your DotVVM application then click Next.

Protected Resources:select all available resources that can be accessible by your DotVVM application then click Next.
Review your choices and click Save
Open your client details and go to Advanced -> Token tab and check Always Include UserClaims In Id Token
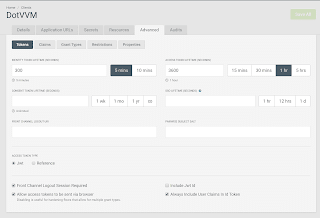

Differences between different options we have selected is out of scope of this post.
DotVVM Application
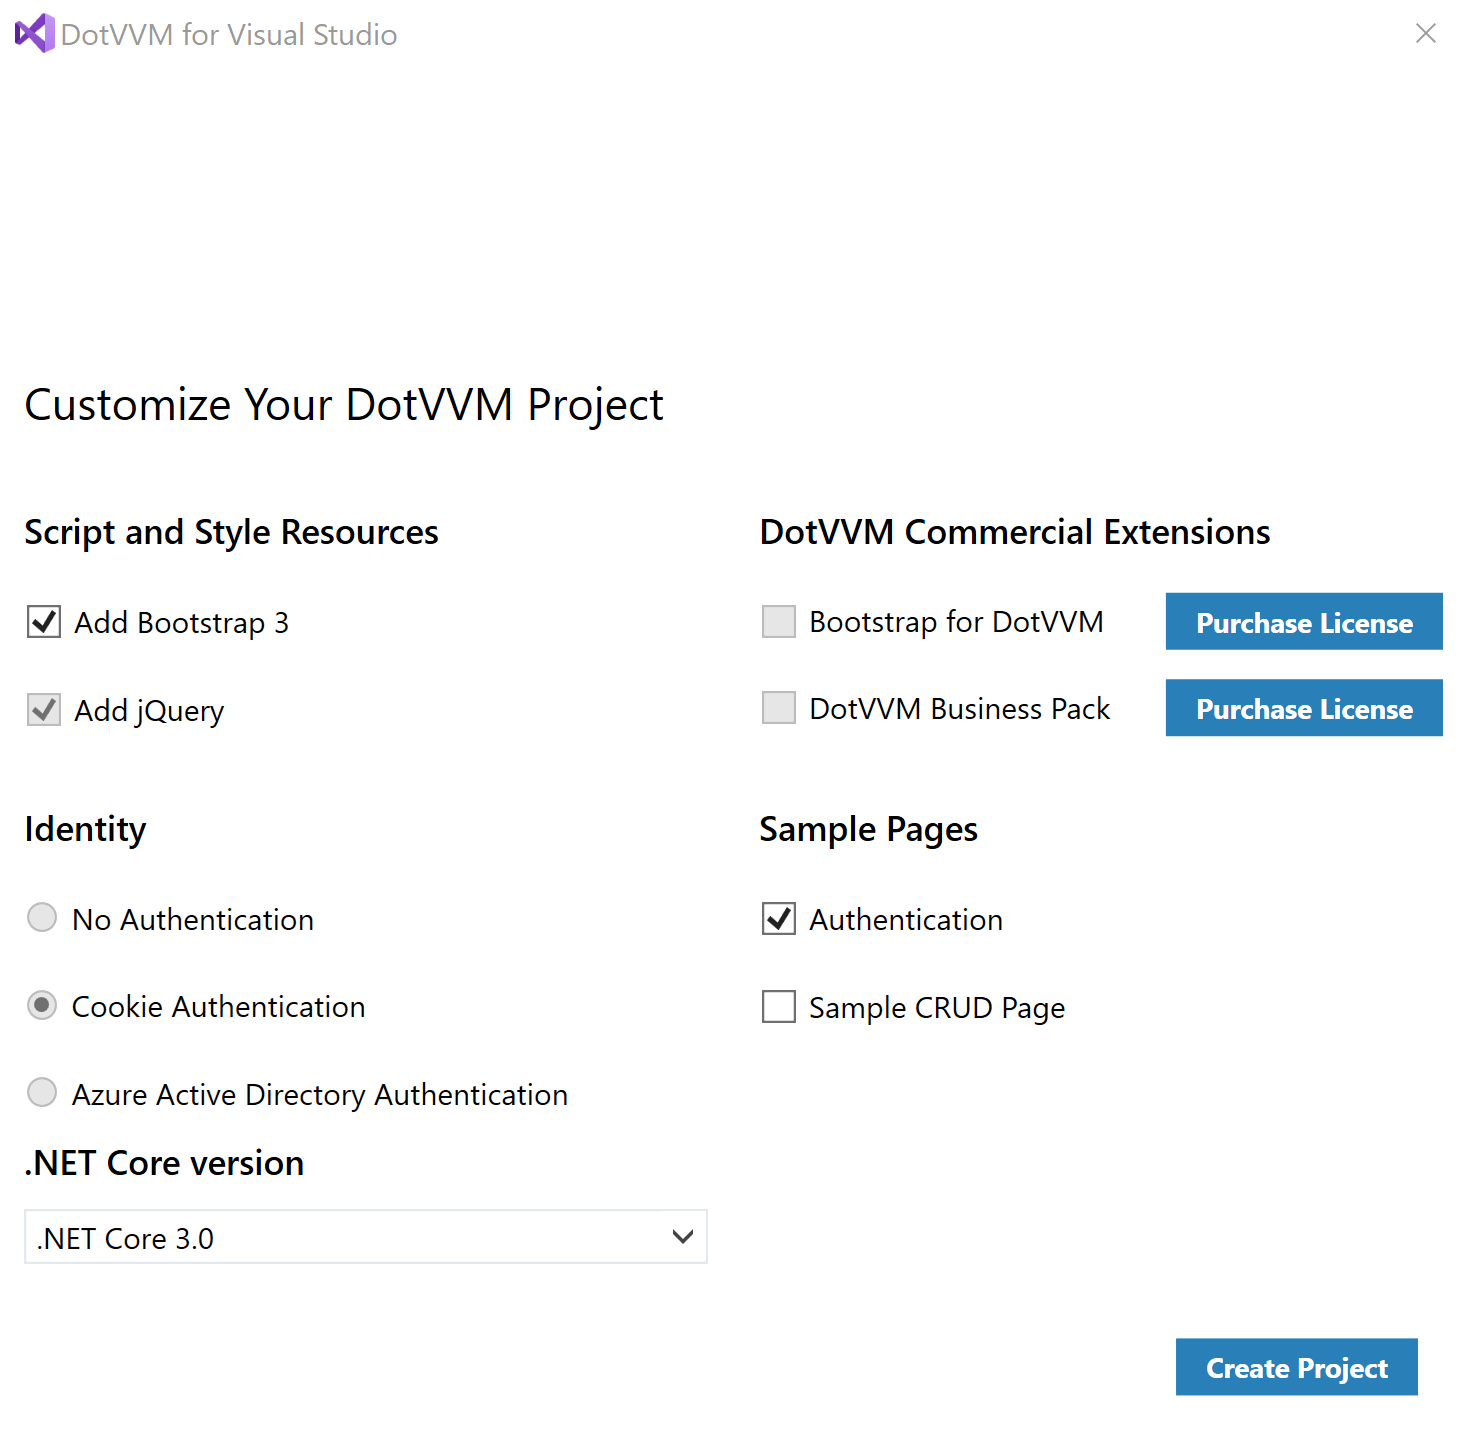
We will create a new empty DotVVM application, just include Bootstrap and Authentication sample code.
You can check this post for full steps of DotVVM application creation.
It is recommended to change you the target framework of your DotVVM application to .Net Core 3.1 and also re-install Microsoft.AspNetCore.Authentication.Cookies package.
- Open Program.cs file and add the following line to BuildWebHost method. We specify the URL of the DotVVM application to match what we have used while configuring the IdentityServer client.
.UseUrls("https://localhost:5001") - Install
Microsoft.AspNetCore.Authentication.OpenIdConnectpackage. -
replace
ConfigureServicesmethod with the following code
public void ConfigureServices(IServiceCollection services) { services.AddDataProtection(); services.AddAuthorization(); services.AddWebEncoders(); JwtSecurityTokenHandler.DefaultMapInboundClaims = false; services.AddAuthentication(options =>{ options.DefaultScheme = CookieAuthenticationDefaults.AuthenticationScheme; options.DefaultChallengeScheme = OpenIdConnectDefaults.AuthenticationScheme; }) .AddCookie(CookieAuthenticationDefaults.AuthenticationScheme) .AddOpenIdConnect(OpenIdConnectDefaults.AuthenticationScheme, options =>{ options.Authority = "http://localhost:5000"; options.RequireHttpsMetadata = false; options.SaveTokens = true; options.SignInScheme = CookieAuthenticationDefaults.AuthenticationScheme; options.ClientId = "dotvvm-article-sample"; options.ClientSecret = "dotvvm-secret"; options.ResponseType = "id_token token"; options.Scope.Add("openid"); options.Scope.Add("profile"); options.CallbackPath = "/signin-oidc"; }); services.AddRazorPages(); services.AddDotVVM<DotvvmStartup>(); } -
replace the Configure method with the following code
public void Configure(IApplicationBuilder app, IWebHostEnvironment env)
{
  app.UseAuthentication();
  app.UseRouting();
  app.UseAuthorization();
  // use DotVVM
  var dotvvmConfiguration = app.UseDotVVM<DotvvmStartup>(env.ContentRootPath);
  dotvvmConfiguration.AssertConfigurationIsValid();
  // use static files
  app.UseStaticFiles(new StaticFileOptions
    {
       FileProvider = new PhysicalFileProvider(env.WebRootPath)
    });
   app.UseEndpoints(endpoints =>
   {
     endpoints.MapRazorPages();
   });
}
Open ViewModels/MasterPageViewModel.cs file and decorate MaterPageViewModel class with Authorize attribute.
[Authorize]
public class MasterPageViewModel : DotvvmViewModelBaseAdd the following line to MasterPageVeiwModel class to read name of the logged in user from IdentityServer claims.
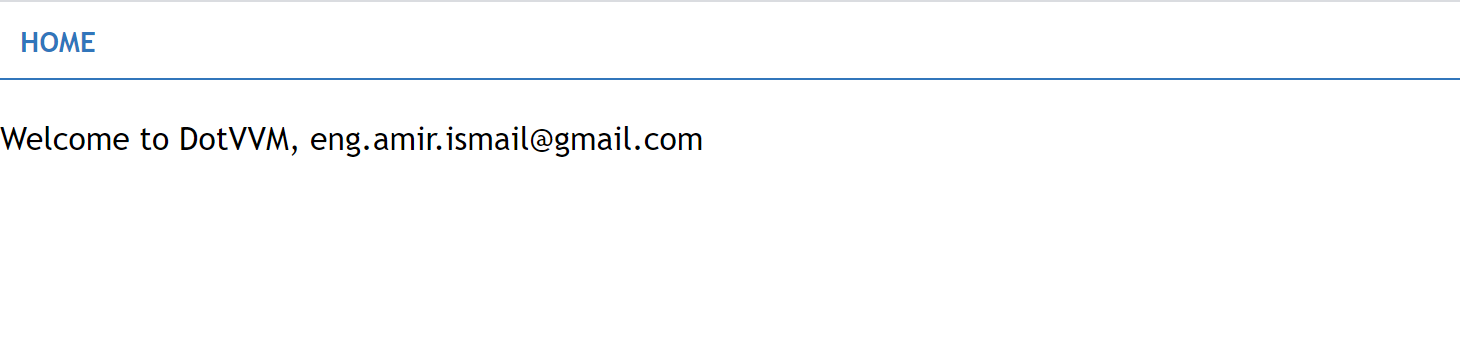
public string Username => Context.HttpContext.User.FindFirst("name")?.Value;Open Views/Default.dothtml file and add this div to content control
<div class="alert alert-info">Welcome to DotVVM, {{value: Username}}</div>-
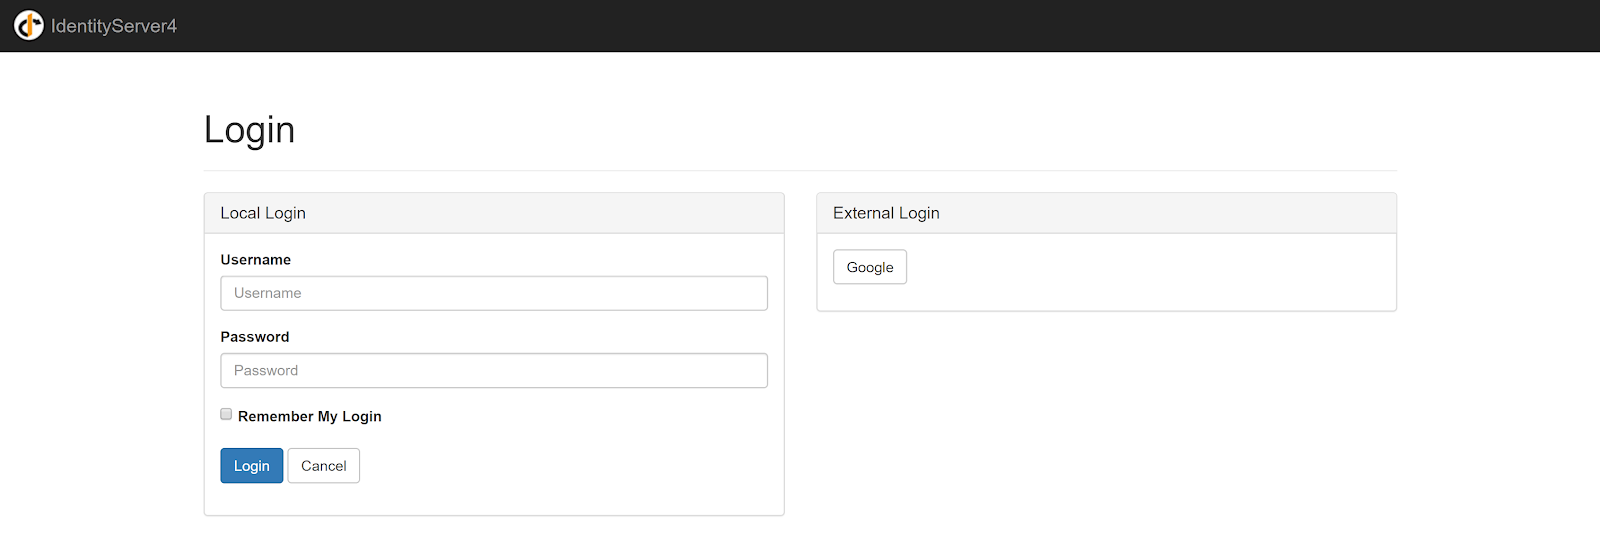
First you must run dotvvm.auth project and once you run your dotvvm.web project it will be redirected login page of IdentityServer

-
After logging using username and password you have specified while creating user step, you will be redirected to permission pages where IdentityServer asking for your permission.

-
Check permission you want to allow then click Yes, Allow button to go to your DotVVM application.


Summary
In this article we showed how to use IdentityServer4 to Authenticate your DotVVM application.
You can find the complete code sample in GitHub

Top comments (1)
Hi, I have follow your steps, I got:
Sorry, there was an error : unauthorized_client
Invalid redirect_uri
I change redirect_uri adding /signin-oidc, however now I get:
Sorry, there was an error : unauthorized_client
Invalid grant type for client
Can you help me?