
When I talk about accessibility with Android developers, I often hear that some easy-to-use tests should automatically catch every possible accessibility issue. And I get it. That would make the whole topic of accessibility so much easier and straightforward.
But the truth is that automated testing only catches some things. Studies suggest that the maximum percentage of caught accessibility issues is 40-50%. Deque, the company that develops the aXe accessibility tool, claims that the number is 57% in their study of automated accessibility tools. These studies have been performed with websites, but based on my experience, I have no reason to believe that the number would be higher on Android. So manual testing is always needed.
But for that 40-57% (or whatever the exact number is on Android accessibility testing), there are some tools to use. One of them is Accessibility Scanner, and in this blog post, I'll discuss how to test your app with it. Let's start with what it is.
What Is Accessibility Scanner
Accessibility Scanner is a helpful tool for semi-automated accessibility testing. It's an app which can catch issues from the following categories:
- Content labels
- Touch target size
- Clickable items
- Text and image contrast
It also suggests how to fix some of its findings and provides more info about the issues. However, it does not find every possible accessibility issue and thus does not guarantee the accessibility of your app. Manual testing is still needed. I keep saying this because I've seen these claims so many times that "Well, our test automation didn't find any accessibility issues, so our app is accessible".
One great thing is that you can use Accessibility Scanner with any Android app - it can be a native Android app or built with cross-platform technologies such as Flutter or React Native. Or it can even be a PWA - Progressive Web App.
Using Accessibility Scanner
Installation
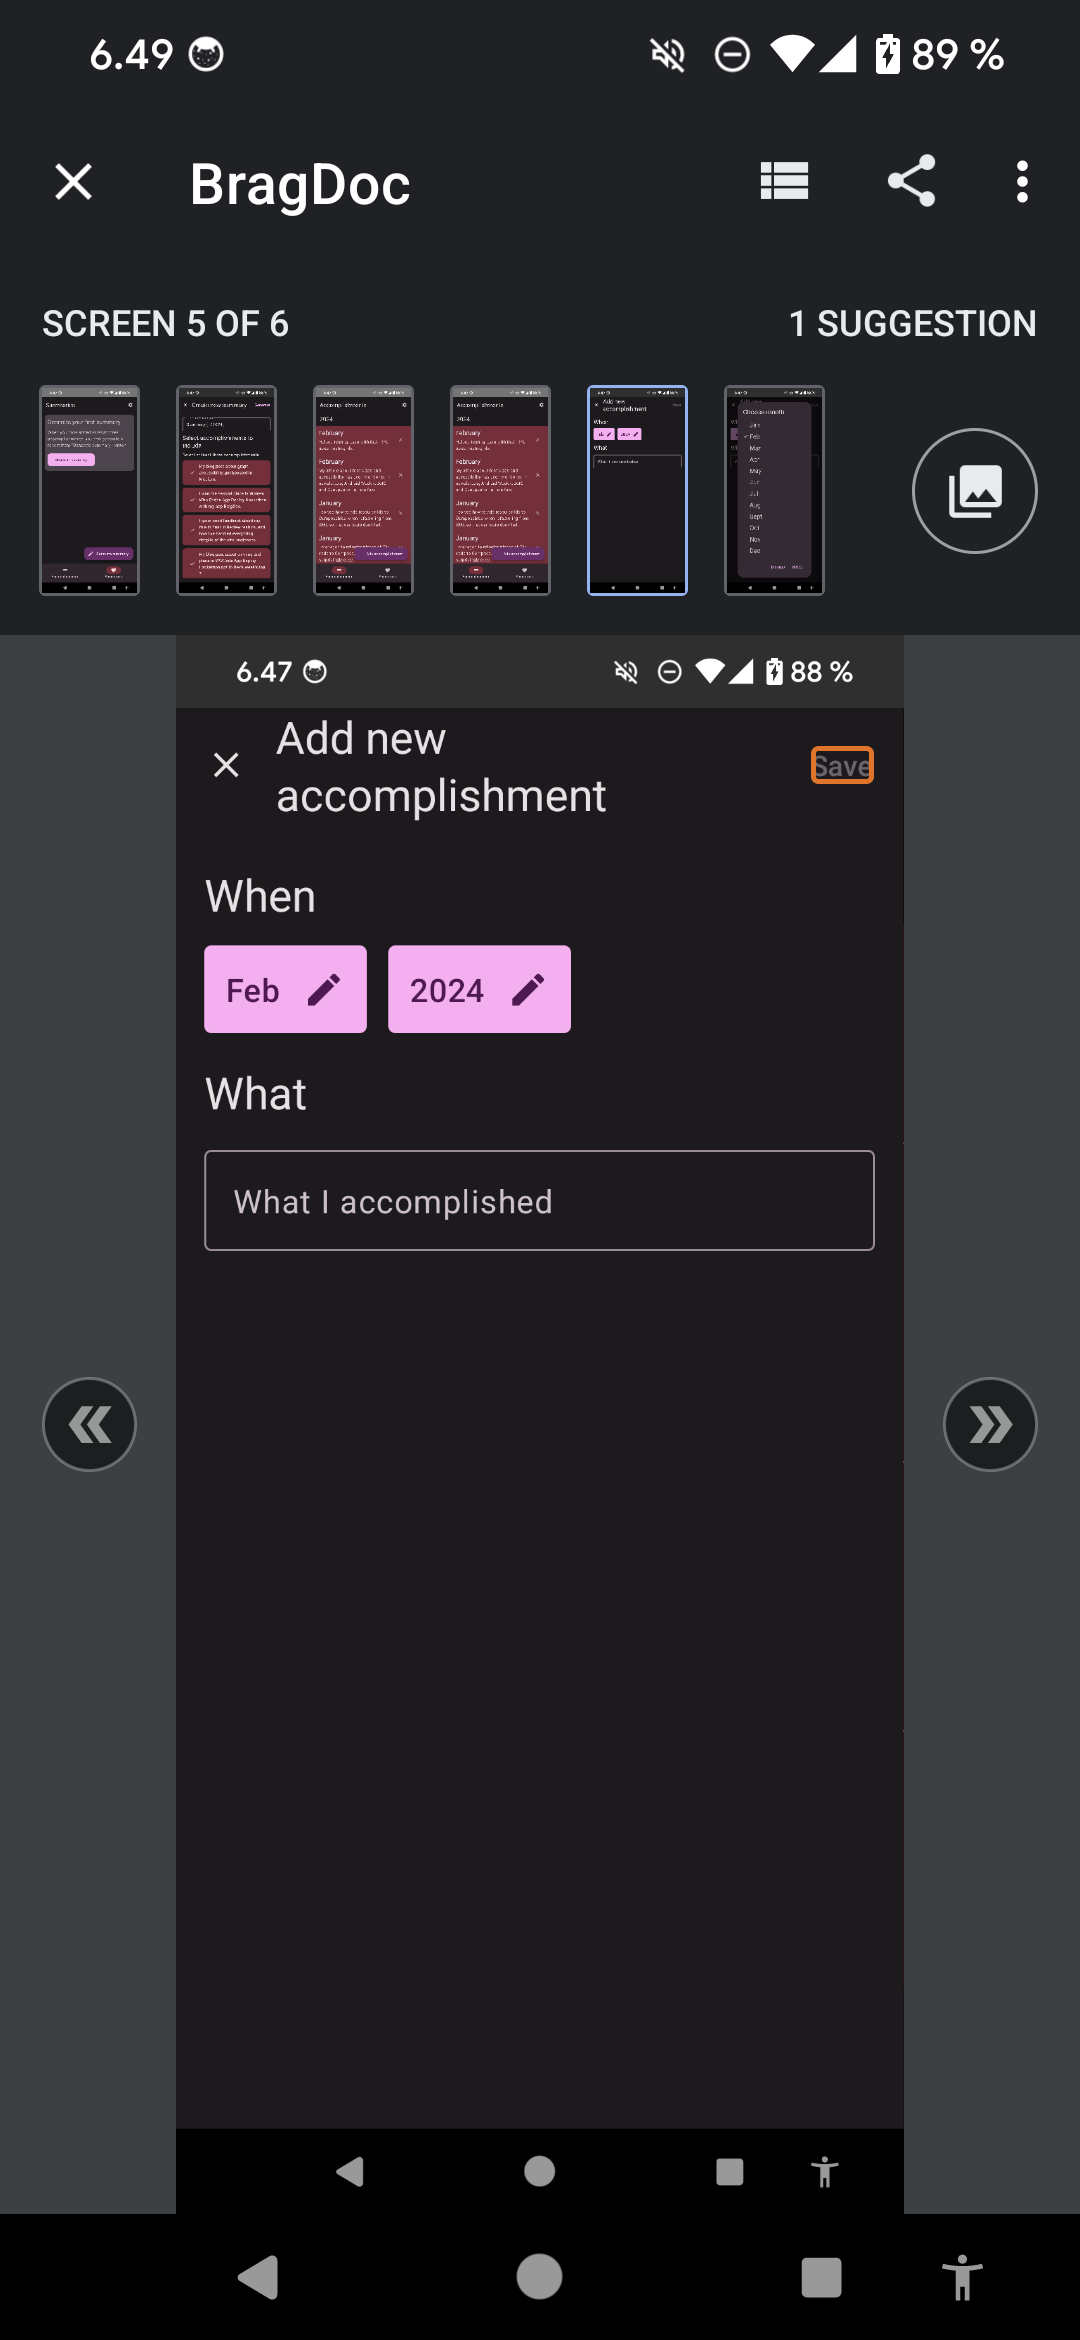
To use the Accessibility Scanner, you must first download it from Google Play: Accessibility Scanner. Once downloaded, you can turn it on from Accessibility settings (Settings -> Accessibility -> Accessibility Scanner -> Use service). This action adds a button overlay on your screen, and it's the access point to using the Accessibility Scanner.
Usage
Accessibility Scanner provides two options: Scan one screen or record multiple screens. Navigate to your app, then press the Accessibility Scanner button on the screen. It opens a menu where you can choose to record, take a snapshot (one screen), or turn the Accessibility scanner off.
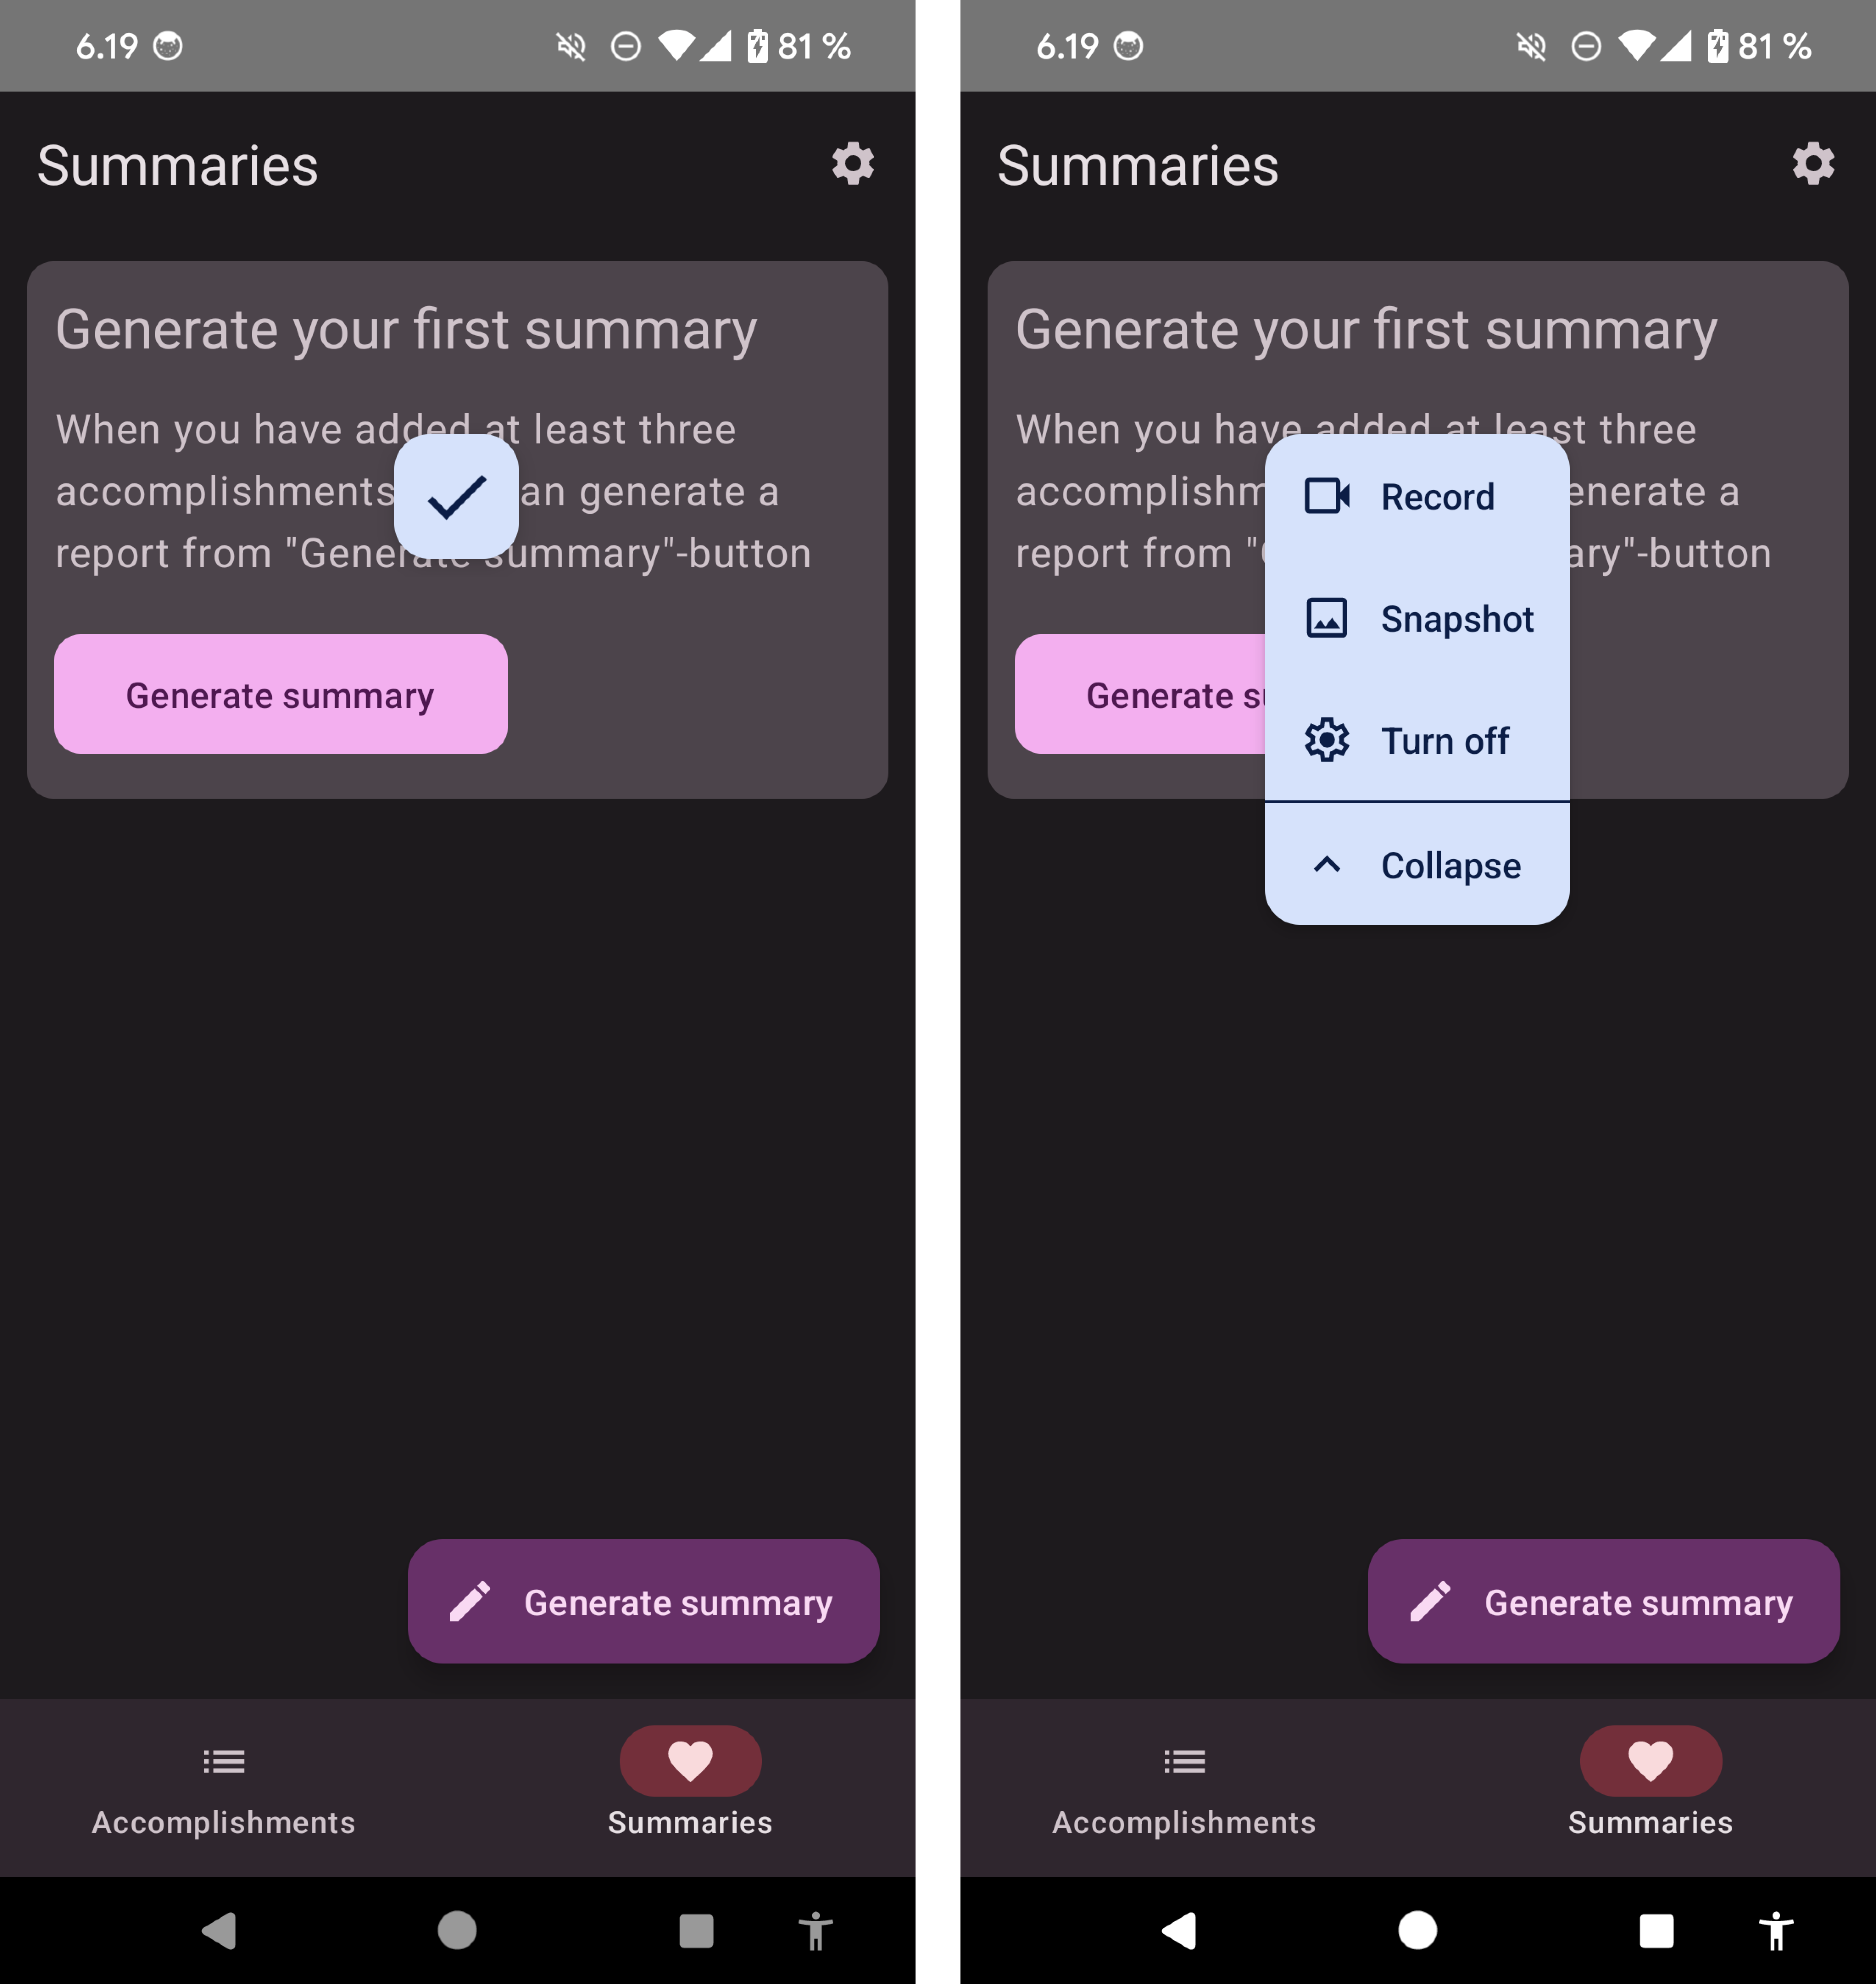
Press the record option to record a flow or multiple screens. Then, navigate through the screens. If your phone has a vibration turned on, you should feel a slight vibration every time the app takes a screenshot.
I've noticed that sometimes I need to go back and forth to get a screenshot from some screens. I don't know why this is, but navigating to another screen and back has usually worked for me - if not the first time, then the second time.
You can end the recording by pressing the same button that has now transitioned into a stop button. If it's not visible on the screen, then you can, for example, open the Quick settings (slide them down from the top of the screen). The button should re-appear.
Results
Okay, now you've either taken a snapshot or recorded a flow. The next step is to see the results and interpret them.
The Accessibility Scanner provides an overview of the screens:
You can navigate through the screens and see possible problems highlighted. If you prefer seeing the suggestions in a list view, you can find it from the top right corner, under the list icon:
![]()
Found issues are grouped either by screen or by category. When clicking the element on the screen, it displays a screenshot of the problematic element:
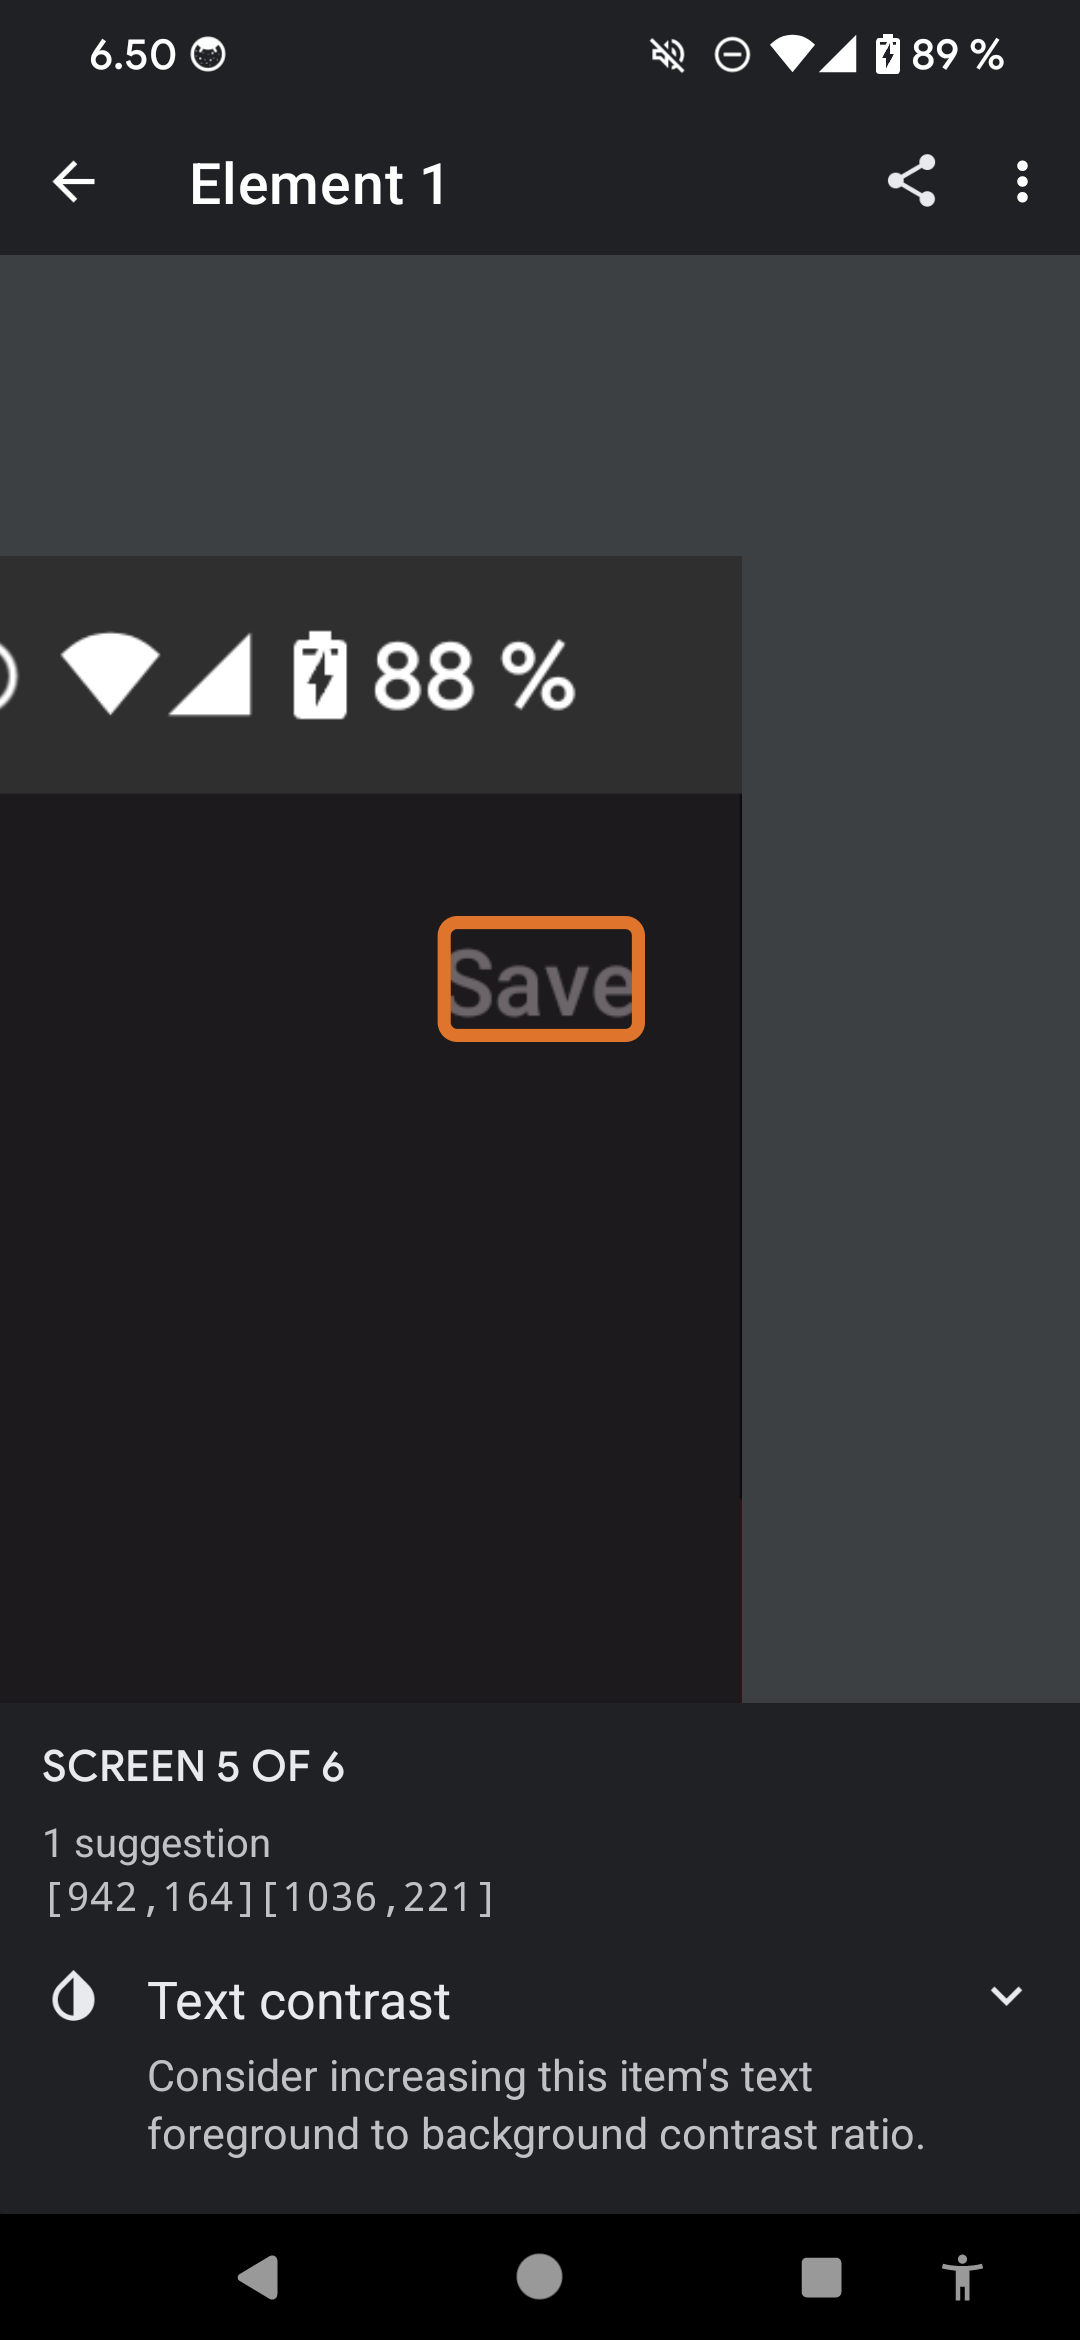
It usually also provides ideas on how to fix the issue. You can read more about different issues and their possible causes and fixes from the materials mentioned in the following section.
Learn More About Accessibility Scanner
Google has created materials to learn more about the Accessibility Scanner. There are two good text-based resources:
And if you prefer watching a video, they also have one on YouTube: Accessibility Scanner - Accessibility on Android.
Wrapping Up
In this blog post, we've discussed Accessibility Scanner, a tool for testing some parts of Android apps' accessibility. While it does not guarantee fully accessible apps, it is a great tool for finding low-hanging issues.
Have you tried Accessibility Scanner? Or is it in regular use for you? If you've tried it, what was the most interesting thing you found?

Top comments (0)