How to configure Skaffold for local development with Kubernetes for a Go microservice
If you want to deploy your application in Kubernetes, it probably makes more sense to set up your development environment to use kubernetes. The problem with this is that every time you make a change in your code, you have to build your application, create a docker image containing your application, upload it to your image repository and then deploy it to Kubernetes, which is a time consuming and inefficient process
Luckily, there are some tools that allow to automate this task, taking care of all the heavy lifting for you, so that you can focus on your code. Skaffold by Google is one of these tools, and in this tutorial I will guide you through the process of configuring your Go project to use Skaffold
For more information about Skaffold, visit their website at https://www.skaffold.dev
Prerequisites
Before we dive in, let's see what we need to have in our development machine:
- Kubernetes installed in your local machine. In my case I use another home server to host my Kubernetes cluster, if that is your case, make sure you copy the context from the server to your dev machine and set your local kubectl to use the context for the server running the cluster.
- Docker installed in the server running the K8S cluster or in your dev machine if you are running everything locally
- A Go application. In this case, I am using a gRPC server
Set up your project to work with Skaffold
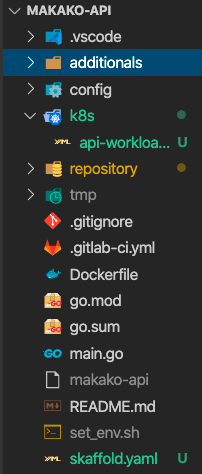
The command to start using Skaffold is skaffold init, but before you use it, make sure you have your kubernetes manifests in your repository. In our case, the K8S manifest is stored under the folder k8s/api-workloads.yaml
Now that we are sure our manifests are in the right place, we can proceed to execute skaffold init. If your manifest files are in a different folder, you can use the argument -k to specify the route to the manifest files.

This will create a file in your root directory called skaffold.yml
This file contains the most basic configuration for skaffold
If we run skaffold dev, which is the command to start developing using Skaffold, it will take the Dockerfile of the root folder and it will use it to build our images, however, since we are doing multistep image builds to have smaller image files it will consume too much time and we will have to wait probably around one or two minutes to see every change deployed into our cluster. I don't know about you, but I will go crazy if I have to wait two minutes every time I hit CRTL+S to test any change in the repository.
Just FYI, this is our original Dockerfile used by our Gitlab CI/CD pipeline. If we allow skaffold to use this Dockerfile, it will take too long for our image to build since it will have to download all the dependencies in the builder image.
Creating our build script
To avoid this, we will need to create a script that skaffold will use to build our binary, our docker image, and then it will push this image to our image registry.
Note: Make sure to run chmod +x k8s/build-skaffold.sh to allow the script to be executed
Creating our Dockerfile for development
Now, that the script is doing the heavy lifting and we are building our binary in our dev machine, we will create a new Dockerfile which will only copy the created binary and will run our application.
Update skaffold.yaml
Now that we have created the build script and that we have created our development Dockerfile, we can modify the skaffold.yaml file to use our build script
As you can see, we are telling skaffold to explicitly use a tag with a given format and we are using our build script as the build command for skaffold.
You can now run skaffold dev
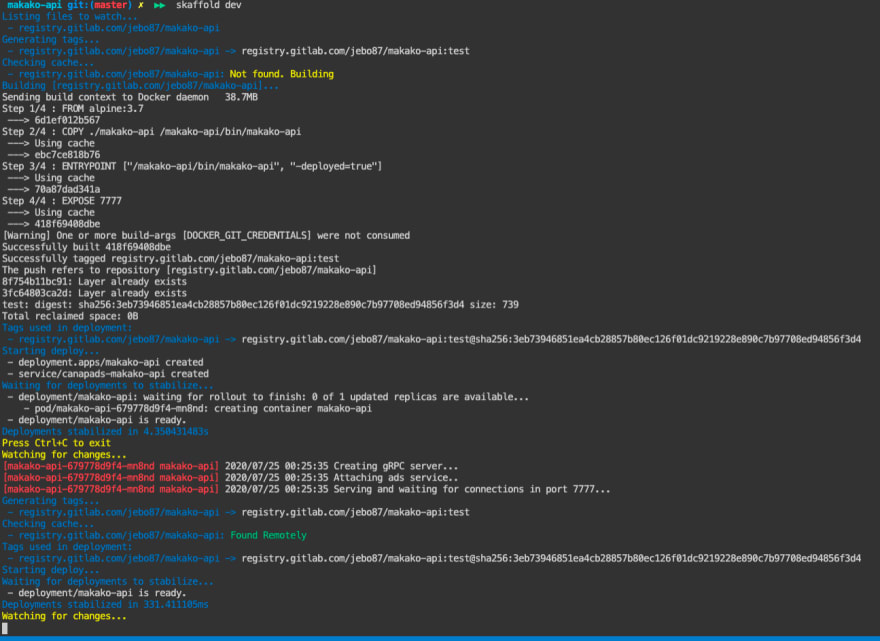
And finally you can check everything is working

There you have it, now you can make any changes to your code and Skaffold will take care of everything needed for your change to be available in your development cluster. In my case, in less than 15 seconds I am able to see the changes being pushed to my cluster.

Top comments (0)