
Originally posted at ellehallal.dev👩🏽💻
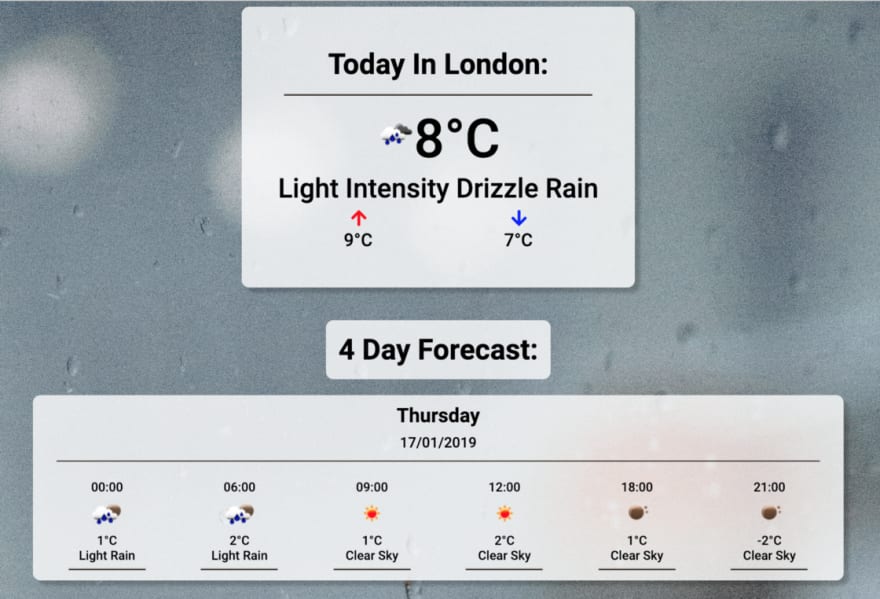
This is a quick blog on how I deployed my weather manager app to Heroku.
Deploying took longer than anticipated, due to an issue I was experiencing with dotenv-webpack and dotenv in a production environment. The following error kept popping up when deploying to Heroku:
failed to load ./.env
Thanks to one of my mentors, Dan, for helping me to figure out what was going on! As this issue has been resolved, this blog will outline the steps in an order that should not cause errors when deploying.
For reference, here’s how my weather manager files are organised. There are hidden files:

./distcontainsmain.js.env(which contains my API key) is in the root directory
Step 1: Express.js — web app framework
- Create
server.jsin the root directory, and add the following code:
const express = require("express");
const path = require("path");
const port = process.env.PORT || 8080;
const app = express();

app.use(express.static(__dirname + '/dist'));

app.get('*', (req, res) => {
  res.sendFile(path.resolve(__dirname, 'index.html'));
});

app.listen(port);
- Run
npm install express
Key points
__dirnameis the directory whereserver.jsis__dirname + ‘/dist'is the current directory from wheremain.jsis running
Step 2: Create webpack.prod.js
This step is important if you have dotenv-webpack installed. If installed then in webpack.config.js, dotenv-webpack is required:
const path = require("path");
const Dotenv = require("dotenv-webpack");

module.exports = {
  entry: "./src/index.js",
  mode: "development",
  output: {
    filename: "main.js",
    path: path.resolve(__dirname, "dist"),
  },
  node: {
    fs: "empty",
  },
  plugins: [new Dotenv()],
};
This is fine for development, but doesn’t seem to work well for production. Therefore, a similar file is needed for production only, which doesn’t contain references to dotenv-webpack.
Create a copy of
webpack.config.jsin your root directory and name itwebpack.prod.jsIn
webpack.prod.js, remove references todotenv-webpack, and replace it with the following:
const path = require("path");
const webpack = require("webpack");

module.exports = {
  entry: "./src/index.js",
  mode: "production",
  output: {
    filename: "main.js",
    path: path.resolve(__dirname, "dist"),
  },
  node: {
    fs: "empty",
  },
  plugins: [
    new webpack.DefinePlugin({
      "process.env": {},
    }),
  ],
};
- Under scripts in
package.json, add:
"scripts": {
  "start": "node server.js",
  "heroku-postbuild": "webpack --config webpack.prod.js"
},
As a result, Heroku will use the webpack.prod.js file, rather than the webpack.config.js file.
- Set the version of npm and Node.js by adding the below to
package.json:
"engines": {
  "node": "11.6.0",
  "npm": "6.5.0"
}
Step 3: Only require dotenv when NODE_ENV is set to development
- Assuming dotenv is also installed, add the following to
server.js, just underconst app = express();
if (process.env.NODE_ENV == 'development')
require('dotenv').config({ silent: true });
Step 4: Set dotenv-webpack and dotenv as devDependencies
- For
dotenv-webpackanddotenvto be required during development only, run the following:
npm install dotenv --save-dev
npm install dotenv-webpack --save-dev
Step 5: Deploying to Heroku
Log into Heroku via the terminal with
heroku loginRun
heroku createto create your app on Heroku. An app name will be generatedReinitialise the project by running
git initSet a Heroku remote branch by
heroku git:remote --app [your-heroku-app-name]Set your environment variables — or config vars as they’re referred to in Heroku. Here’s how I set my API key for openweathermap:
heroku config:set API_KEY=myapikey3902e92e802e8Git add and commit
Push to Heroku with
git push heroku master
And that’s it (hopefully)!

Top comments (0)