
Previously on “Custom view”…
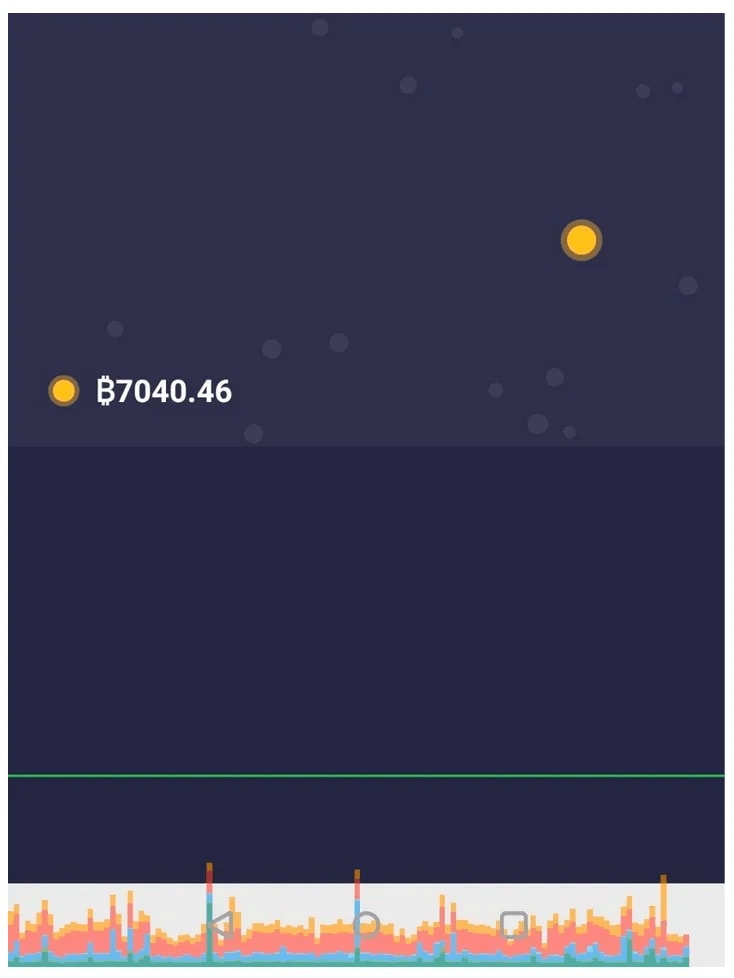
We’ve added all the constituent parts of the chart, and started the app for the first time. But the chart disappeared. It’s as frustrating as creating a lovely painting, but not being able to show anyone to get that “WOW” effect!
So what now? First, we need to discover the reasons for this mysterious disappearance. Let’s go to the logcat and see what it says:
Shape too large to be rendered into a texture (18104x787, max=16384x16384)
This error message tells us that one of the shapes exceeds the maximum size of a texture that can possibly be rendered by a phone. This must be our chart. The size of a texture may vary depending on the device.
In our case, the chart was growing as it was getting new values. The larger the Path became, the more resource-intensive it was to render it. This resulted in it exceeding the texture size limit.
How is the Path linked with the texture?

This is the approximate path from calling canvas.drawPath, to drawing it. Most of it goes through Skia, a graphics library used inside Android.
You may notice that SkBitmapDevice is used at the end, demonstrating that the Path is drawn in Bitmap. This Bitmap is then loaded as a texture to the GPU and rendered there.
This leads to an obvious problem with the Path:
The larger the Path region, the larger the texture.
Now where can we go from here? There are a few options, but you should always figure out the most optimal solution for your needs. The most obvious solution is to use the minimum amount of data required for display. Alternatively, we could pay attention to the size of the occupied area rather than the complexity (this might be cheating a little bit…!). Another option still would be to re-use the Path, and if possible use rewind (however, the number of points has to remain constant). Finally, we could pre-fetch the chart in Bitmap. This should be done in a separate thread, so as not to block the current one.
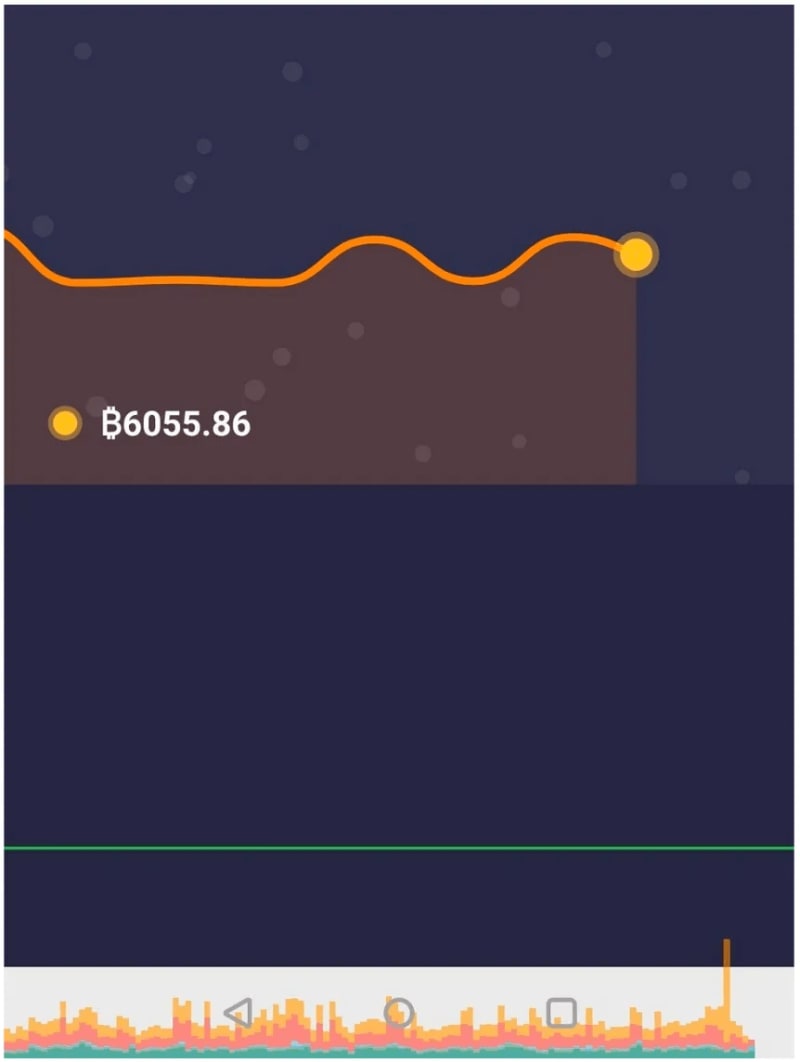
Fixed-size chart
The chart continuously shifts to the left, but when a new value is added, we delete the last one and shift the chart to the right. Thus, we create the effect of continuous movement.
The main drawback of the Path is that the actual rendering to the texture is performed on the processor. Therefore, it’s reasonable to try rendering with primitives. However, you might encounter the problem of limiting hardware acceleration and the Canvas API. As I mentioned earlier, the drawVertices method used to fill the chart doesn’t support hardware acceleration and can only be used without it. It doesn’t work for us.
Let’s compare the two approaches — using the Path and the primitives. For visual clarity, I removed the fill and remove rounding effect.
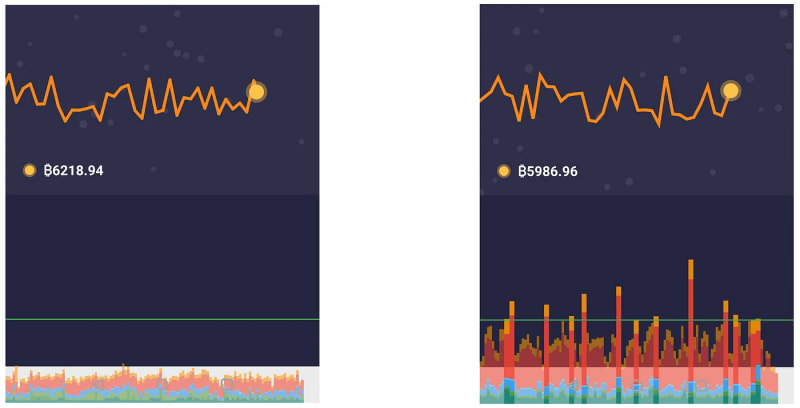
This is what we get. On the left, the chart is drawn by calling the drawLines method from Canvas. On the right, the Path is used. As you can see, drawing with primitives is much lighter than Path. Therefore, I recommend drawing with primitives whenever possible.
There is still one way to improve performance, but also use Canvas. You need to implement rendering on Canvas in a separate thread. Two Views from the Android SDK come to the rescue — SurfaceView and TextureView. Let’s take a look at their differences and choose the one that would serve us better.
SurfaceView
The main drawback of SurfaceView is that a separate Window is created for It. This is good from the point of view of performance, but also puts some restrictions on building the user interface. For example, we cannot animate the View (as far it’s not a part of a view hierarchy).
SurfaceView works well when you need to stream a video or use OpenGL, but at the same time SurfaceView does not interact with other Views.
TextureView
TextureView doesn’t have the drawbacks of SurfaceView that I’ve mentioned, but its performance is lower. Usually, this isn’t a problem.
Since we need to use the chart component together with other UI elements, TextureView is the best choice for us.
Let’s take a look at the basic steps for configuring TextureView:
- Create a View that is inherited from TextureView.
- Implement the SurfaceTextureListener, which describes the TextureView lifecycle. Subscribe in onAttachedToWindow and unsubscribe in onDetachedFromWindow
- Implement the dedicated rendering thread, which is the main advantage of TextureView over the regular View
SurfaceTextureListener
fun onSurfaceTextureSizeChanged(surface: SurfaceTexture, width: Int, height: Int)

fun onSurfaceTextureUpdated(surface: SurfaceTexture)

fun onSurfaceTextureAvailable(surface: SurfaceTexture, width: Int, height: Int)

fun onSurfaceTextureDestroyed(surface: SurfaceTexture)
This interface contains four methods. The name of each clearly indicates its purpose. In most cases, we only need the last two:
- onSurfaceTextureAvailable, which tells us that SurfaceTexture is ready for use.
- onSurfaceTextureDestroyed, which is called before terminating the SurfaceTexture.
In the simplest implementation, we need to save the reference to SurfaceTexture and start the rendering thread in the first method, reset the reference and stop the thread in the second method.
val surface = Surface(surfaceTexture)
while (true) {
    val canvas = surface.lockCanvas(null) ?: break

    delegate.onDraw(canvas) //delegate is an object which draws our chart

    try {
        surface.unlockCanvasAndPost(canvas)
    } catch (e: IllegalArgumentException) {
        break
    }
}
Let’s move on to creating the rendering thread. We’ll choose the simplest implementation. The code of the run method is shown in the snippet above. This is a step-by-step description of what happens there:
- The surface is created based on SurfaceTexture.
- An unending cycle. Here’s what happens inside this cycle:
- Get the canvas object from Surface.
- Draw on this canvas.
- Post the modified canvas to surface.
- The cycle may be interrupted if we couldn’t get the canvas or post it to Surface.
- When finished, we release the created surface.
Things to keep in mind:
- It takes a lot of effort to implement a thread-safe render, because the data for rendering will come from other threads.
- As described earlier, you’ll need to control the lifecycle using SurfaceTextureListener.
- It’s worth highlighting the issue of animation. Since rendering is performed in a separate thread, we don’t know the frame time. To find it, you need to use the SDK’s Choreographer feature. It coordinates all the work in the system related to animation, user input, and rendering. You can use the Choreographer either explicitly, or implicitly. You may apply higher-level abstractions of the ValueAnimator type, which is the preferred option.
For more information about TextureView, see the Grafika demo app that is stored in the Google repository on GitHub.
Launch our app with TextureView
We can enjoy this result primarily because the Path is rendered to the texture in a separate thread. As the Profiler shows, our work can be considered completed.
Take-away
It’s been a long ride through this Custom View tutorial! Check out Part 1 and Part 2. Now that we’re finished, let’s summarise the recommendations. What should you take into account when you work with canvas and the Path to create your own custom views?
- Obviously, the less you do during rendering, the higher is the frame rate.
- Don’t rush to complicate the rendering logic. In most cases, the Path of a fixed size is enough.
- If you don’t use the Path, then give a preference to line, point, or rectangle primitives, since they don’t use the Path at the Skia level. For example, drawCircle uses the Path.
- If you draw several primitives, group them by type and draw them together. This way, rendering will be faster.
- Watch this video:
There you go! Now you’re ready to go and create your own custom views. Good luck!

Top comments (0)