
Imagine that you are developing a taxi service like Uber, with two separate apps (one for passengers, another for drivers). However, they are might be using the same shared libraries (e.g. for network protocols or UI animation), and both teams need access to it. Did you know, that monorepo is not the only way to handle this?
This post describes a way to organize sources of 2 Android apps ('app1' and 'app2') using the same common library ('commonlib'). The configuration will allow one to work on the library sources together with both apps.
Why do you need this?
A common approach would be to put the common library to the Maven and to use it as a binary dependency for each of the apps. This approach makes it difficult to quickly test changes in the library code: to do that one has to
- fix the 'commonlib',
- build and upload changes to the Maven (often this is done by CI and involves runnings tests),
- obtain the updated artifact from the 'app1' or 'app2' project,
- and, finally, build and re-run the app to see what's different now.
If the changes do not work as intended, one has to repeat.
Another approach would be to put the 'commonlib', code into the same repository and project as 'app1' or 'app2'. With just one app that would have worked. But with two or more apps it would be an obvious code duplication and therefore not an option.
Finally, there's the "monorepo" approach: put all code - ('app1', 'app2', and 'commonlib') into the same Git repository and manage it together. But, besides other well-known drawbacks of the monorepo approach, it's the best practice to place all code components inside one project directory - yet the 'commonlib' can't be inside the same directory with 'app1' and 'app2' at the same time
The solution sketch.
We will adopt a modification of the second approach because it's natural to the Android Studio. When you create an Android library in the Android Studio, it puts the library as another module into the same app project.
Android app projects are usually built with Gradle. They are organized as Gradle projects containing Gradle modules. One of the modules is the app module itself, while libraries it uses could be added as separate modules (together with their sources if developed simultaneously with the app itself) or as binary Maven dependencies (and then one cannot change their sources on the fly).
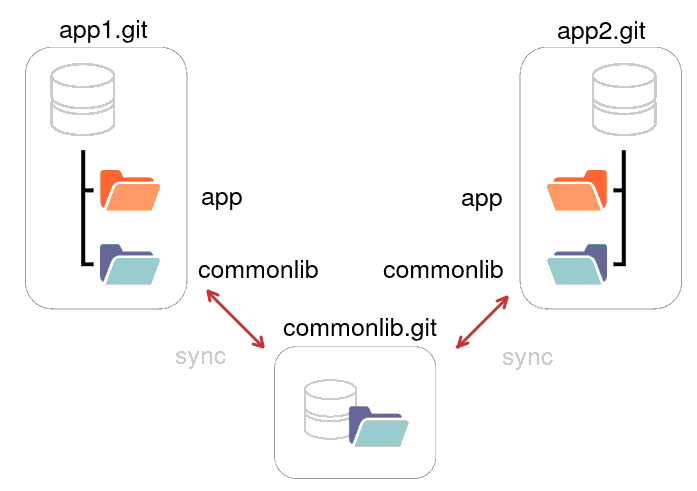
In our example, we will create 2 projects: 'app1' and 'app2'. Each of them would contain an app-related module (named 'app' by default) and a 'commonlib' module with the sources of the library. We just need to make sure that the 'commonlib' module of both 'app1' and 'app2' projects uses the same sources.
A possible solution would be to put the 'commonlib' module into a separate Git repository and insert it as a Git submodule into the other two Git repositories: 'app1' and 'app2' (corresponding to Gradle projects with the same names). But you know...

Git submodules have too many disadvantages.
So we will use Git X-Modules instead. This is a drop-in replacement for Git submodules, working at the server's side. From the Git perspective, they are just regular directories.
Infrastructure. For the purpose of this post I will use Atlassian Bitbucket Server/Data Center as Git server software. It's one of the most popular self-hosted Git solutions and Git X-Modules has a dedicated app with a nice UI for it. Yet the same solution would also work for almost any other Git server software - there's a command-line version of it with the same capabilities, just without the GUI.
I'm using Android Studio 4.4.1 and Gradle 6.7.1. Both are the latest versions to date.
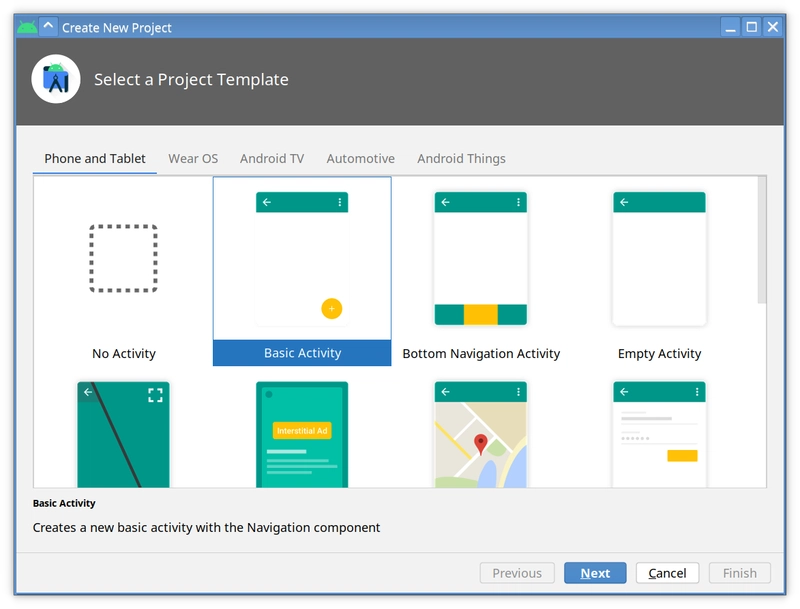
Step 1. Create the 'app1' project.
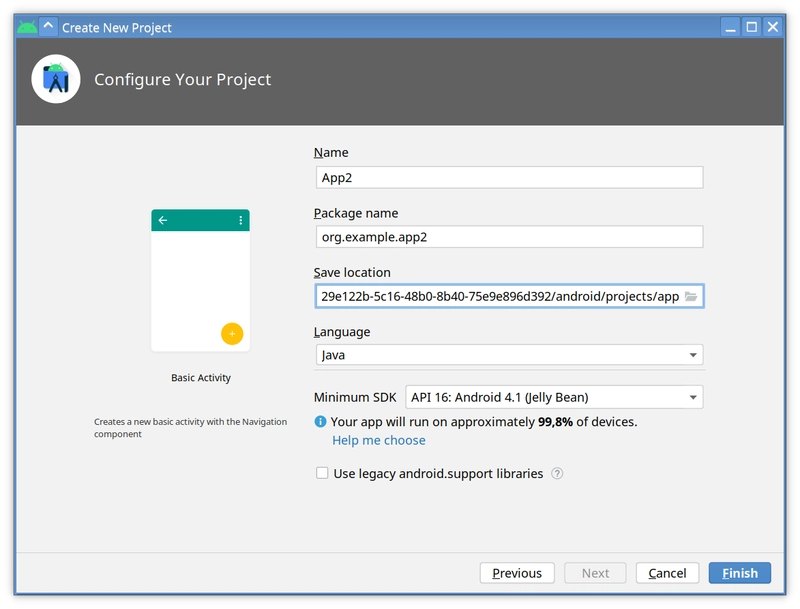
Create a new project, choose "Basic Activity" as the template.
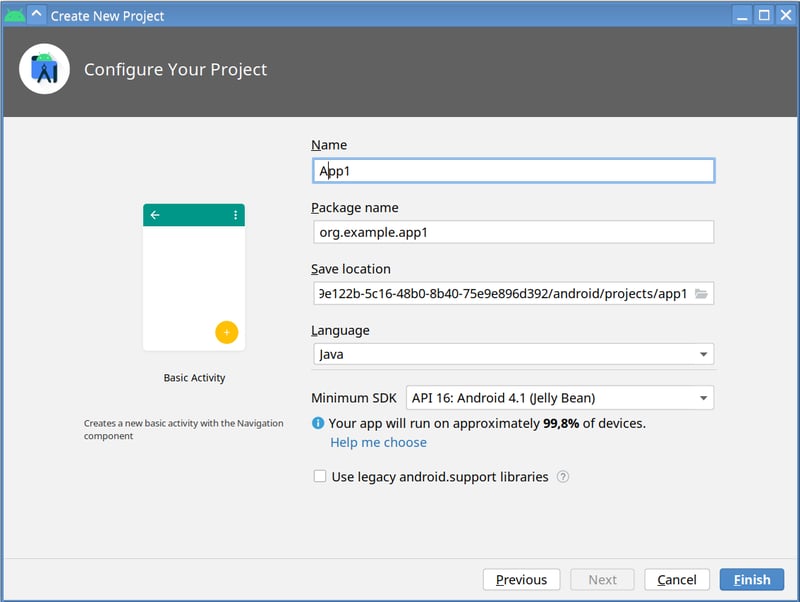
Choose the name of the app (App1), click Finish.
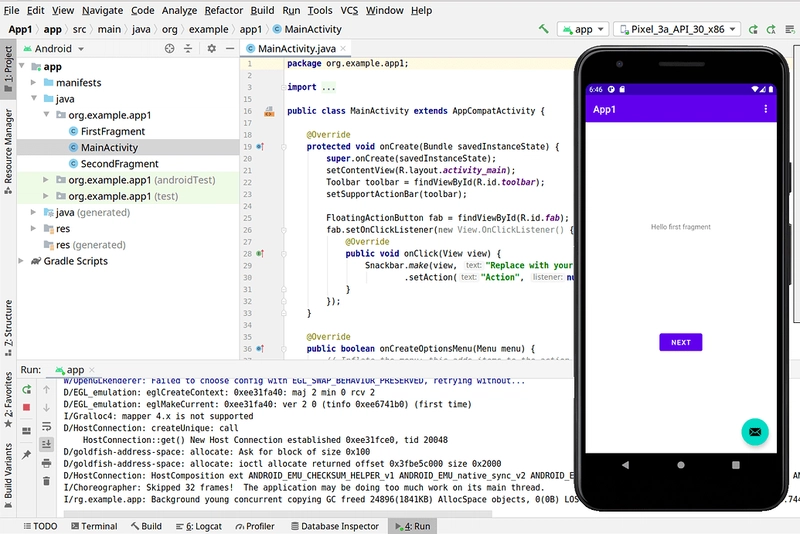
Run the project to make sure everything works smoothly.
Step 2. Create the 'commonlib' library.
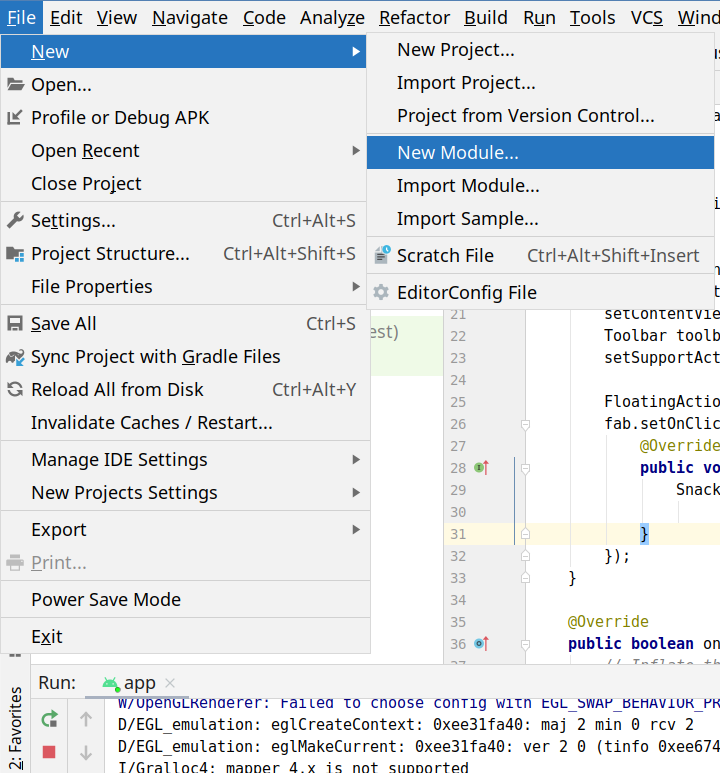
Choose File | New | New Module...
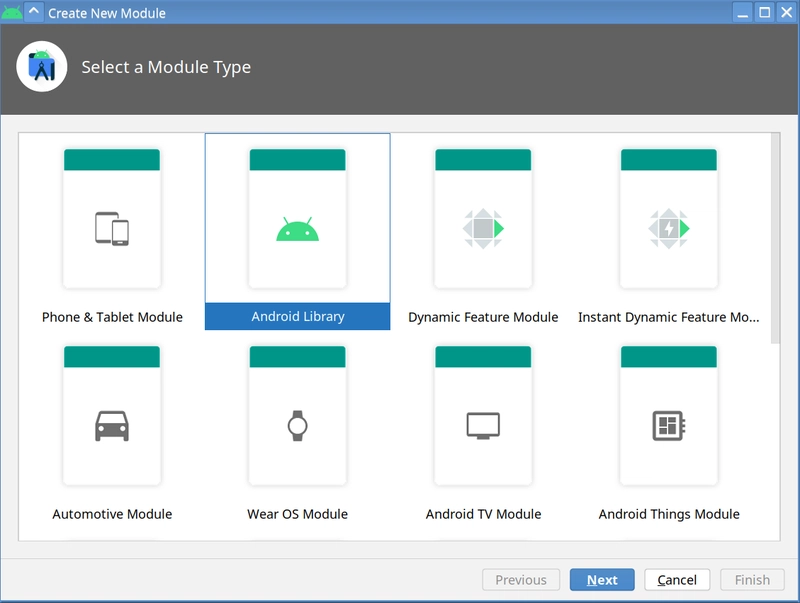
Choose "Android library" as the module type.
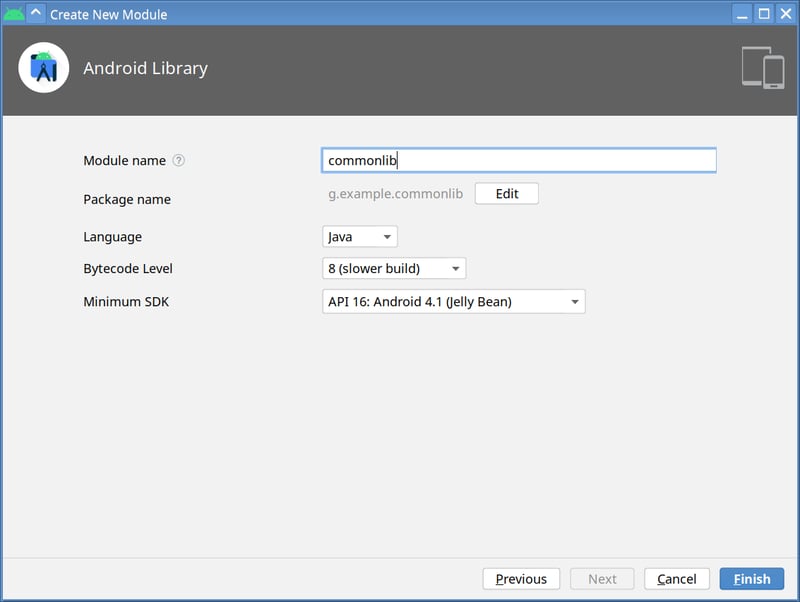
Choose the module name: 'commonlib'.
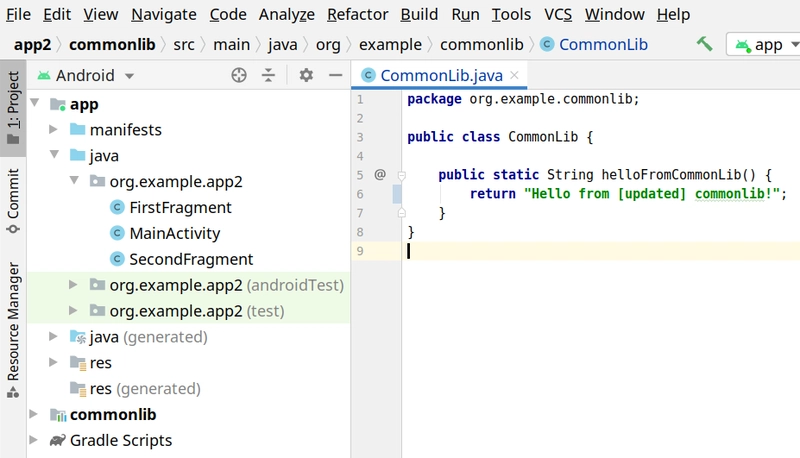
Create CommonLib class in the 'commonlib' module with a method.
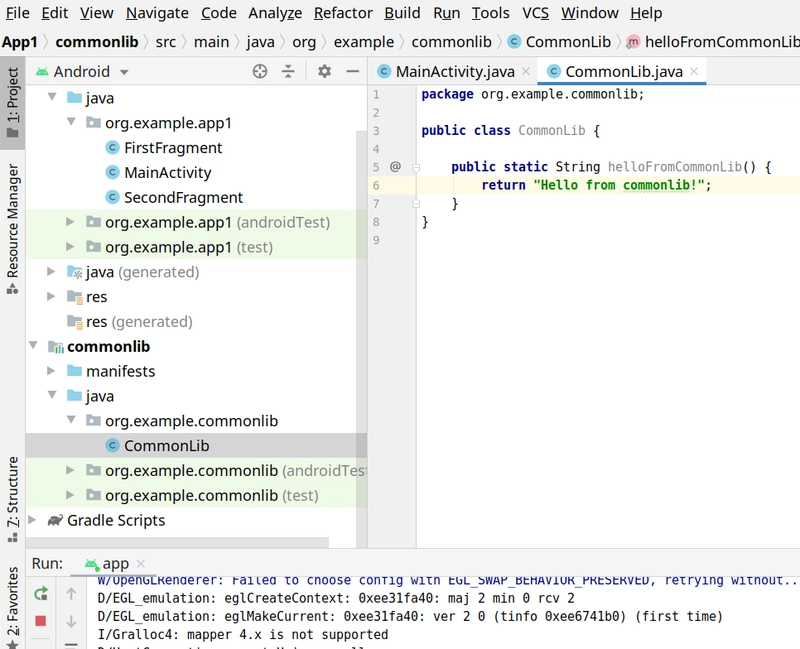
Add a dependency for the default ('app') module on the 'commonlib' module and use the method in the application.
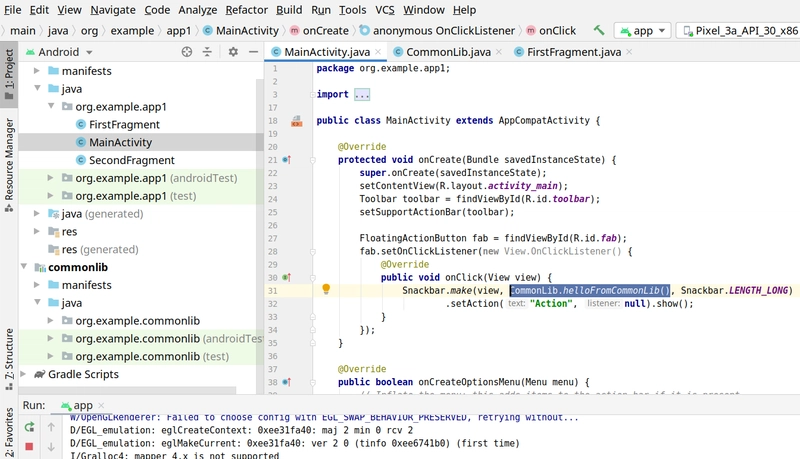
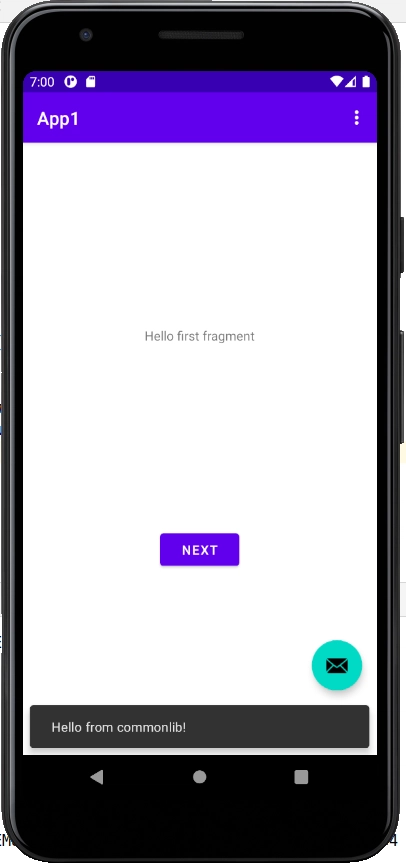
Run the application to make sure everything works smoothly.
Step 3. Create 'app1' and 'commonlib' Git repositories.
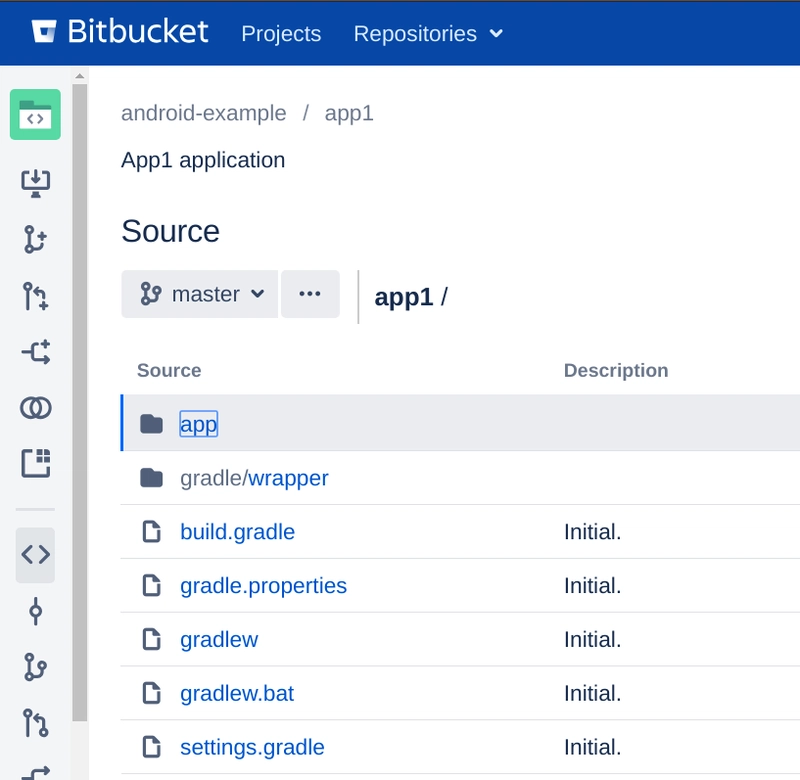
The 'App1' project now has the following structure:
├── app
├── build.gradle
├── commonlib     <--- this should go to commonlib.git
├── gradle
├── gradle.properties
├── gradlew
├── gradlew.bat
├── local.properties
└── settings.gradle
Now we will create the 'commonlib' Git repository and put the 'commonlib' subdirectory there. All other files (except those that shouldn't be in Git at all) will go to the 'app1' Git repository. After that, the 'commonlib' repository will be inserted into the 'app1' Git repository.
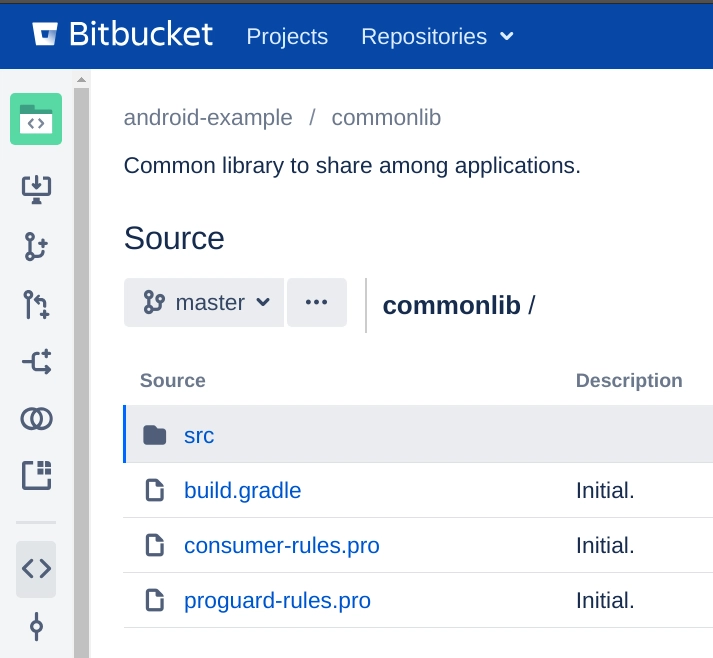
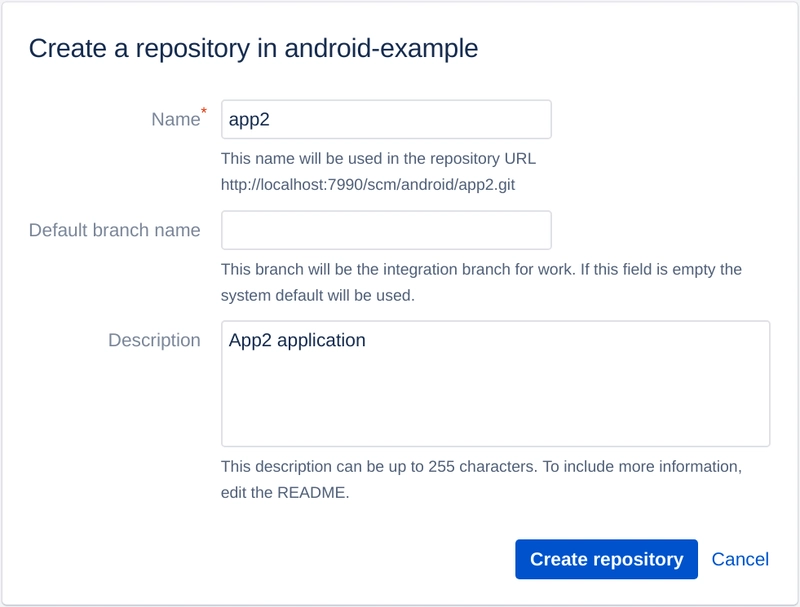
Create the 'commonlib' Git repository using the Atlassian Bitbucket Server/Data Center interface.

Copy the Git URL of this newly created repository, e.g.
http://example.org/scm/android/commonlib.git
The simplest way to push 'commonlib' content (except the 'build' directory) to this Git repository is the following:
cd commonlib/
git init .
$ git add src
git add build.gradle
git add consumer-rules.pro
git add proguard-rules.pro
git commit -m "Initial."
git push http://example.org/scm/android/commonlib.git master
Now create the 'app1' Git repository with Atlassian Bitbucket Server/Data Center.
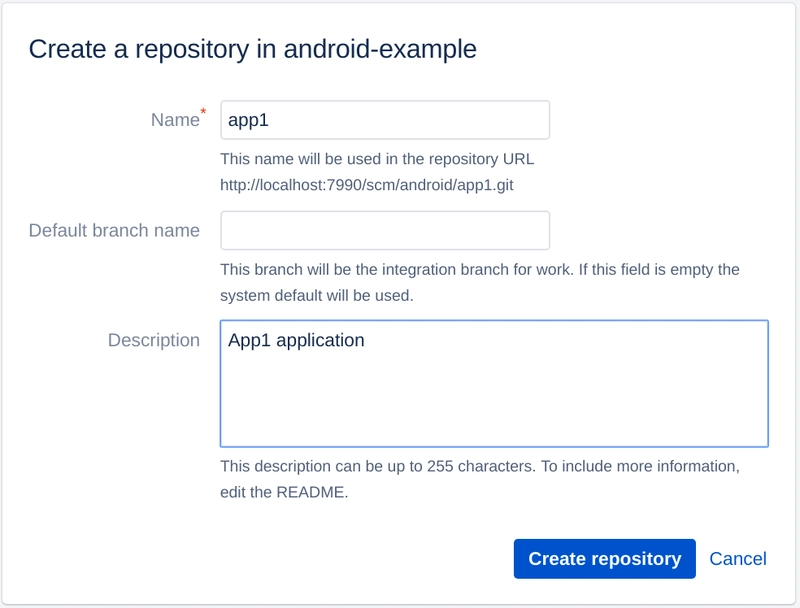
Suppose its URL is
http://example.org/scm/android/app1.git
Put everything except commonlib, app/build, and local.properties to this repository.
cd ..
git init .
git add app/build.gradle
git add app/libs
git add app/proguard-rules.pro
git add app/src
git add gradle
git add gradlew
git add gradlew.bat
git add gradle.properties
git add build.gradle
git add settings.gradle
git commit -m "Initial."
git push http://example.org/scm/android/app1.git master
Step 4. Insert 'commonlib' into the 'app1' repository.
We will be using Git X-Modules. It inserts one repository into another on the server's side as Git trees. So, for the Git client, the module will be just a part of a regular Git tree.
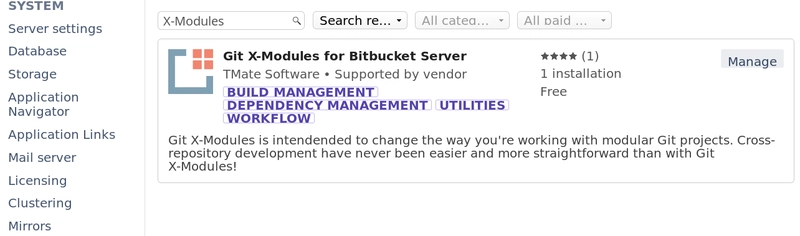
If you don't have the Git X-Modules app installed, go to Administration | Find new apps | Search the Marketplace and type "X-Modules" in the Bitbucket Server/Data Center UI to install this app.
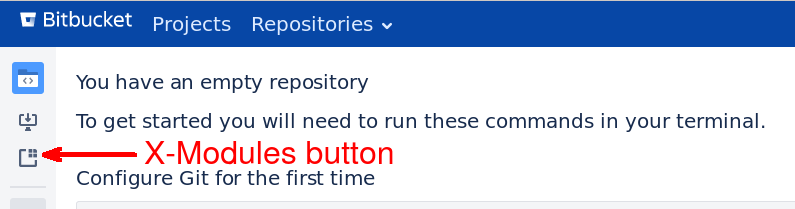
Now go to the 'app1' Git repository page. Click the "Git X-Modules" button on the sidebar.
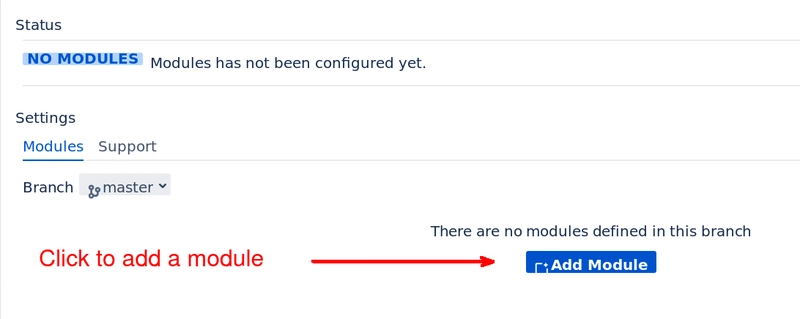
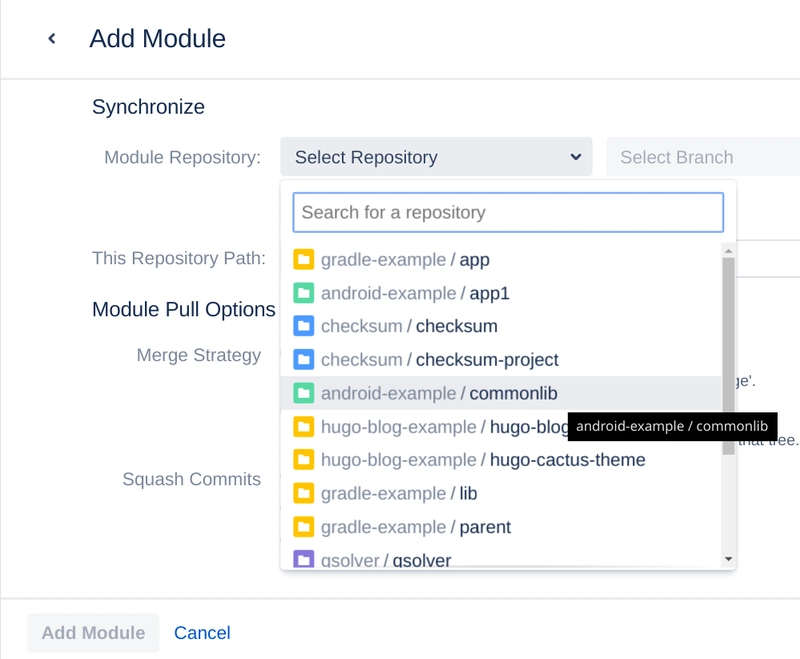
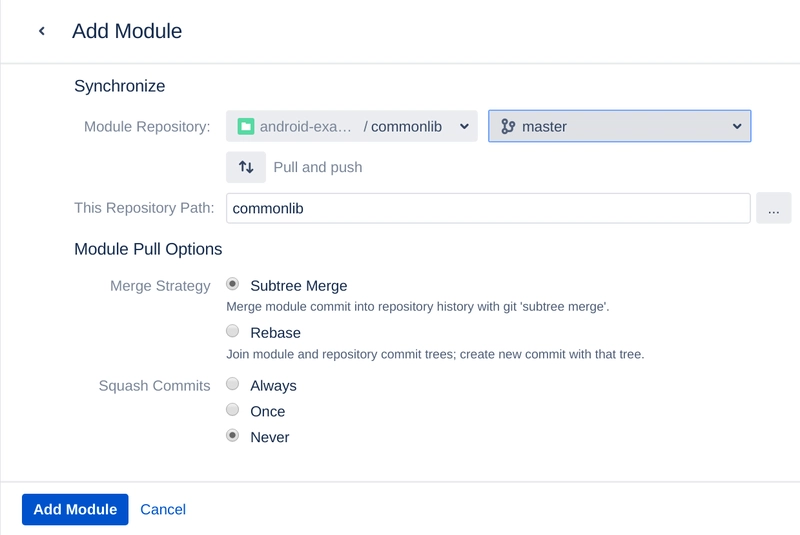
Now click "Add Module" to add 'commonlib' to the project.
Choose the 'commonlib' repository.
And the 'master' branch.
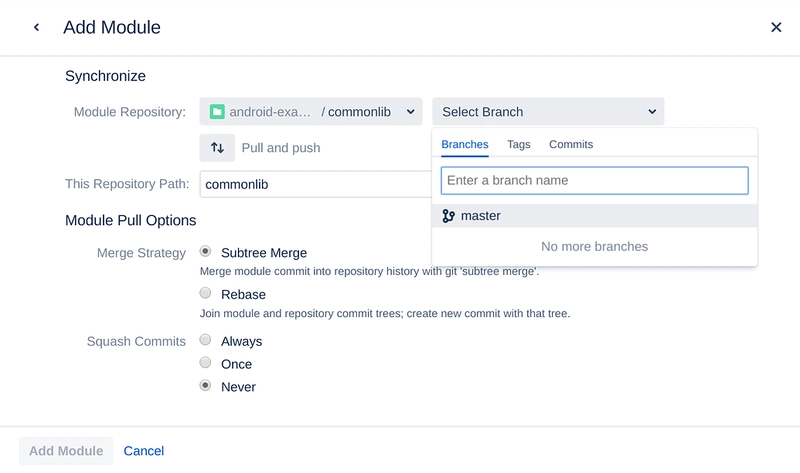
Make sure "This Repository Path" is 'commonlib'. It's the path in 'app1' where the 'commonlib' repository will be inserted.

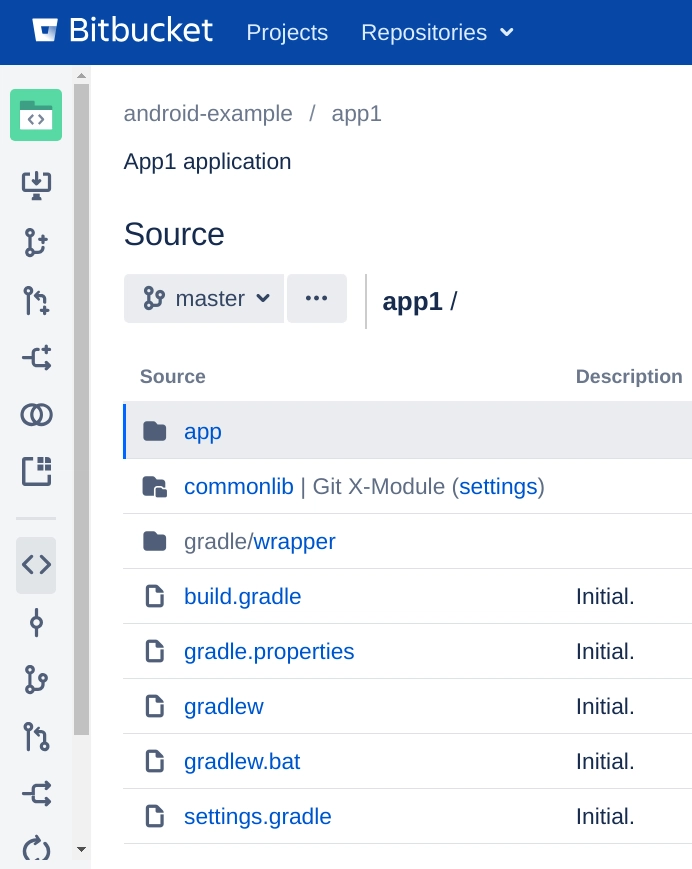
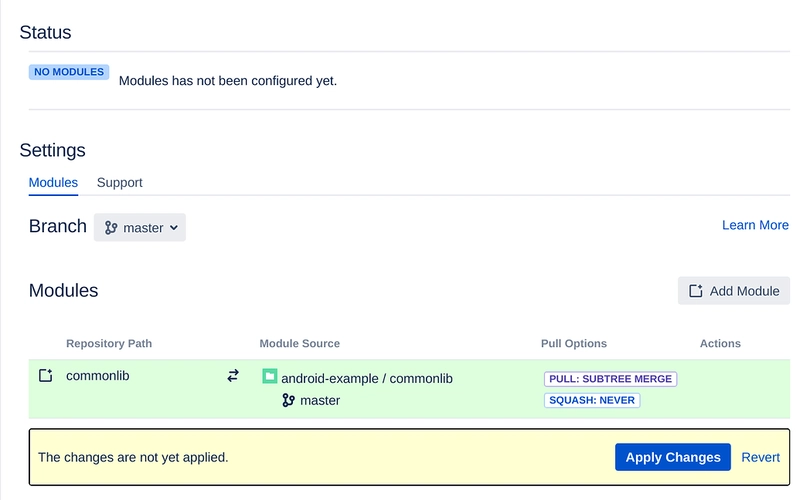
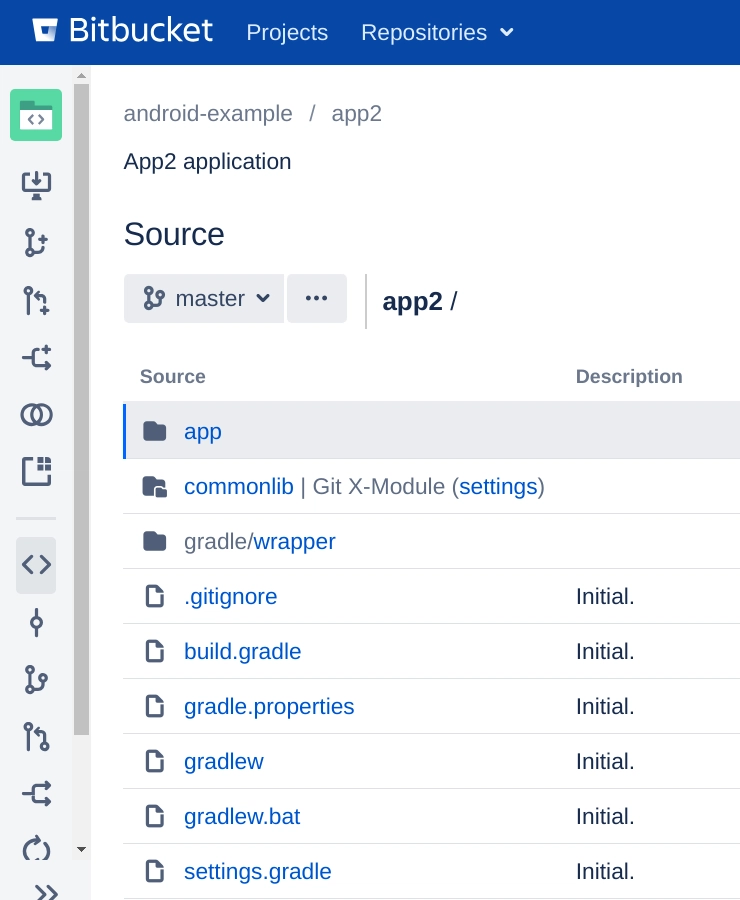
Click "Add Module" and apply changes. Now 'app1' Git repository has 'commonlib' directory with 'commonlib' Git repository inserted there.
Now any team member can clone the 'app1' Git repository, create local.properties, and build it with ./gradlew build. Alternatively one could add local.properties.example into the repository to make it simpler to start working with the project.
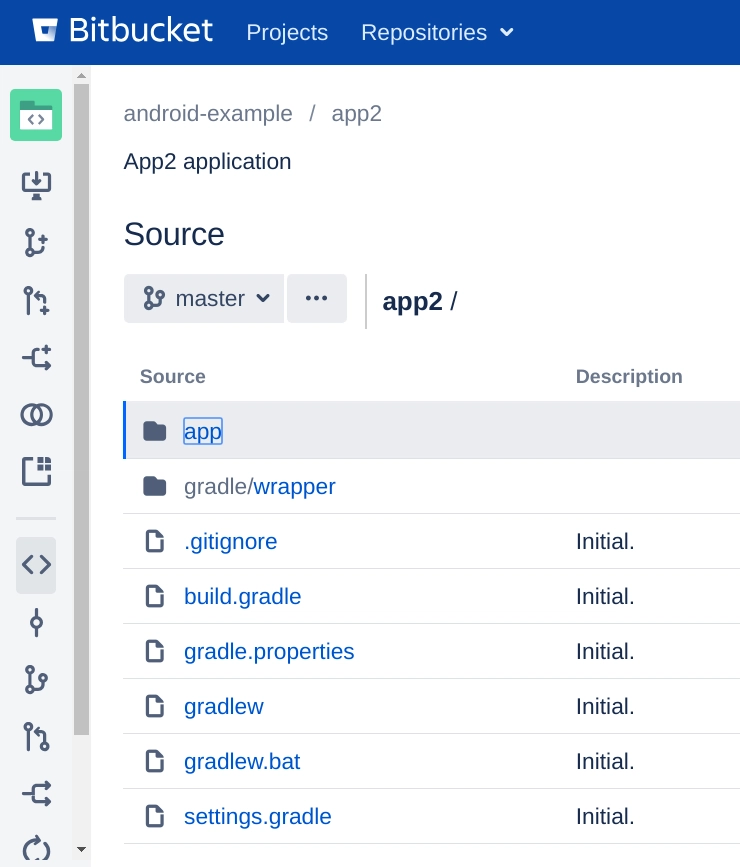
Step 5. Create the 'app2' repository.
In the same way as with 'App1', create the 'App2' application project.
Create the 'app2' Git repository using Bitbucket Server/Data Center UI.
Put 'App1' project content to the 'app1' Git repository.
cd app2
git init .
git add app/
git add build.gradle
git add gradle/
git add gradle. properties
git add gradlew
git add gradlew.bat
git add settings.gradle
git add .gitignore
git commit -m "Initial."
git remote set-url origin http://example.org/scm/android/app1.git
git push origin master
http://example.org/scm/android/app2.git is the Git URL of the 'app2' repository.
Step 6. Insert 'commonlib' into the 'app2' repository using Git X-Modules.
In a similar way, click the Git X-Modules button on the 'app2' repository page, add the 'commonlib' repository as X-Module to the 'commonlib' directory ("This repository path").
Apply the changes.
Step 7. Add dependency for 'app2' on 'commonlib'.
To fetch the changes, run from 'app2':
git remote set-url origin http://example.org/scm/android/app2.git
git pull --rebase
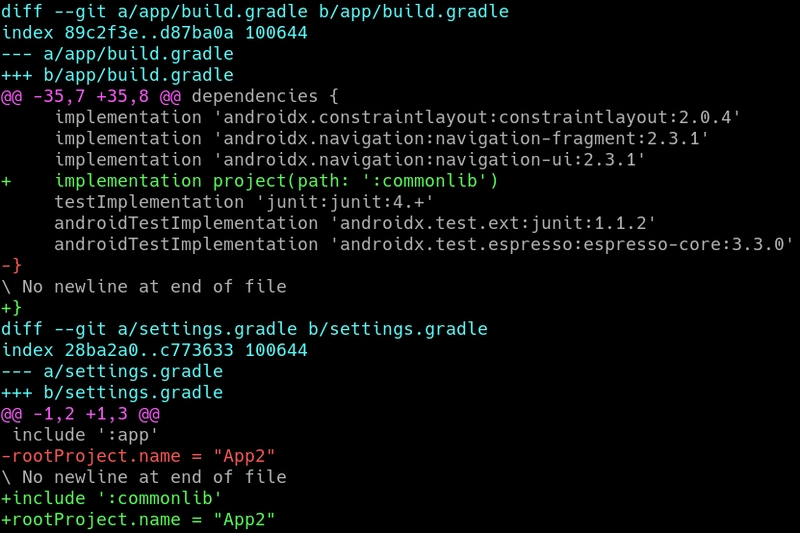
Change settings.gradle' to include ':commonlib' subdirectory.
include ':app'

include ':commonlib'

rootProject.name = "App2"
Change app/build.gradle to add:
implementation project(path: ':commonlib')
to the dependencies list.
Commit and push the changes:
git add app/build.gradle

git add settings.gradle

git commit -m "Add dependency on 'commonlib'."

git push origin master
Step 8. Test using 'commonlib' in 'app2'.
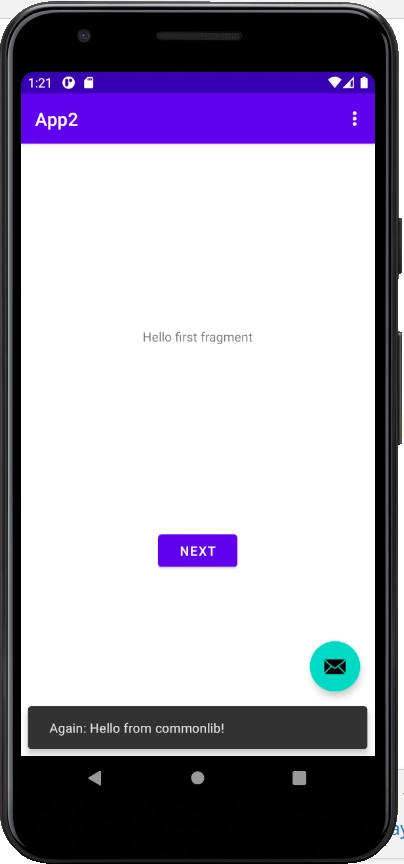
Change MainActivity in 'app2' to call CommonLib.helloFromCommonLib().
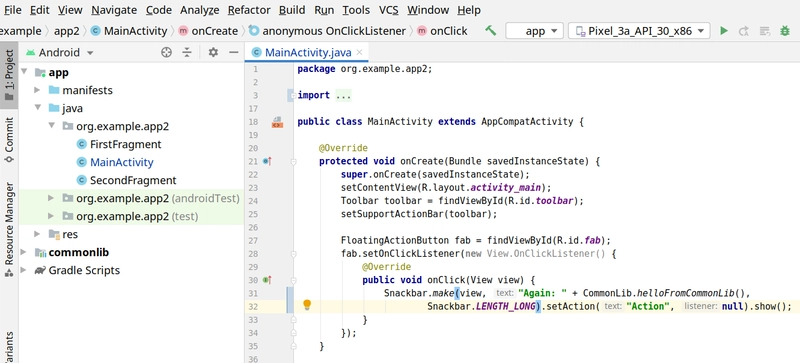
Run the result in the emulator to see how it works.
Commit and push the changes.
Step 9. Test changing 'commonlib'.
Change 'commonlib' in the 'app2' repository,
push the changes, get the changes in 'app1' and make sure it's updated.
git commit -a -m "'commonlib' updated"

git push origin master

cd ..

rm -rf app1

git clone http://example.org/scm/android/app1.git app1/
Run 'app1' to make sure 'commonlib' is automatically updated.
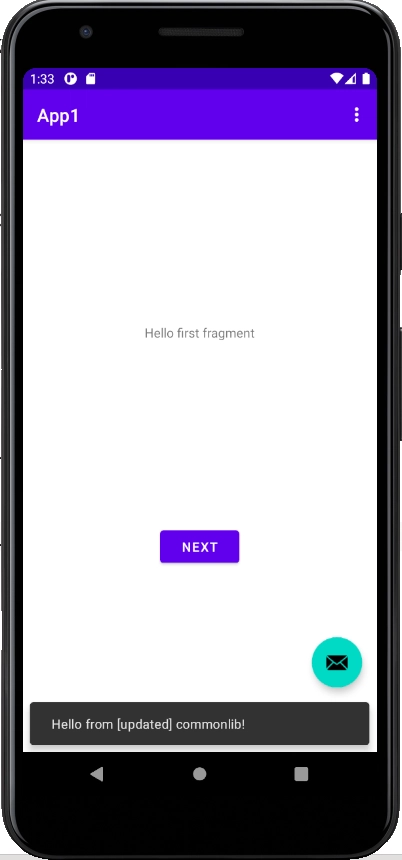
As you may see, the 'commonlib' is now automatically synchronized between both apps.

Top comments (0)