Gatsby just announced the stable release of themes, and along with it released a bevy of themes-related content. This post will go over what a theme is, why they might be useful to you, and how to use your first theme. In later posts I'll dive into topics like component shadowing, and maybe even authoring your own theme.
If you'd like to dive right into the deep end Jason Lengstorf released a free egghead course on Gatsby themes that is superb.
What are themes?
The name theme might invoke the assumption that they only relate to visual content, however Gatsby themes are way more than that. They can include some default configuration, setting up transformers, plugins, and even other child themes. Themes can also include visual styles and components.
Themes are configurable, overridable, and best of all, composable.
Why are themes useful?
If you've used Gatsby in the past, you might have used a starter to bootstrap your website. Starters were a great stepping stone before themes. They allowed you to kick off a Gatsby site that was configured with some additional functionality out of the box, like say supporting Mdx, or maybe using an external service like Shopify.
However, if you ran into the case of wanting to quickly start a website that supported both Mdx AND Shopify you had to find a starter with both configured, use one of the starters and figure out how to get the other functionality set up, or configure everything from scratch.
Themes change this. Instead of starting with a this or that, we can easily make a this AND that. Remember, themes are configurable, overridable, and composable.
Let's get started
We're going to start off simple. Let's set up a Gatsby website from scratch, and then use gatsby-theme-blog to quickly bootstrap the basic functionality of a blog.
If you want to see the full code check out the Github repo.
Set up the directory
First we need to make a directory for our Gatsby website, and then we need to initialize it.
mkdir first-gatsby-theme
cd first-gatsby-theme
yarn init -y
I'm using
yarn, but feel free to usenpmif you'd like.
Installing Our Dependencies
We could use a starter by using the gatsby new <STARTER> command, but let's set one up manually. It's surprisingly easy to do.
We only need react, react-dom, and gatsby to get started. So let's install those. After that, let's open up the package.json file in the root directory and add some scripts for convenience.
yarn add react react-dom gatsby
// package.json
{
  "name": "first-gatsby-theme",
  "version": "1.0.0",
  "license": "MIT",
  "dependencies": {
    "react": "...",
    "react-dom": "...",
    "gatsby": "...",
  },
  "scripts": {
    "build": "gatsby build",
    "start": "gatsby develop",
    "clean": "gatsby clean"
  }
}
The
...are just placeholders. Yourpackage.jsonfile will have the specific versions you have installed.
Check that Gatsby is working
To see all of our hard work paid off, let's make some content and let Gatsby work its magic.
We need to make a directory at src/pages. By convention this is where Gatsby will look for content to transform into pages on the website, and handles the routing for us.
mkdir -p src/pages
touch src/pages/index.js
mkdir -p creates all missing directories in the path provided
src/pages/index.js will be mapped to the root path "/" of our website.
// src/pages/index.js

import React from 'react'

export default function HomePage() {
  return (
    <>
      <h1>Welcome</h1>
      <p>Hello, from Gatsby <span role="img" aria-label="hand emoji waving hello">👋</span></p>
    </>
  )
}
Now to start up the Gatsby website all you need to do is run.
yarn start
You should see something that looks like this.

Very exciting, I know.
Installing the theme
Now that we know we have Gatsby working, let's install a theme. Everyone says that they want to have a blog, but getting started is hard. The good news is that themes makes it so easy to get started that you won't have any excuses.
yarn add gatsby-theme-blog
In the root of your project make a gatsby-config.js file.
touch gatsby-config.js
And add the following
module.exports = {
  plugins: [
    'gatsby-theme-blog'
  ]
}
Before the stable release of themes, your themes used to live under an additional property called __experimentalThemes, but now that they're stable, they're just like plugins!
If you tried to start your Gatsby website up at the moment you'd get some errors :(. Let's figure out why in the next two sections.
Exploring the theme options
Right now there isn't a Github repo for gatsby-theme-blog, but if you look at the npm page you can see a section called Usage.

Most Gatsby plugins and themes will have options that you can set. For gatsby-theme-blog there are four options and defaults for each of them, meaning we can not pass any options in and the theme will still work.
That being said, it has some expectations. Right now gatsby-theme-blog expects some blog posts in the form of either Markdown or MDX in the content/posts directory, and an image with the title of avatar in the content/assets directory.
The errors you get from not having either of these are kind of cryptic which is a bit of a bummer.
For now we are going to leave the options set to the defaults. If you wanted to override any you would change your gatsby-config.js.
// gatsby-config.js
module.exports = {
  plugins: [
    {
      resolve: 'gatsby-theme-blog',
      options: {
        contentPath: 'content/posts', // the file path to your blog posts
        basePath: '/', // the url for the root of your blog
        assetPath: 'content/assets', // the file path to your assets folder
        mdx: true, // whether or not to configure mdx for you
      }
    }
  ]
}
These are the default values, but to change any of them, set the value you would like in the options object.
Add Content
So now that we know why our Gatsby website is failing after adding this theme, let's use the default options as a guide for what we need to do to get our website working again.
First we need to make the necessary folders. In the root of the project we're going to create content, content/posts, and content/assets directories.
mkdir -p content/{posts,assets}
the {} here is called brace expansion and is equivalent to running
mkdir -p content/postsandmkdir -p content/assets, just in a shorter way.
Now that we have our folders in place we need to make a blog post, and add an avatar.
Make a file called hello-world.md, inside of your content/posts directory and add whatever content you'd like.
---
title: "Hello, World"
---

The worlds greatest blog post!
Next, save a picture of yourself named avatar in content/assets.
The third thing we need to do is temporarily remove our src/pages/index.js page, because gatsby-theme-blog defaults to making the root of the blog the "/" root path.
mv src/pages/index.js src/pages/_index.js
If you run yarn start now, everything should work and you'll see something like this:
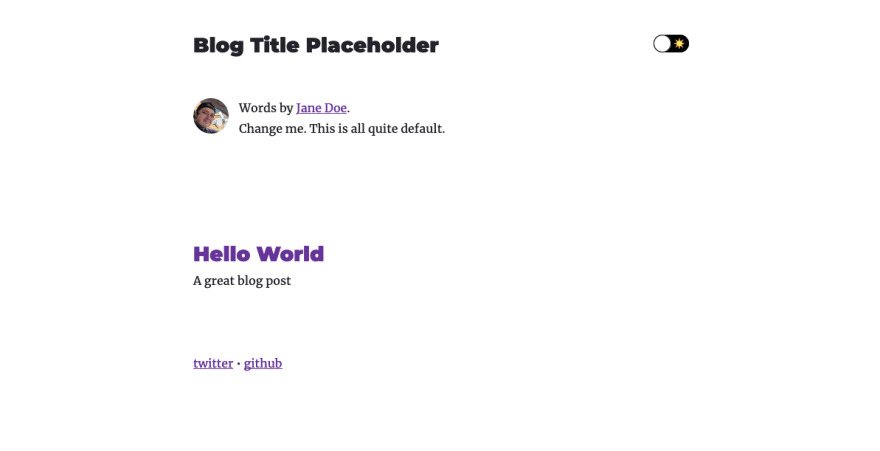
Site/Author Info
The other thing that gatsby-theme-blog does is look in our gatsby-config.js for some site metadata.
Pop open your gatsby-config.js one last time and add your information in.
module.exports = {
  siteMetadata: {
    title: "Awesome Blog", // Enter the title of your blog here
    author: "Matt Hagner", // Change this to your name
    description: "A really cool blog",
    social: [
      {
        name: 'twitter',
        url: 'twitter.com/_hagnerd',
      },
      {
        name: 'github',
        url: 'github.com/hagnerd',
      },
    ]
  },
  plugins: [
    'gatsby-theme-blog',
  ]
}
Hopefully that wasn't too painful and helped highlight just how quick it is to install and set up a Gatsby theme. The best part is that you can install more themes, as needed and it won't require you to fundamentally change how your website is structured.
Next Up
The quick set up for our blog was great, but what if we want to change the styles? Or how some of the default components are rendered? To do that we'll use a feature called shadowing.
I'll update with a link to the post when it's finished.

Oldest comments (5)
Thanks for writing! I've had Gatsby themes on my radar for quite some time but hadn't had the time to read what they were exactly. Thanks to you now I know. 😁👍
That's great! I've been long searching a nice intro to Gatsby themes. Thank you 😁
Great article, would love to see a follow up about the composition feature
i'm using windows 7, got an error. resolved after changing
from:
to:
Thanks! Updating the post. The leading "/" was added in error.