
By far my most read blog post was my first, Epic Development Environment using Windows Subsystem for Linux, and to this day it gets many views here on DEV, as well as on Medium where I originally published it, as people search for WSL to find out if it'll work for them. Well, since I published it at the end of 2017, a lot has changed, and I'm not referring to the pandemic in which we all find ourselves. I'm talking about WSL 2.
This year Microsoft released Windows Subsystem for Linux 2 alongside the Windows 10 version 2004 update. There are a number of differences between version 1 and 2. You can read more about the exact differences but the key takeaways are that WSL 2 offers 100% system call compatibility, much faster performance, and less memory usage. Note that you only get the fast performance if you store the files you work with in the Linux filesystem. If for some reason you need to store your files in the Windows filesystem, you'll get better performance using WSL 1.
Since I've upgraded my setup to use WSL 2, my quality of life has been upgraded in a major way. There have also been other advancements in a variety of other areas that make my new setup so much better than what I wrote about in my previous article. I'm super excited to go over them with you all.
Prerequisites
To use WSL 2 you must be running Windows 10 version 2004 or greater. WSL 2 is not available in builds before version 2004. In my previous article you needed Windows 10 Pro so Docker could use Hyper-V virtualization. Thankfully that's no longer required!
Install WSL 2
Let's get WSL 2 installed. The first thing you need to do is enable the Windows Subsystem for Linux feature in Windows. You can do this simply by running the following command in PowerShell as an Administrator:
dism.exe /online /enable-feature /featurename:Microsoft-Windows-Subsystem-Linux /all /norestart
This will enable the WSL feature. At this point you'll want to follow the Update to WSL 2 instructions to update the WSL 1 installation to WSL 2. In short you need to run the following command, then restart your computer to complete installation:
dism.exe /online /enable-feature /featurename:VirtualMachinePlatform /all /norestart
Once your computer has been restarted, make sure you run the following command as Administrator in PowerShell to ensure WSL 2 is always the default WSL version.
wsl --set-default-version 2
NOTE: You might get a message saying something like "WSL 2 requires an update to its kernel component". Make sure you follow the link provided and do what's needed.
At this point you can go to the Microsoft Store app and search for your favorite Linux distribution! Please note that this article assumes you are using Ubuntu. You can use any distro, however, you will simply need to find the correct commands to install things. Once you've installed your distro, go ahead and open it to perform the initial installation. It will ask you for a user and password for the Ubuntu userspace. When it's done, you're ready to get to installing!
Git
As before, many of the installations further on in this article require git. To install, simply run sudo apt update && sudo apt install git. You should also generate an SSH key. This is very simply accomplished by running: ssh-keygen -t rsa -b 4096 -C "your_email@example.com".
ZSH (Optional)
I'm simply going to copy paste this section from my previous article as nothing has changed at all here, and I'm still digging my ZSH setup.
This next step is completely optional. I love bash, and I love zsh, so either one works fine. If you prefer bash, skip this section.
It’s fairly straightforward to install zsh. After making sure you’ve run sudo apt update then install it with sudo apt install zsh. You can test to make sure it’s working by running zsh which should bring you into a zsh terminal!
I also love oh-my-zsh, which provides lots of beautiful themes and excellent plugins. I used the curl command under the Basic Installation instructions, and I was good to go! You can then select the theme you want by editing your ~/.zshrc file and adding the theme name to the ZSH_THEME environment variable. Previously I was using the Pure theme for ZSH, but I've since moved over to the venerable Powerlevel10k theme. It's super customizable, easy to setup, and has excellent speed.
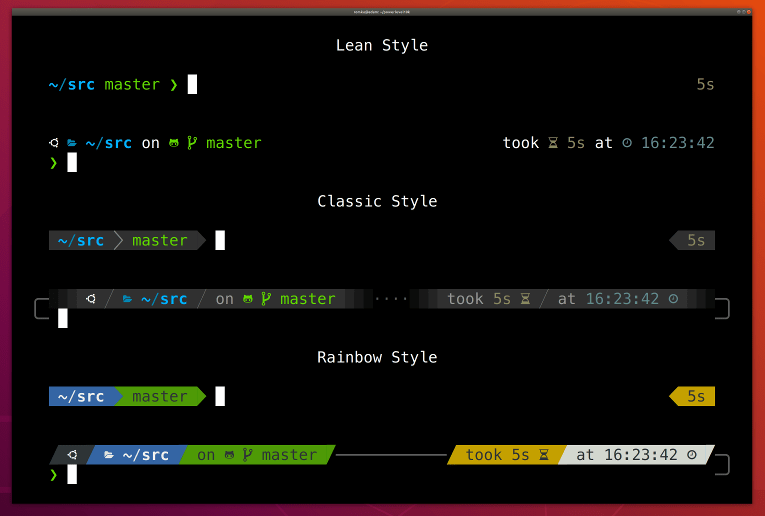
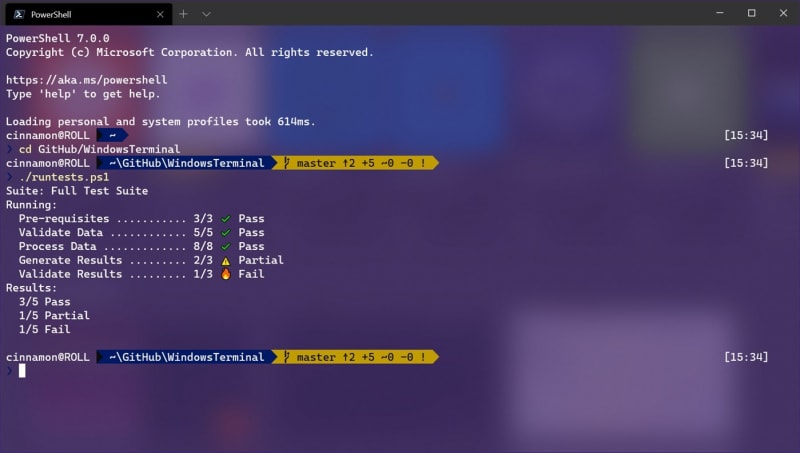
Windows Terminal
This is one area where I've absolutely changed my mind from 2017. Back then I used the Hyper terminal by Zeit. (The company has since rebranded to Vercel) While I still use that on my Mac, on Windows I now use the phenomenal Windows Terminal. It's fast, modern, and beautifully designed. It also works seamlessly with WSL, PowerShell, CMD, and more! It's got multiple tab support, Unicode support, custom themes, and a bunch of other great features. I highly recommend it for anyone doing any kind of development on Windows, whether it's WSL or not. You can simply find it on the Microsoft Store and install it from there for free.
When you launch Windows Terminal after having installed and run Ubuntu for the first time, it should pick up the distro automatically and add it to your terminal settings so it's an option to use. I like to make it my default when I open Windows Terminal, as well as a couple other changes to the configuration. Here's my specific Windows Terminal config for my Ubuntu distro:
{
    "guid": "{GUID_HERE}",
    "hidden": false,
    "name": "Ubuntu",
    "source": "Windows.Terminal.Wsl",
    "startingDirectory":"//wsl$/Ubuntu/home/{UBUNTU_USERNAME}",
    "fontFace": "Fira Code",
    "useAcrylic": true,
    "acrylicOpacity": 0.8
}
I set a few things here. First of all, I set my startingDirectory to be my Ubuntu home directory. Simply replace {UBUNTU_USERNAME} with your actual ubuntu username. I also love the Fira Code font, so I've got that installed on my machine and I have my terminal using it. Lastly, I'm a huge fan of the Windows acrylic look, so I have my terminal using that effect. You're welcome to set that to false if you don't like it.
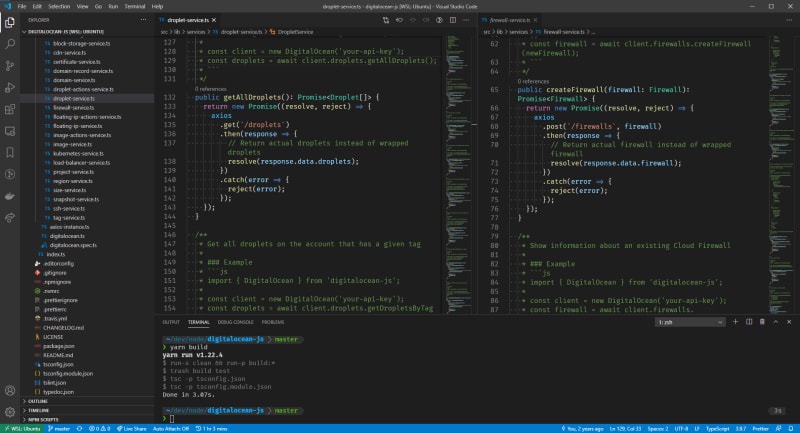
Visual Studio Code
What has not changed is that Visual Studio Code is possibly my favorite piece of software ever. As mentioned in my previous article, I’ve used IDEs, Sublime Text, Atom, Notepad++, I’ve tried almost all of the most used ones. VS Code is by far my favorite editor. It’s beautiful, incredibly lightweight, super fast, has tons of amazing extensions, built in debugger support, and is as close to full IDE functionality as any text editor I’ve ever used. I installed this as quickly as I could and brought down all my settings using the Settings Sync extension.
NOTE: As of a couple days ago I probably won't be using the Settings Sync extension anymore as VS Code now has built in settings sync support. My initial tests have been very positive.
There's one more extension you must get if you're doing WSL 2 development. This is different from my last article as this extension did not exist at the time. That's the Remote - WSL extension. This little extension makes many of the little gotchas I previously experienced go away. I used to have to install a tool called wsl-git that would proxy Windows git requests to WSL. This was so I could get the git features in VS Code to work. With this WSL extension you no longer need any of that. When you run code . from a folder inside of your WSL terminal, it will open that folder in VS Code and automatically use all the features and binaries from your WSL 2 installation instead of from Windows. You can install VS Code extensions that use the Linux binaries. It's a totally seamless experience that makes you forget you're not using Linux.
Node.js/NPM
This section remains the same as my previous article. Once again copying it over for posterity.
Personally I decided to take the approach of doing as much as absolutely possible inside of the WSL environment. Also, I am obsessed with NVM for managing my Node installs, which doesn’t work on Windows. So, instead of downloading the installer for Node.js for Windows, I installed nvm through Ubuntu’s repositories! You can follow the directions on NVM’s Installation Instructions. I used curl to download the install script, which I installed by running sudo apt install curl.
If you did everything right, you should have nvm installed correctly. I then installed the Long Term Support version of node by running nvm install --lts and then nvm use --lts to set it as the version I’m currently using. I also set it to my default node version by running nvm alias default {VERSION} where VERSION is the version number you just installed.
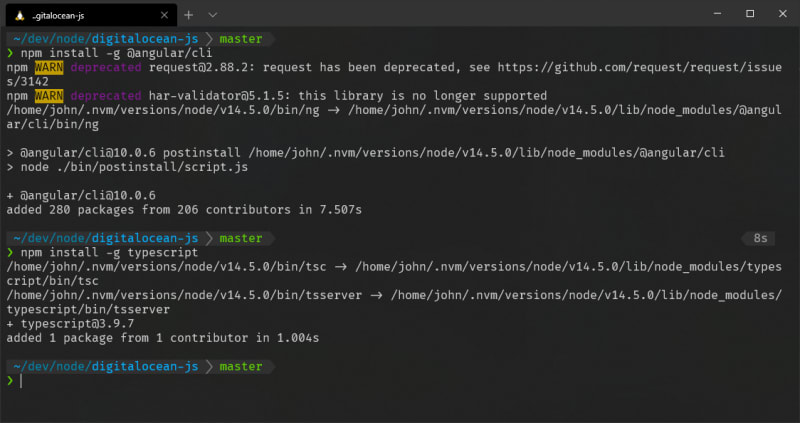
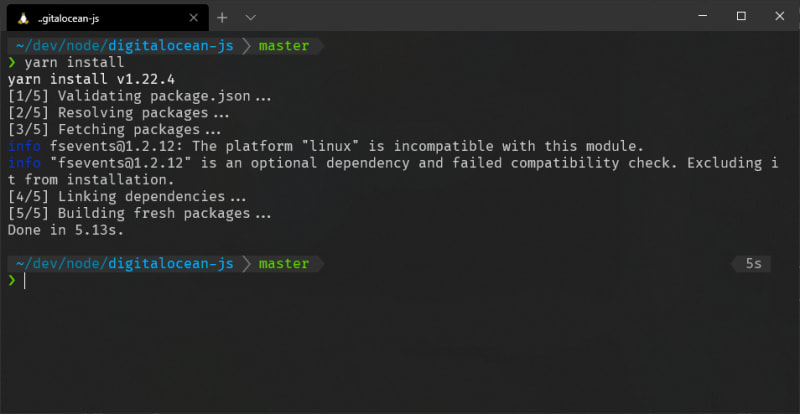
Yarn
As an aside to installing Node, I thought I’d bring up that I also installed Yarn, because I love Yarn. You can install it through Windows, but again, I’m trying to do everything I need through WSL, so I followed the Linux Installation Instructions. Specifically the Ubuntu/Debian instructions, of course. This went without a hitch, and I had yarn working!
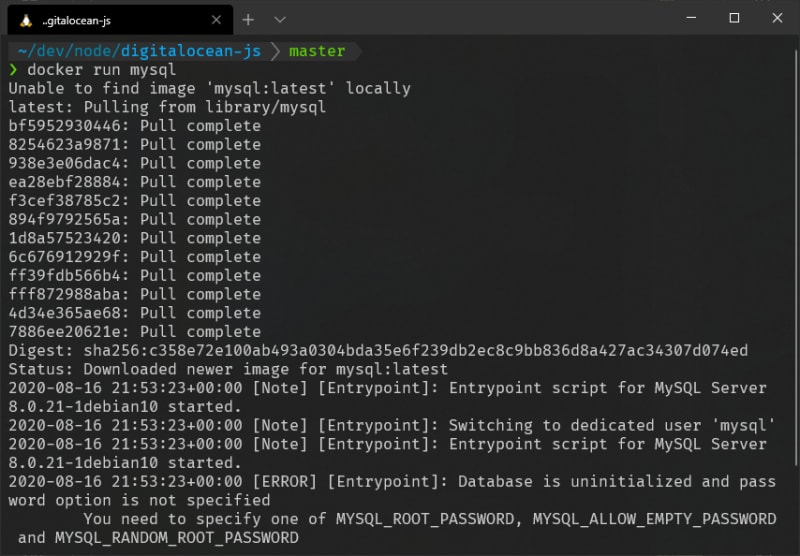
Docker
This is one of the best parts of WSL 2 that has changed since last time. Docker for Windows has been updated to support using WSL 2 as the backend for Docker. This was one of the pain points in the setup in WSL 1, and I had to alias the Windows executables to bash commands. There were occasional gotchas that generally were annoying. This is fantastic news, as those gotchas are all gone, and it's a totally seamless experience!
To get Docker up and running, simply download Docker Desktop. During the installation it should prompt you whether or not you'd like to use the WSL 2 integration, so make sure you enable that. The Docker Desktop WSL 2 Backend documentation gives detailed instructions on how to make sure things work properly in case you're having troubles getting this working.
At this point you should be able to use Docker and Docker Compose beautifully inside of both your Windows PowerShell environment as well as inside of your default WSL distro! (you can enable it inside of other WSL distros besides your default one in the WSL Integration settings in Docker Desktop)
Last Words
I'm hugely impressed with everything the WSL team has accomplished. WSL 2 is a massive improvement over WSL 1 and alongside other tools from Microsoft that integrate seamlessly with WSL 2, it's a phenomenal development environment that has very few if any compromises for the web development work I do. I have a work-issued Macbook Pro that I use through the work day, but I now immediately switch to my Windows machine when the work day is over and all the rest of what I do is done there with great enjoyment.
Four years ago I had totally written off Windows for development. For me it was either Mac or dual boot a Linux distribution. I would occasionally come back and try Windows for coding, and would almost immediately give up. WSL 1 changed that for my personal side projects. To be honest, however, WSL 2 has me fully believing I could use Windows exclusively for everything I do and be super happy doing it. That's an awesome feeling for someone who has always loved Windows as a consumer operating system, and I'm so excited to see what other amazing dev tools come to Windows because of the amazing tool of WSL 2.

Top comments (10)
Very nice post! I just switched from Mac to Windows, and using these tools here makes development more pleasant.
One thing I discovered the hard way about using WSL2. Initially, I was using the
/mnt/...locations, and it was really slow. I moved my projects directly to the native WSL2 filesystem, and it was much faster!Thanks! Yes, the
/mntdirectory is the "mounted" Windows file system, and that's one of the things the WSL team specifically says to avoid. I'm not sure why they default you to starting in the/mntdirectory, but that's why I specifically mentioned in my article to change the default of Windows Terminal to the Ubuntu home directory. Hopefully that'll help others avoid that problem too!I was working that way and thinking the problem was WSL 2. hehe
So glad you figured it out! It’s so much better when not using mnt haha!
I appreciate that you actually added some "after the install" configuration ideas, rather than just writing another "How to Install WSL2" article. 🙄
That being said, have you uncovered anything since August that has become indispensible to your WSL2 environment?
Glad you enjoyed it! Honestly I heavily use VSCode due to the integration with WSL2 and that’s where I live most of the time. So it’s really nice because there’s basically nothing else I’ve needed. Not beyond those things I’ve already mentioned anyway.
I have these things installed on my windows, should I have them installed on my wsl2 too?
Most of the programs @johnbwoodruff recommends here [ Windows Terminal, VS Code, Docker Desktop ] already contain the ability to interact with both the native Windows environment and the WSL2 Linux kernel system.
However, you would need to install fresh software packages like the LTS version of Node or nvm, etc using your Ubuntu/Linux terminal.
Yeah sorry, I meant software packages.. so there will be like one (let's say yarn) package on ubuntu and one on windows?
Great question. For things like yarn or nvm I only install those in WSL. That being said, that’s for my specific use case. If you need node or yarn for any Windows node development (such as developing an Electron app) you would need to have those dependencies installed in Windows and have your code living in the Windows Filesystem, you wouldn’t use WSL at all in that case. That being said most people doing standard web development, it’s not likely they’ll need to install any of that in Windows and WSL, they could just live in WSL.