Introduction
This series is specifically for beginners who want to learn the Django. The Web framework based on Python. As you should know, Python is a requirement, and we'd be making use of Python v3.0+. It'd also be nice if you know some HTML and CSS. I'm not saying know it all level. Just basic knowledge.
I'm also learning, so you might have some questions and I might not be able to answer immediately. However, feel free to ask questions, I'd try my best to answer.
So in this lesson, we'd be learning about:
Before starting, you should know a few things:
- The Django Project has great documentation. You should make sure to check it out.
- This tutorial would be done completely on a Linux machine and should work perfectly for Linux distributions and MacOS. You might need to do a little bit of extra work if you're using Windows.
- All commands to be run in the terminal would start with a '$'. The '$' is not part of the command
- Feel free to skip to sections you need if you're already familiar with the previous sections.
Installation
Python
Python needs to be installed and as mentioned earlier, Python version 3.0 or greater.
To check if python3 is installed, open your terminal and type
$ python3
Running that should open a prompt similar to this:
Python 3.7.3 (default, Apr  3 2019, 05:39:12)
[GCC 8.3.0] on linux
Type "help", "copyright", "credits" or "license" for information.
>>>
If it does, you're good to go. If not, you need to first install python3. You can go to the official site to download it and install it. If you're on Linux. You could try:
$ sudo apt install python3
This would install the latest version of Python3.
PIP
Pip is basically a package manager for python. To install it, visit the documentation here or try:
$ sudo apt install python3-pip
Virtual Environment
I would suggest using a virtual environment because it allows you to basically localize your project and all the packages you use while working. To install virtualenv, open your terminal and run:
$ sudo pip3 install virtualenv
or
$ sudo apt install python3-venv
Now that we have installed virtualenv, lets create one.
$ virtualenv -p python3 myvenv
or
$ python3 -m venv myvenv
You can replace 'myvenv' with the name of your choice
To activate the virtual environment:
$ source myvenv/bin/activate
To deactivate it:
$ deactivate
at this point, I'm getting tired. Maybe you are too. Go take a short walk🌞. I'd be here when you're back.
Django
No? No walk? Okay. Well, to install django, first ensure that your virtualenv is active. Then run:
$ pip install Django
This would download and install the Django package into your virtual environment.
And that installs all we need to start.
Starting a New Project
Our project would be named awesome because you're awesome😉 . Feel free to give it another name, but don't forget, anywhere you see awesome, you replace it with your project name. To create, run:
$ django-admin startproject awesome
And! BoOm💥 We have a new project named awesome.
Running a Project
To run a project, first move into the directory of the project.
$ cd awesome
Then run:
/awesome$ python manage.py runserver
You get something like this:
Watching for file changes with StatReloader
Performing system checks...

System check identified no issues (0 silenced).

You have 17 unapplied migration(s). Your project may not work properly
until you apply the migrations for app(s): admin, auth, contenttypes, sessions.
Run 'python manage.py migrate' to apply them.

June 17, 2019 - 17:41:50
Django version 2.2.1, using settings 'awesome.settings'
Starting development server at http://127.0.0.1:8000/
Quit the server with CONTROL-C.
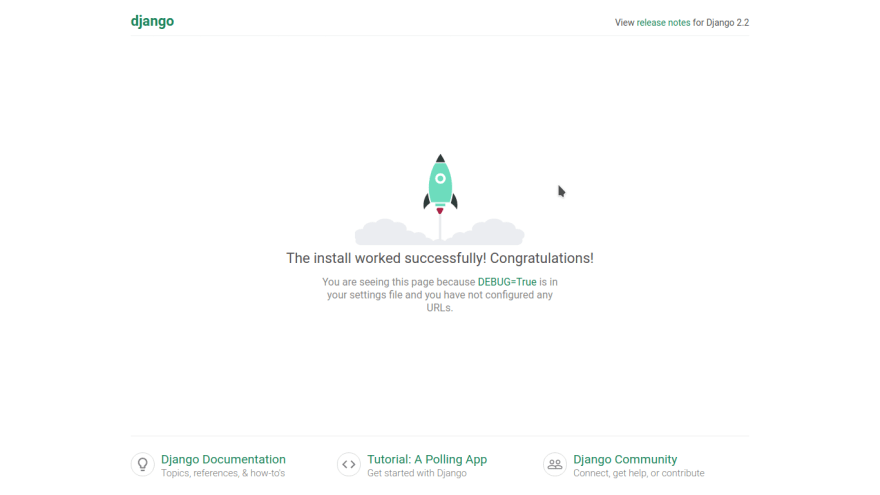
If yes, you're doing great. Now, open your browser and visit http://127.0.0.1:8000/.
Looks like this?

Great! I hope I didn't confuse you. Leave a comment if there's anything I should know or can help with.
Project can be found here
Cover image by pngtree.com


Top comments (3)
This is so weird we have the same post
Well, that's interesting! Your's feels more 'straight to the point' ish 😄. I hope this helps someone. This is my first tutorial article
Very nice lesson.