
Almost two years ago, I created my first website using HTML, CSS, and Python. Now, I’ve reinvented it using a modern and robust front-end development framework known as Next.js. For the past week, I have been developing it and now I’m proud to present www.jordantwells.com.
I created the first website to learn the “ins and outs” of web development fundamentals, and now I’ve created this new website to learn how front-end development is done with a slick JavaScript framework. It definitely wasn’t an easy journey, but I hope I can pass on some of the cool things that I’ve learned about along the way.
As always, if you want to see any of the code that made all this possible, it is available on my GitHub.
Why is Next.js great?

Next.js is a framework built on top of React, the popular JavaScript front-end development library. The benefit? Statically generated pages are reactive, and Next.js will hydrate your application client-side to give it full interactivity.
Additionally, there are many ways to render your site. Content can be rendered by the server (Server-Side Rendering), pre-rendered whenever you build the application, or deferred until a user decides to access the page.
What does all this mean?
- Faster development times
- Improved performance
- Better user experience
Sounds pretty good to me! There’s a reason why it is used by Netflix, DoorDash, Twitch, Hulu, and many more. So lets get cracking on developing one of these apps.
Getting started with Next.js
Before we begin, I’d highly recommend checking out the Next.js documentation, which does an amazing job explaining all the ins and outs of the framework.
1. Creating a Next.js project with create-next-app
Thankfully, the kind people behind Next.js have made it easy to get started with a bare bones Next.js app. Similar to the ever popular create-react-app, you can get Next.js up and running with just one simple command. Simply run one of the following commands in your terminal, and you should be greeted with a fully functioning Next.js app.
npx create-next-app@latest
yarn create next-app
pnpm create next-app
2. Setting up the development environment
Then, all you need to do is navigate into your new project folder, and start the development server.
# Navigate to Next.js project folder
cd myApp
# Start development server
npm run dev
This should start a locally hosted version of your Next.js app at somewhere like http://localhost:3000/.
3. Getting familiar with the layout
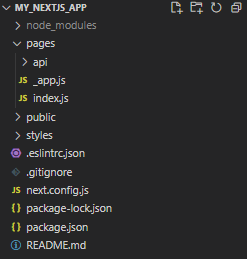
There are a few important things to take note of on this page.
Pages. This folder defines all of the pages on your site. Each page has to export a React component which defines all of the html on that page. index.js is the landing page for your website, and any other JavaScript file in this folder will create a new page. For example, creating an about.js file in this folder will create a new page at yourcoolwebsite.com/about.
Additionally, created a folder within the pages folder will create a new nested area on your site. For example, creating a projects folder and then a file called myproject.js inside that folder will create a new page at yourcoolwebsite.com/projects/myproject.
Finally, you can create dynamic routes by using brackets. For example, say you have a blog and want to have pages based on the blog post id. This can be accomplished by having a file such as blogs/[id].js. The brackets tell Next.js that url paths such as yourcoolwebsite.com/blogs/1 and yourcoolwebsite.com/blogs/2 should be supported.
Public. This defines where all of your static files exist, with any file in this folder being accessible through the use of a proceeding slash. So to access an image called my_cool_image.webp, you would use /my_cool_image.webp.
From here it is relatively standard React development! I would highly recommend this tutorial by freeCodeCamp.org for everything you could ever want to learn about React, and the Next.js documentation for anything Next.js specific.
Adding some personal flare
To spice up the website a bit, I created a landing page with cute pure CSS clouds. They randomly displace when hovered, and fly down from offscreen when you initially load the page.
Flexibly adding project pages using reusable React components
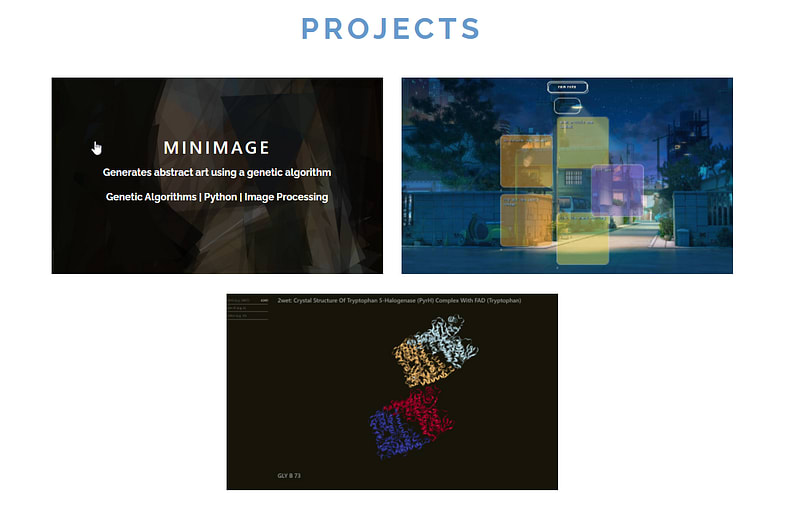
One of the best parts about the new website is that I have a single file, projects.json, which contains all of the information I need to build out project cards and project pages. This is achieved using React components, where I load the static JSON file and pass its information as props to the project page. If I complete a new project, I simply need to update the projects file with the new information and some pictures and it will automatically create a new page for it with no extra effort on my part!
The world’s easiest deployment with Vercel
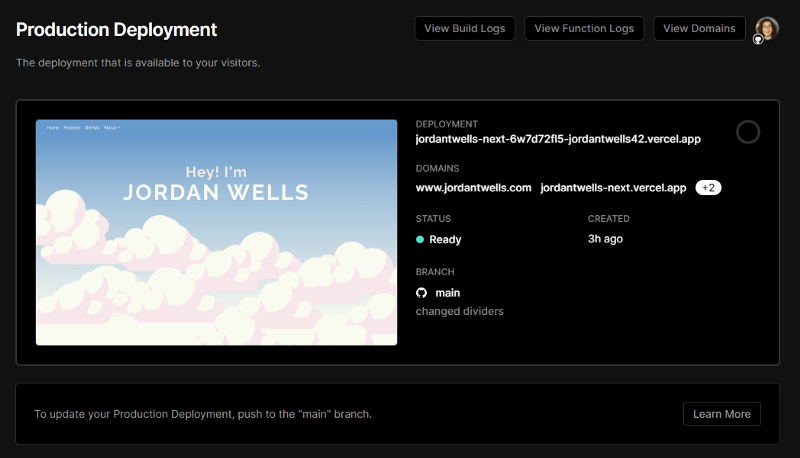
Vercel, the developer of Next.js, has made a cloud service that makes it incredibly quick to deploy, scale and iterate on Next.js projects with no need for configuration.
The best part? Since it’s integrated with GitHub, any changes you make to the deployment branch of your GitHub repository will be automatically deployed to the sight! No hassle and no need to push the changes to Vercel.
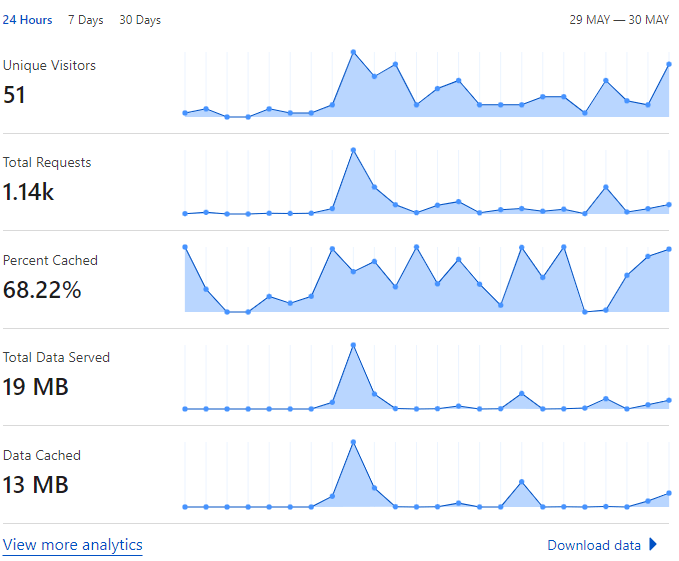
Even better, its completely free for hobby users! They provide a .vercel.app domain for any project you deploy, which can be easily replaced with your own custom domain from a service such as Namecheap, GoDaddy, or Google Domains. I took the extra steps to use CloudFlare on top of Vercel, allowing me to easily see website statistics.
What’s next for me?
It’s time to build out that portfolio! I’ll be working on plenty of projects in the coming months, so be sure to follow me to hear all the updates! And check out the finished website, www.jordantwells.com, I’ll be keeping it up to date with all of my recent projects! And if you’re curious to see how I made it, check out my GitHub.

Top comments (0)