
There are many ways one can create an object on the view in Xcode storyboard.
Using drag-n-drop method:
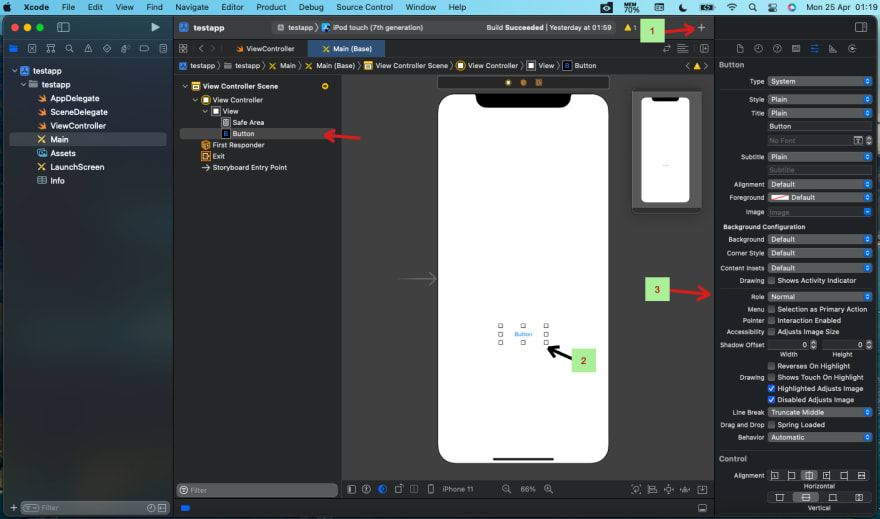
You may use the direct way, which is using drag-n-drop of object for example a button from the Library to the storyboard viewController and setting the properties of the object (button) on the attribute inspector and setting the constraints in auto-layout.
See below:
Creating the a custom button programatically from the ViewController:
In this method, I want to explain and illustrate an easy trick or way to create the object especially a button and placing it at any position you want on the view.
Personal Experience:
I discovered this solution when working on one of my project after upgrading to Xcode 13.3.
I created a custom button using the drag-n-drop method mentioned above, and there was a designable error meaning the storyboard is unable to validate and render the object in my case: a Button.
I fixed the designable error by having to create and set the button properties programmatically.
New issue auto-layout constraint code using NSLayoutContraint crashing the app at runtime:
Then arise a new problem setting the constraints auto-layout using NSLayoutConstraints was not working keeps breaking the code and the app keeps crashing at runtime.
Easy trick used to set the constraint and the outcome:
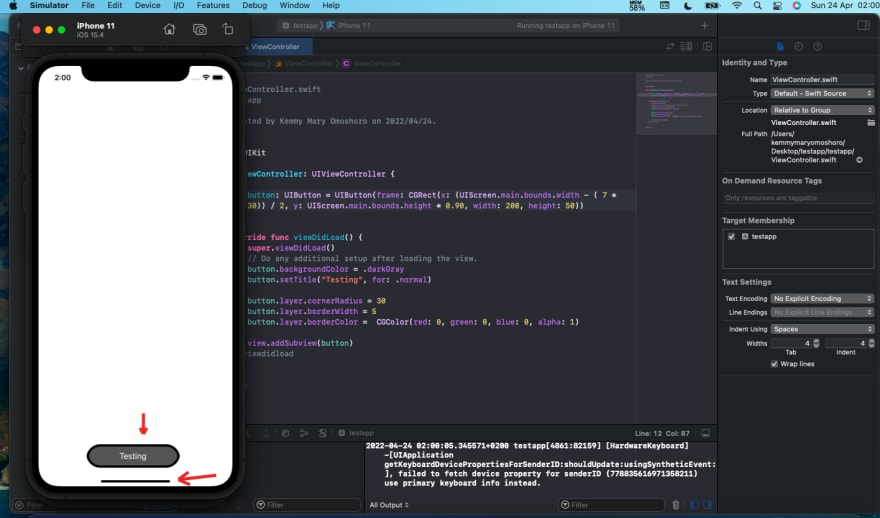
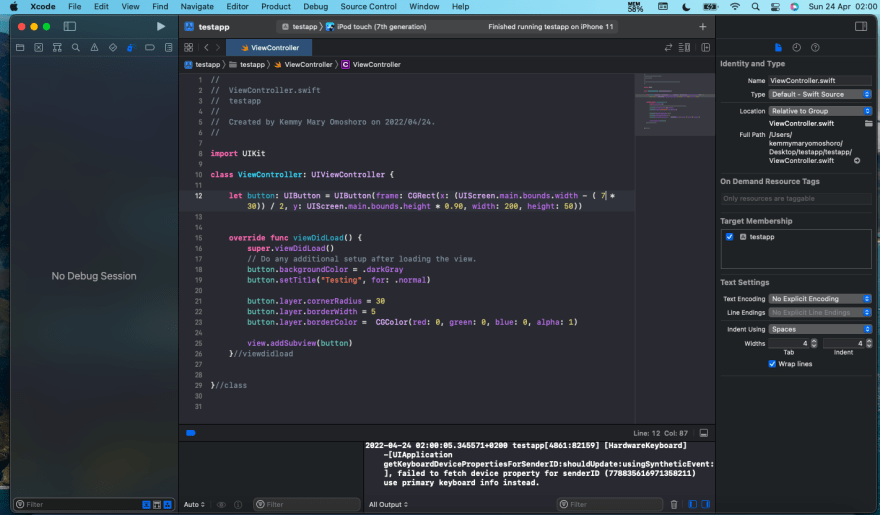
- Create the button using CGRect class.
- Using the UIScreen Class to set the x & y position of the object(Button) on the view.
Reasons & Observations:
- I used UIScreen because I don't know the size of the screen, but after using some basic mathematical calculations was able to figure out the position.
- I observed that if the amount multiplied by 30 is lower the object moves to the right of the screen & if the amount multiplied by 30 is higher moves the object to the left of the screen.
- To get the horizontal mid-position of the screen using the x-position, one have to twerk and play around with the amount multiplied by 30 and as well use the device simulator horizontal mid-point line to view if the object(Button) is placed at your desired mid-point or position on the device screen or simulator.
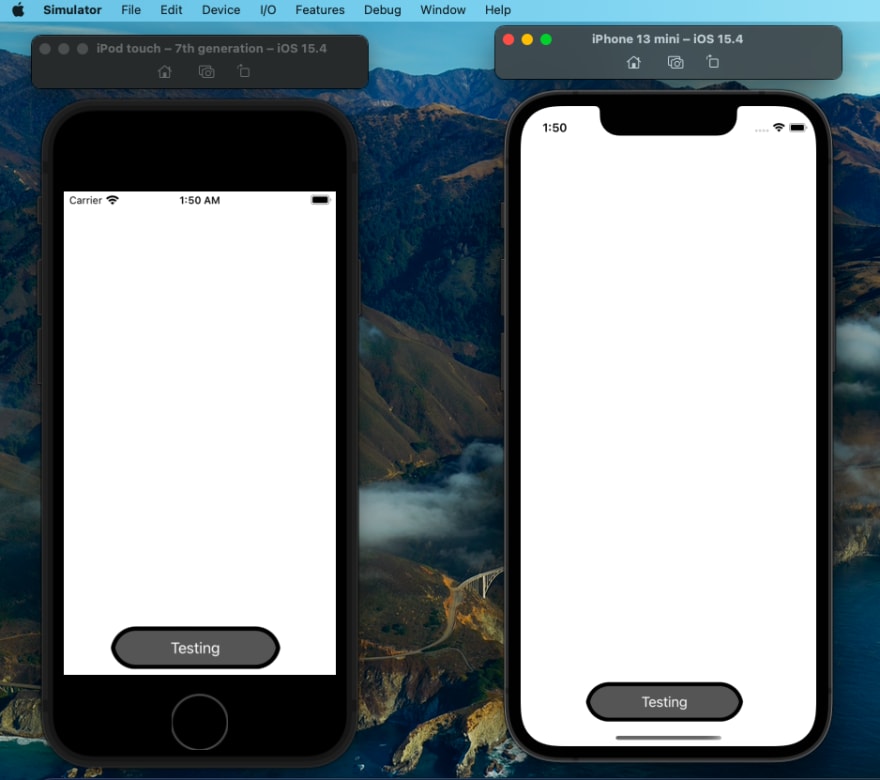
Testing the resulting outcome using different device size:
The resulting outcome of the object(Button) position when tested with other device screen size remain the same.
Here is the outcome and the code below:

Isn't it amazing ?!, problem solved ! and I hope this article helps someone too.

Top comments (0)