When I deploy my application, there are several choices.
- PaaS App hosting (WebApps/AppEngine)
- Serverless Functions
- Containers w/k8s
- Virtual Machine (VM)
So far I deployed to Web Apps (PaaS), and this time, I try VM as hosting target. I know many people uses container/k8s but VM is still relevant and good choice time to time. When? Well, for example:
- You have legacy application runs as Windows Service
- You simply want to lift and shift your on-prem application to cloud
- You have application requires specific execution environment, etc.
Single VM vs Instance Groups for auto-scaling
When I use VM, the first thing I need to consider is how to scale, both scale-up and scale-out. If I put MSSQL, I need to scale-up, and if I put Web Application, I rather do scale-out.
In this article, I focus on single instance first to see what options I have both operation and developer point of view.
Azure Virtual Machine
Though it's Microsoft Cloud, it supports non-Windows as well as Windows clients and servers. It also offers images with OS and software, so you can quickly deploy the solution rather than bare bone plain OS only.
Size
See the articles for Windows and Linux for detail, but there are many purpose oriented size choices are available, such as Compute optimized, Memory optimized, GPU, etc.
Region and Price
There are tons of locations you can choose from and many pricing options to optimize the cost. As this is not marketing blog, I don't explain the detail but there are Dev/Test pricing available, which is good for developers.
Other features
I really cannot list all the features, but you shall find what you need for most purpose, such as:
- SSD
- Persistent Disk
- Networking
- Security
- IAM
- VM Management
- Monitoring
- Integration with other services
- Automation
- Tools
- Customization, etc.
Microsoft also offers Hybrid Cloud so it should be easy to integrate OnPrem assets as well, which is good for enterprise developers.
Let's try
In this article, I use Windows Server 2016 to host my web C# Full .NET 4.6 Web API runs on IIS. (For test purpose, otherwise I use Web Apps!)
Provision VM
Firstly create VM. There are many ways to create VM. From portal, CLI, SDK, ARM template, etc. There are several prerequisites to use Visual Studio to "publish".
- Install IIS (with Management Console)
- Install ASP.NET 4.6
- Web Management Service
- Web Deploy 3.6
- Open firewall
- Configure DNS names
Azure provides easy to deploy method (ARM template) so you can simply click the button below to deploy which has all of above.
If you already have VM which you want to Web Deploy enabled, refer to Patch an existing VM
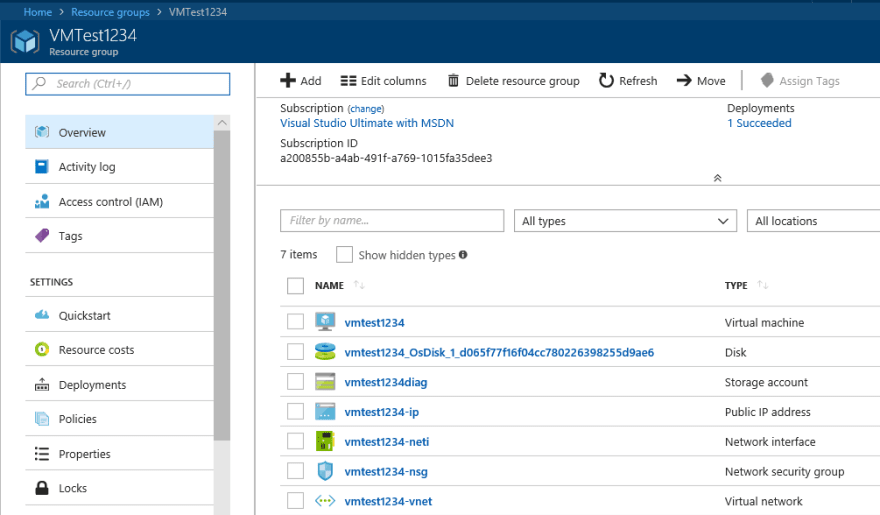
I am lazy enough to use single click deploy, and this is the result.
- Virtual machine: The VM
- Disk: This is SSD disk attached to the VM
- Storage account: The storage account contains disk above
- Public IP address: As it says, public IP for VM
- Network interface: NIC for the VM
- Network security group: Define security related settings such as firewall rules
- Virtual network: Local network for the VM
Create an application and deploy.
1. Open Visual Studio 2017 and create new project. Select ASP.NET Web Application (.NET Framework).
2. Select Web API template and click OK. This template already include API, so I just use it.
3. Right click the project and click "Publish".
4. Select "Microsoft Azure Virtual Machines", then click "Browse".
5. Select the VM you want to deploy to, and click "OK".
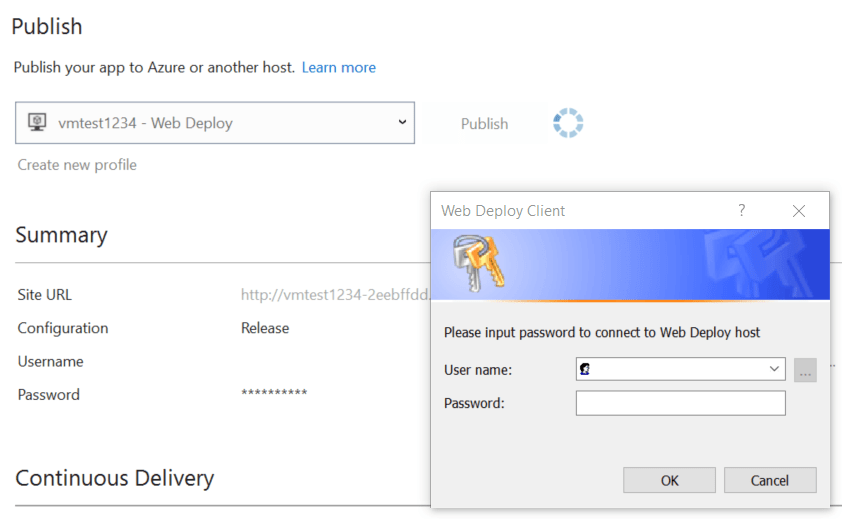
6. Click "Publish" and enter VM administrator's username and password.
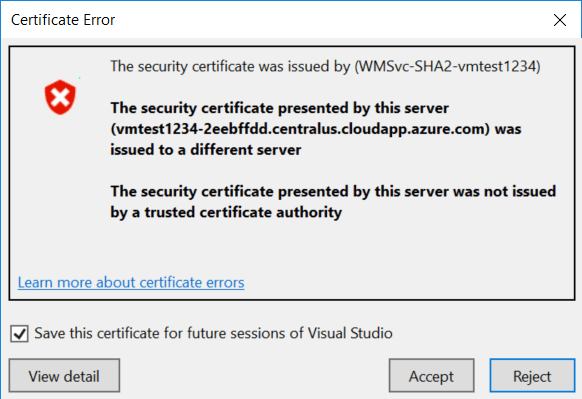
7. You may see cert error. Click "Accept".
8. Wait until deploy complete. Once completed, go to "/api/values" to see it returns result.
Tips
There are several tips at this point before going scaling out in the next article.
Auto Shut-down
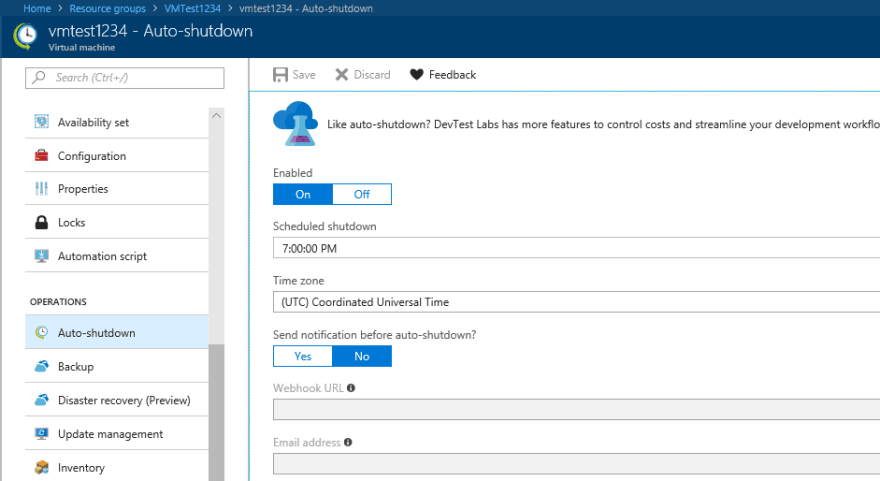
As a developer, I don't want to pay too much money for testing, but it's easy to forget shutting down VM. That's where auto shut-down comes to save you.
Go to VM and select "Auto-shutdown" and apply settings.
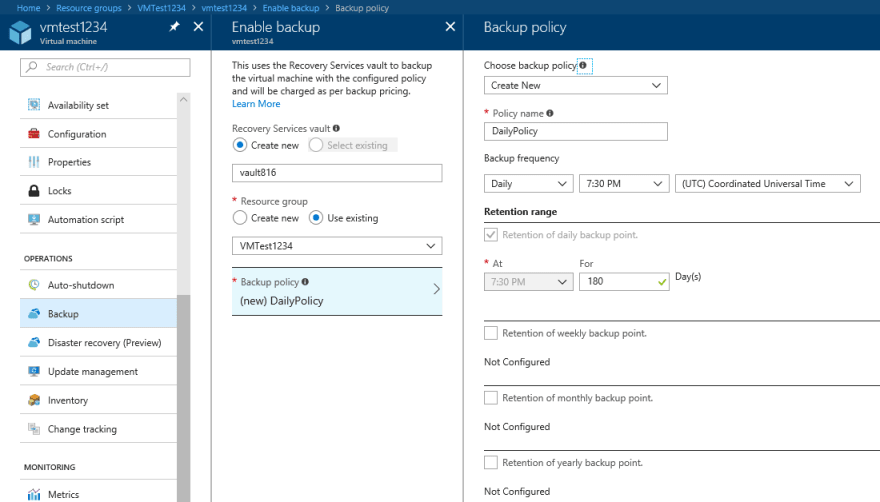
Backup
You can also create backup. I know this is something you may not do in container environment, but good to know for VM environment.
SSL
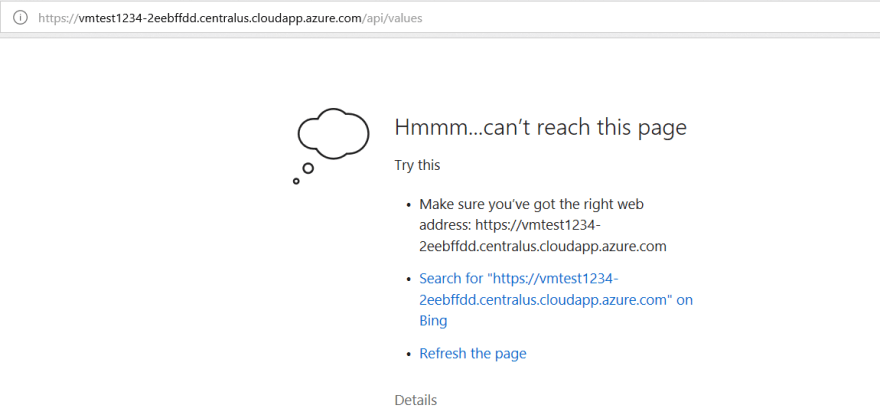
1. Change the URL from http to https. It should fail like this. Why? That's because firewall is blocked for port 443.
2. Go back to Azure Portal and select VM, then select network. As you can port 80 is open but not 443.
3. Click "Add inbound port rule" and add port 443. You can do so by selecting HTTPS service.
4. Refresh the browser and you still have same issue. Why? Because IIS doesn't have binding for SSL. Login remotely to VM and check IIS settings
5. Now you see issue. You need to have SSL cert to use SSL. There are two ways to make this work.
- Use public cert: In this case, to match host name, you need to use custom DNS name for the VM. You can use Azure DNS if you want. See here for detail.
- Use self-signed cert: Of course browser will warn you that cert is not self-signed. See here for detail steps.
In the next article, I will look into how to scale VM environment
Ken







Top comments (0)