
This Travel Article App UI clone tutorial series was inspired by the React Native Universal Listings App Template that accommodates a wide variety of use cases, powered by universal features and design. This app template allows us to implement our own apps to list anything that belongs in categories and can be added on a map. Some of the examples of apps that we can build using this template are real estate properties, restaurants, bars, cars, dealerships, e-commerce products, marketplace used products, hotels, travel locations, etc.
This tutorial series replicates the coding implementations and designs from the Youtube video tutorial by React UI Kit for the Travel Article App UI Clone. The video tutorial delivers the overall implementation using speed coding which may be difficult for any developer to comprehend especially for beginners. So in order to make learning easier and clearer, this tutorial series breaks down the video tutorial into different sections. Hence, providing the step-wise implementation of each UI section, the beginners can relax and take their time to learn and implement this App clone.
Overview
In this first part of this tutorial series, we are going to set up the starter template for the upcoming tutorial parts. This first part will form the base for the overall tutorial by sectioning out different parts of the UI. Here, the idea is to start with a new React Native starter project using expo. After that, we will establish a basic project directory structure for the overall project including navigator configuration. Lastly, we will section out different UI elements in the app for upcoming parts of this tutorial series.
So, let us begin!!
_ Note that, in this tutorial, we are going to use the EXPO as the React Native project development tool. So first, we are going to create a boilerplate React Native application using expo client. _
Creating Starter React Native project
First and foremost, since we are going to use the expo as a development engine, we need to install it into our system. To install expo globally into our system, we need to have Node Package Manager(NPM) installed first. Then, we need to run the following command:
npm install -g expo
Now, we need to create a boilerplate react native application using expo. In order to do this, we need to run following command in the desired project directory:
expo init \<project\_name\> // project name==\> travelArticle
After running the above command, we will be asked to choose the template for the boilerplate app. Here, we are going to choose the *blank * template. The blank template provides a very minimal app template as clean as an empty canvas. The selection screenshot is provided below:
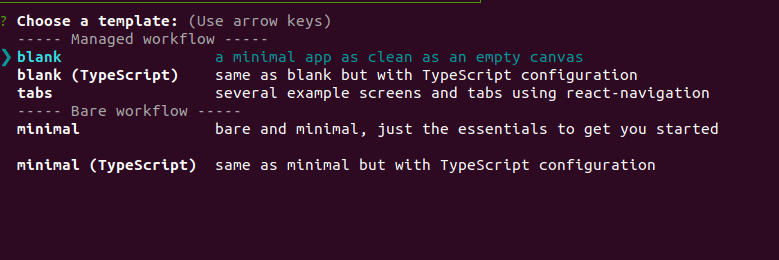
As we can see, we choose the blank template and hit enter. Then, we need to enter the project name and after that, the boilerplate react native app is configured into our directory.
Now, we need to enter the project directory and then run the command:
expo start
Then, we will get the following boilerplate app in our emulator screen:
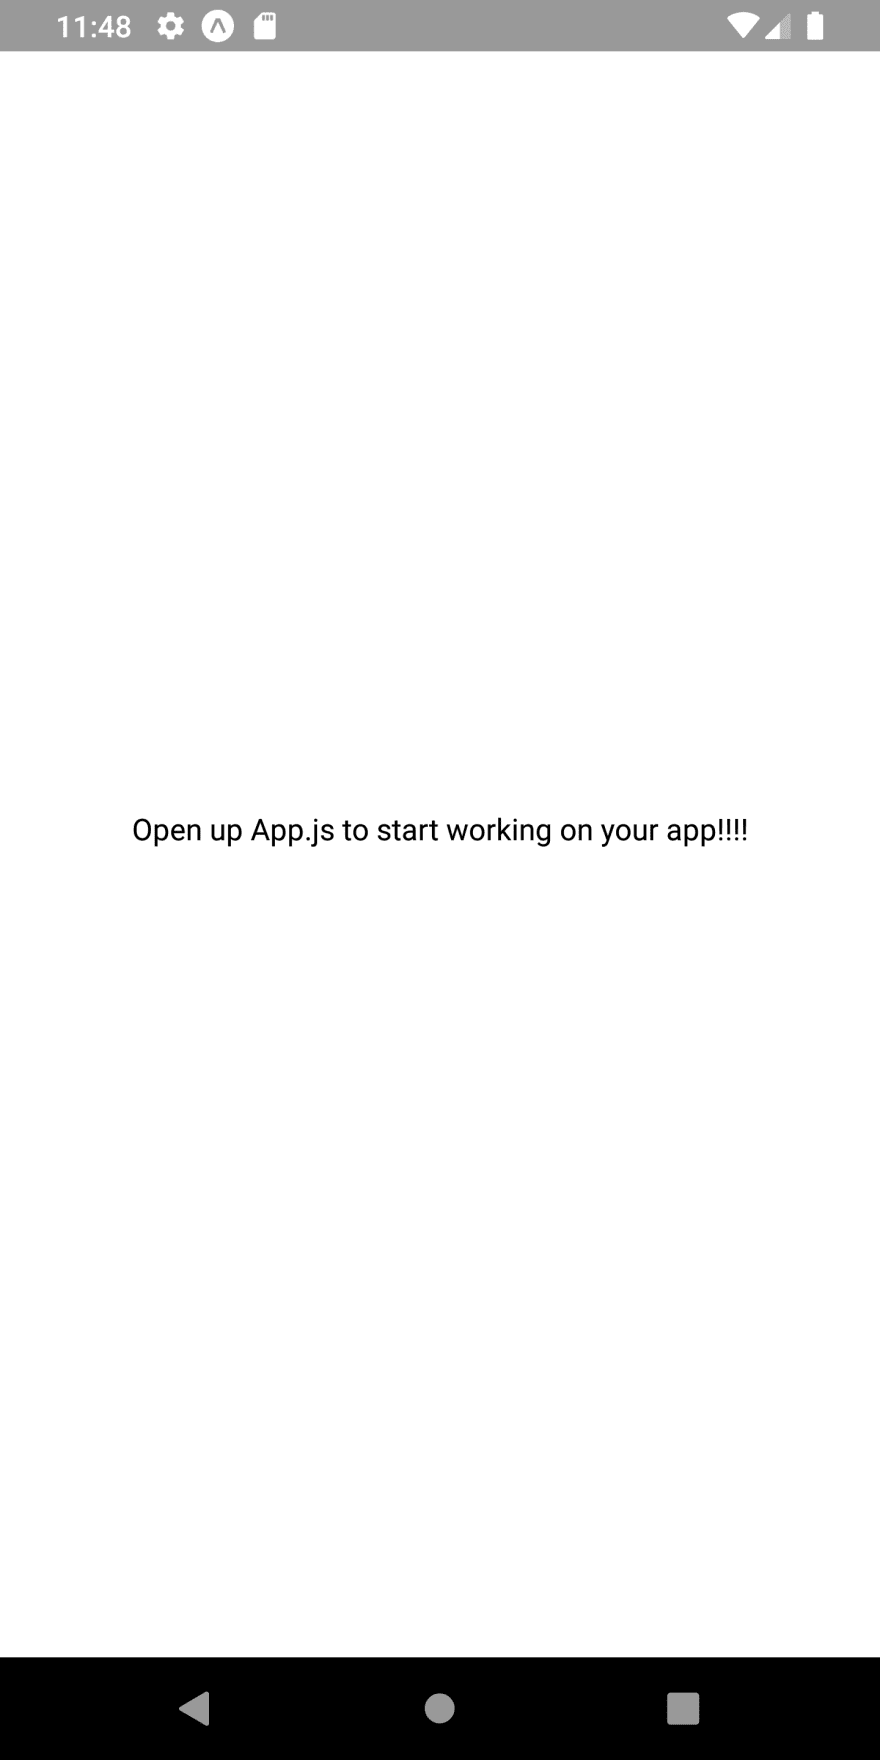
As we can see, we have got the starter template running in the emulator. The screen is not configured with too many styles and layout designs. Just a simple white screen with text in the middle.
Configuring project files and folders
Now, in the project folder, we need to create two new directories named ‘screens’ and ‘navigations’. In the ‘./screens/’ directory, we need to create two JavaScript files called ‘List.js’ and ‘Article.js’. In the ‘/navigations/’ directory, we need to create a JavaScript file called ‘Travel.js’ which will hold our navigator configurations The overall project folder structure is provided in the screenshot below:

Setting up React Navigation
Here, we are going to set up our navigation configurations so that we will be able to navigate from screen to screen in our app. For that, we need to install the react-navigation package along with its supporting dependent packages as shown in the code snippet below:
\>\>\>expo install react-navigation \>\>\>expo install react-native-gesture-handler \>\>\>expo install react-navigation-stack
Now, that we have installed the required packages, we can now set up our navigator in the Travel.js file. In Travel.js file, we will set up a stack navigator with List and Article screen as shown in the code snippet below:
import React from 'react';
import { createStackNavigator } from 'react-navigation-stack';

import List from '../screens/List';
import Article from '../screens/Article';

export default createStackNavigator(
  {
    List,
    Article
  },
  {
    initialRouteName: "List",
  }
);
Here, we have imported the createStackNavigator function from the react-navigation-stack package. This createStackNavigator function enables us to stack our screens in other to configure an app container with screens to navigate. Then, we have also imported the List and Article screens from the ‘./screens/’ directory. Then, all the screens are included in the createStackNavigator function as the 1st parameter. In the 2nd parameter, we have set a default initial route as List screen.
Now, in the App.js file, we need to create an app container to hold this stack navigator. For that, we need to import our Travel.js file in App.js file and configure it as shown in the code snippet below:
import React from 'react';
import { createAppContainer } from 'react-navigation';
import Travel from './navigation/Travel';

export default createAppContainer(Travel);
Here in the App.js file, apart from the code in the above code snippet, we can remove all other unnecessary codes. Here, we have imported the createAppContainer function from the react-navigation package. We have also imported the Travel.js file as Travel which contains for navigator configuration. Then, we have passed the Travel navigator into the createAppContainer function as a parameter that is being exported.
From here on, our default initial screen will be the List screen as configured in the Travel navigator. But we have not set any template to our List.js and Article.js screens. So, let us set a default simple template for both the screens.
Setting up simple Templates for Screens
Here, we are just going to set a simple React Native template for our List and Article screen in the List.js and Article.js file. In the List.js screen, we can use the code from the following code snippet:
import React from 'react';
import { StyleSheet, Text, View } from 'react-native';

export default class List extends React.Component {
    render(){
      return (
        <View>
          <Text>List Screen</Text>
        </View>
      );
    }
};

const styles = StyleSheet.create({

});
Now, in the Article.js screen, we can use the code from the following code snippet:
import React from 'react';
import { StyleSheet, Text, View } from 'react-native';


export default class Article extends React.Component {
    render(){
      return (
        <View>
          <Text>Article Screen</Text>
        </View>
      );
    }
};

const styles = StyleSheet.create({

});
Here, we have just set up a simple template importing the necessary modules from react and react-native packages. Then, the templates only return a simple Text component.
Now, if we run the app in the emulator, we will get the following result in our emulator screen:
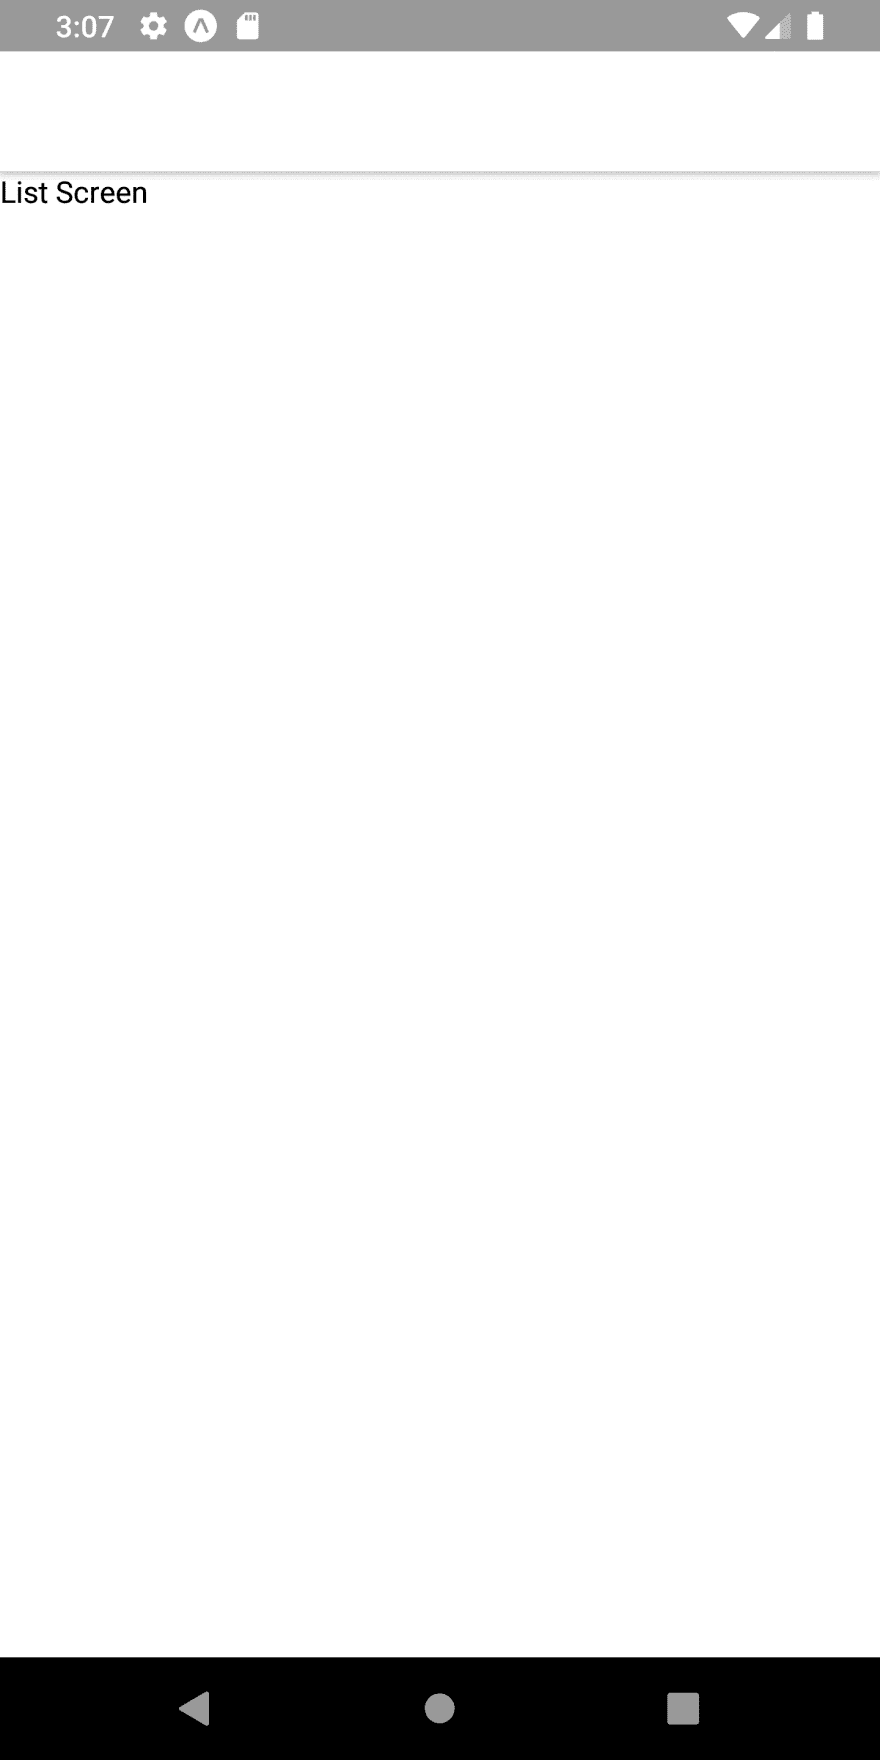
Here, as we have configured the List screen as an initial route in the Travel navigator, we have got the List screen in our emulator. Now, we are going to section out different UI sections in the List screen.
Separating Different UI sections for List screen
Here, we are going to divide the List screen into three different UI sections. The three different sections are going to be a Header section, destinations section and recommended section.
Header Section
First, we will set up a header section by using the navigationOptions object provided by our navigator. The navigationOptions object is provided by default when we configure our app screens to any navigator. This object allows us to configure the headers as well as other elements as per the specific navigator that we use. Now, in our to section out the header section, we need to use the code from the following code snippet:
export default class List extends React.Component {
    static navigationOptions = {
        header: (
          <View style={[styles.row, styles.header,]}>
            <View>
              <Text>Search for place</Text>
              <Text>Destination</Text>
            </View>
            <View>
                <Text>Avatar</Text>
            </View>
          </View>
        )
      }
.....
Here, we have included a custom header section replacing the default header that we can see in our previous screenshot. The navigationOptions object allows us to set a custom header providing a header configuration variable. In the header variable, we have a parent View component wrapping two child View components. The 1st child View component wraps some Text component and the 2nd View component is for the user avatar that we will configure in upcoming tutorials. There is also some style provided which is available in the code snippet below:
const styles = StyleSheet.create({
    row: {
        flexDirection: 'row'
    },
    header: {
        backgroundColor: 'white',
        paddingHorizontal: 36,
        paddingTop: 36 * 1.33,
        paddingBottom: 36 * 0.66,
        justifyContent: 'space-between',
        alignItems: 'center',
    },
});
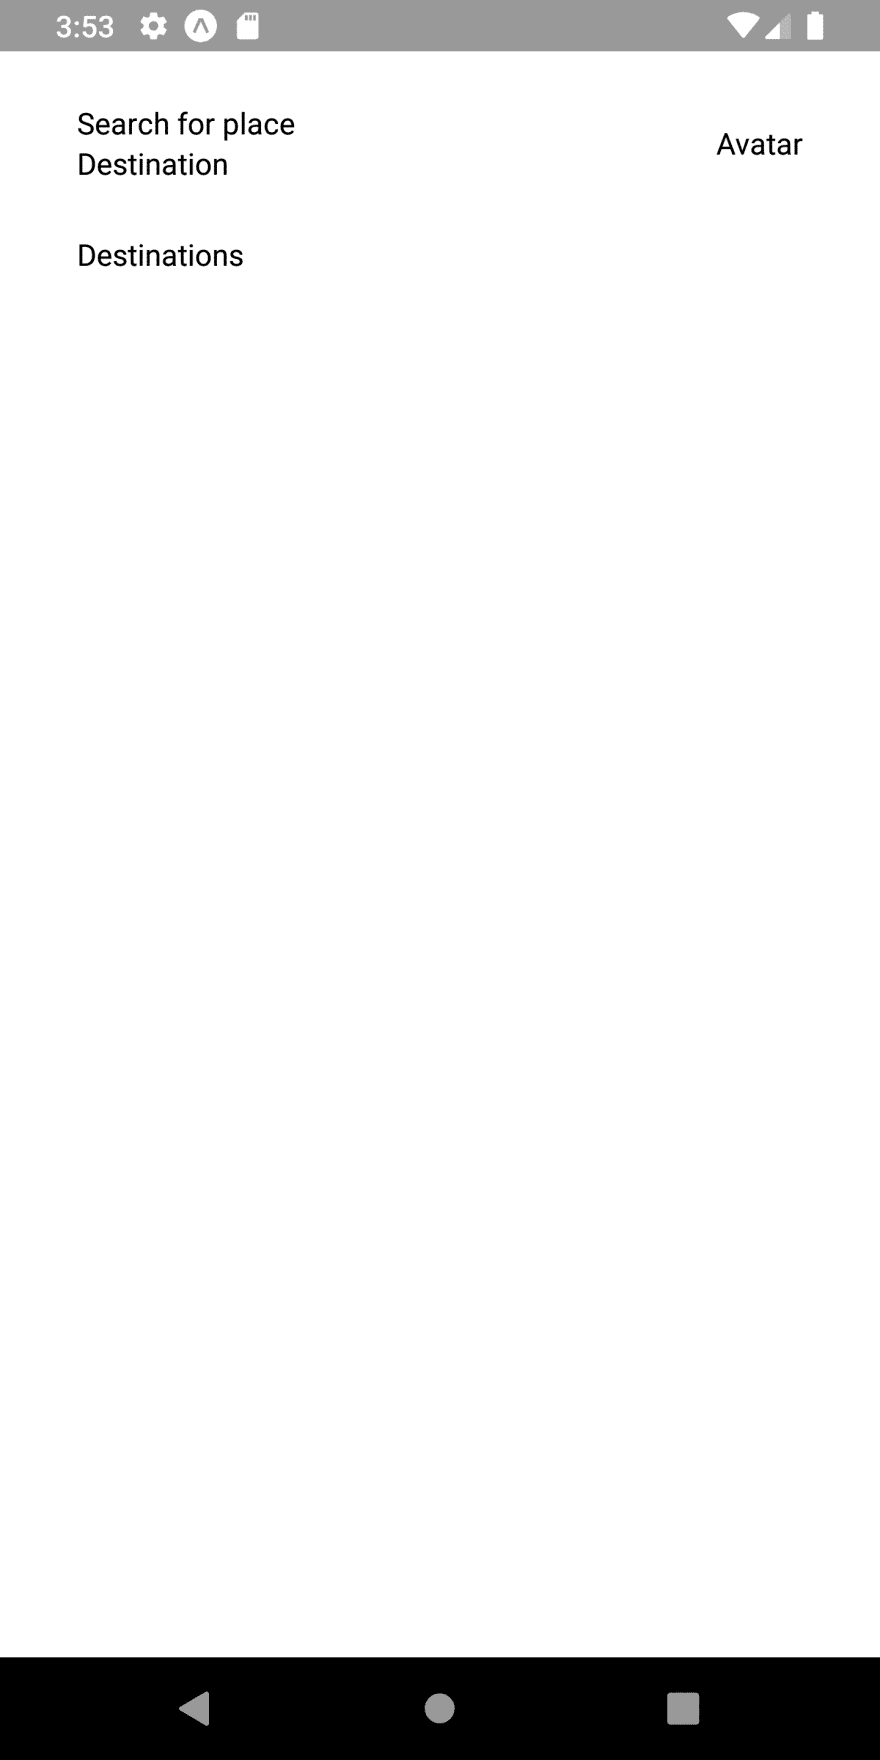
Hence, we will get the following result in our emulator screen:
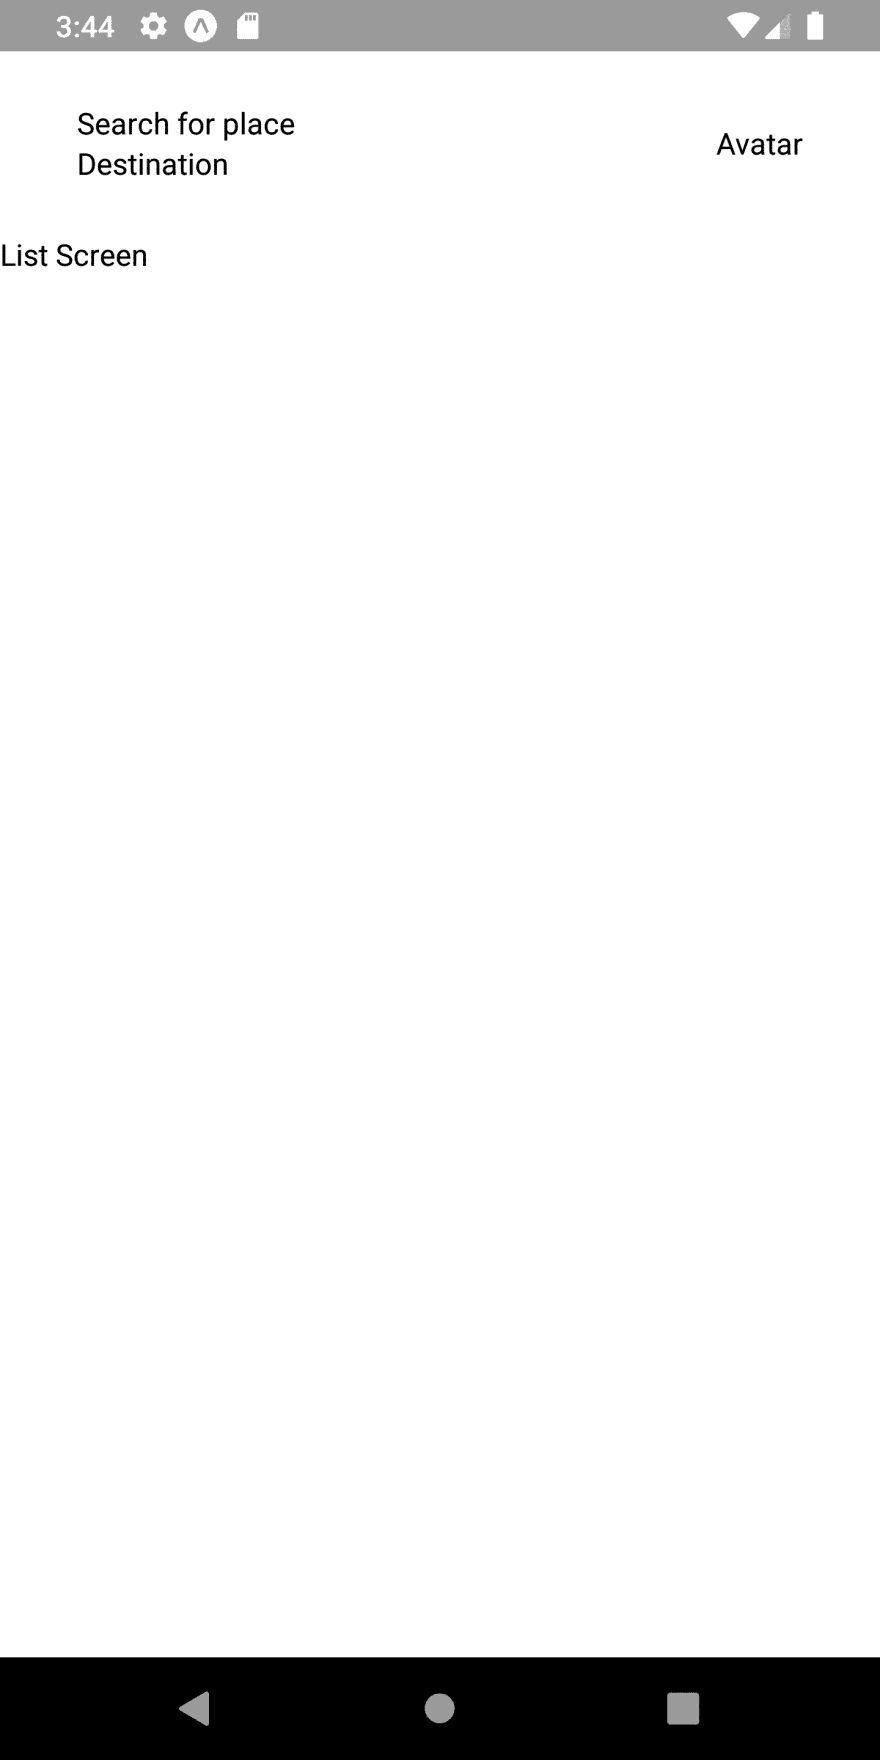
As a result, we have got the header section on our List screen. We will make it as in the actual app in the upcoming tutorial parts.
Note that if we get the error after performing this step then we may need to place the StyleSheet component before the class configuration.
Destinations Section
Here, we are just going to make a separate function called renderDestinations()`. This function will return the template for the Destinations Section in our List screen. For now, we just going to return a simpleViewandText` components from this function as shown in the code snippet below:
`

renderDestinations(){

        return(

            <View style={[styles.flex, styles.column]}>

                <Text>Destinations</Text>

            </View>

        )

    }

`
Now, we need to call this function in our render() function as shown in the code snippet below:
`

render(){

      return (

        <View style={[styles.flex, styles.articles]}>

          {this.renderDestinations()}

        </View>

      );

    }

`
The required styles are provided in the code snippet below:
`

flex: {

        flex: 1,

    },

    column: {

        flexDirection: 'column'

    },

    articles : {

        paddingHorizontal : 36

    }

`
Hence, we will get the following result in our emulator screen:
As we can see, we have got the recommendation section which we will implement in the upcoming tutorial parts.
Recommended Section
Here, we are going to do the same as in the Destinations section. Thus, we are going to create a function called renderRecommended() . This function will return the template for the Recommended Section in our List screen. For now, we just going to return a simple View and Text components from this function as shown in the code snippet below:
renderRecommended(){

        return(

            <View style={[styles.flex, styles.column]}>

                <Text>Recommended</Text>

            </View>

        )

    }
Now, we need to call this function to our render() function as well:
render(){

      return (

        <View style={[styles.flex, styles.articles]}>

          {this.renderDestinations()}

          {this.renderRecommended()}

        </View>

      );

    }
Hence, we will get the following screen in our emulator screen:
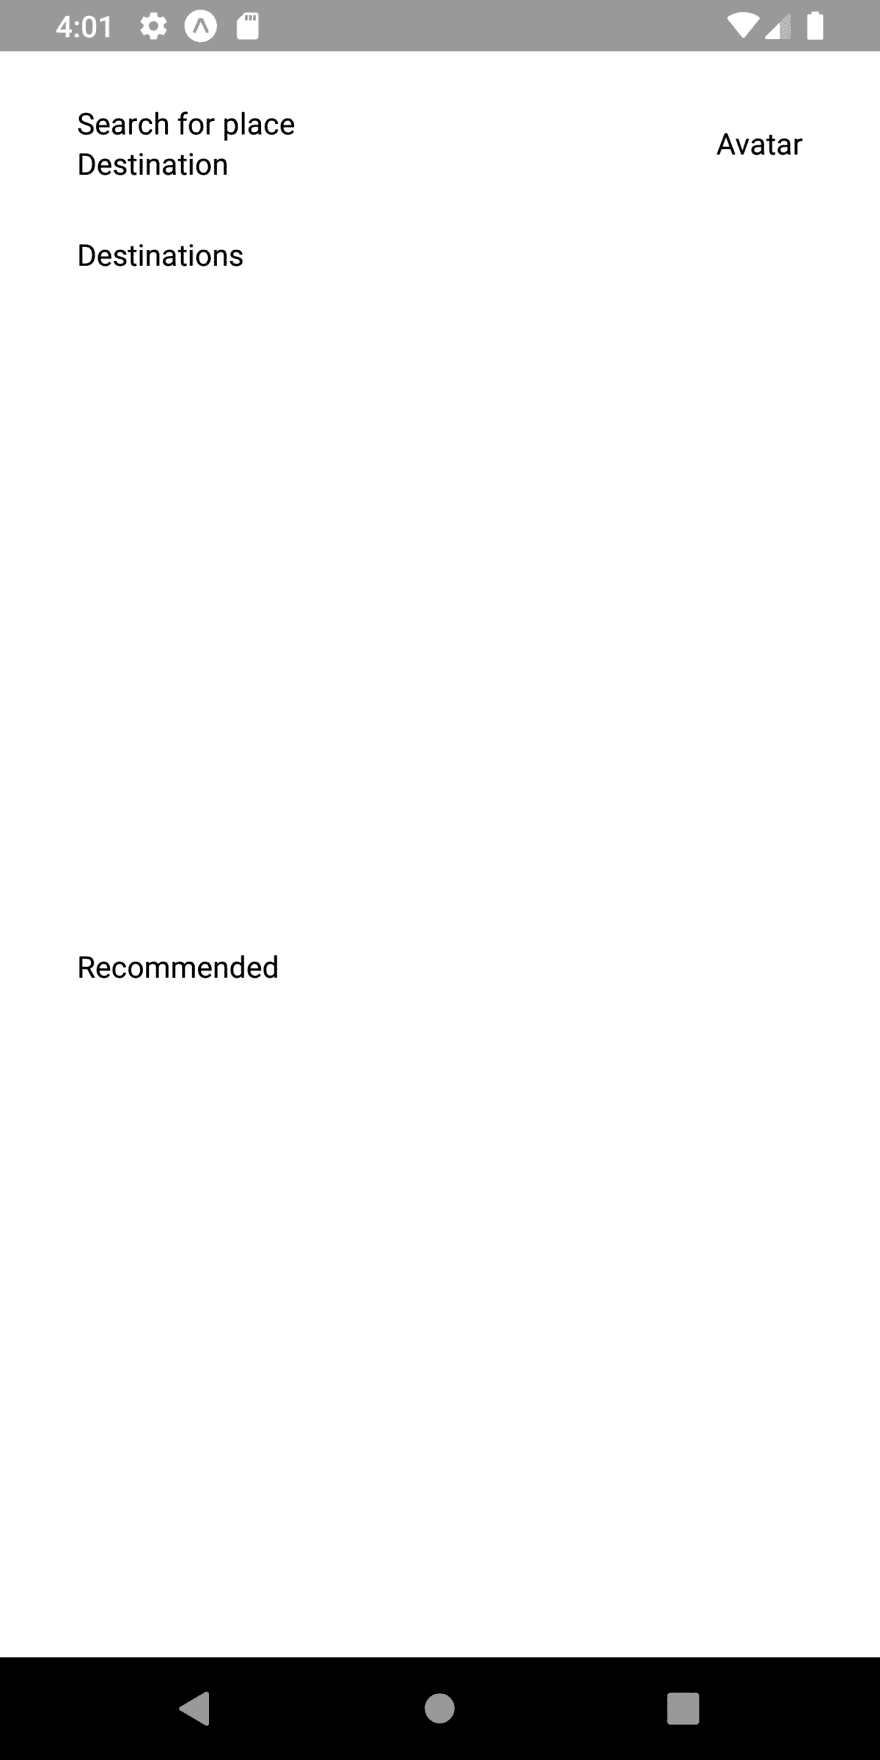
As we can see, we have separated out the Recommended section as well.
Now, these three sections will form a foundation for the List screen in our upcoming tutorial parts. Finally, we have successfully set up the starter template and sectioned out the UI parts in the List screen.
Conclusion
This is the first part of our tutorial series to clone the React Native Travel Article app UI. In this part of the tutorial, we first learned how to set up a stater react native app project by using expo. Then, we learned how to configure the screens directory in order to prepare for the app UI. After that, we got step by step guide on how to set up the navigator for our app screens. Lastly, we separated the List screen UI sections by defining functions that return the template of the particular section.
Well, this tutorial just paves the foundation for upcoming tutorials. In the next part, we are going to implement a portion of the Destinations section with Swiping/Scrolling transition.
So, Stay Tuned folks!!!
The post React Native Travel Article App UI Clone #1 : Getting Started appeared first on Kriss.
Affiliate Disclosure
Keep in mind that we may receive commissions when you click our links and make purchases.

Top comments (0)