This is part 2 of the article series GitHub Pages — A Comprehensive guide w/ images
 on [Unsplash](https://unsplash.com?utm_source=medium&utm_medium=referral)](https://res.cloudinary.com/practicaldev/image/fetch/s--iH_VnJWC--/c_limit%2Cf_auto%2Cfl_progressive%2Cq_auto%2Cw_880/https://cdn-images-1.medium.com/max/8470/0%2AV_dX9tSJhBRw3S9q)
Recently I started building my personal website as everyone is building one for themselves these days. I got a cool TLD (.xyz), and that is the only money I wanted to spend. Since then I’ve been looking for ways to host it without any costs.
In part 1 of this series we saw how to publish GitHub User Pages and how to link it with custom-domain.In this article we’ll see how to have more than one Github Pages per account (Yes, it is possible). Commençons!!
Before proceeding make sure you already have a repository .github.io
Setting up Multiple Github Pages:
Let’s create a new repository:
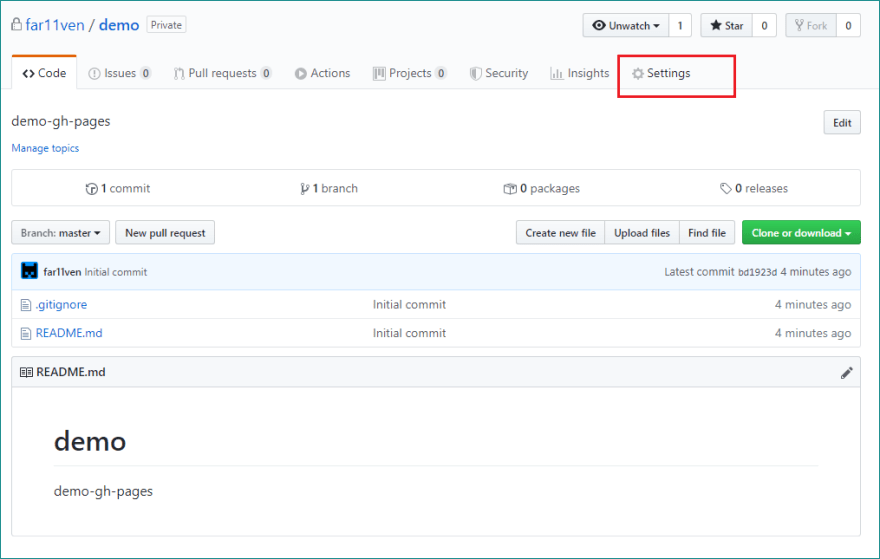
- Goto Github.new and fill out the new repository details, I’ll call it demo:

Note: It is important to keep this repository public
- Now goto repository settings:
- On Settings page, scroll down to Github Pages section:

- Make the repository Public, if you see following message:
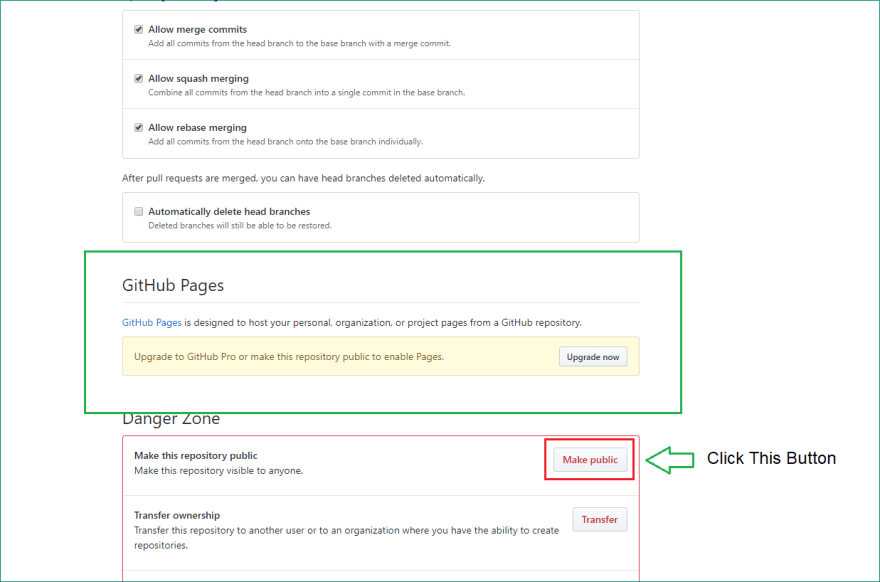
- Once repository is Public GitHub Pages will become enabled for the current repository

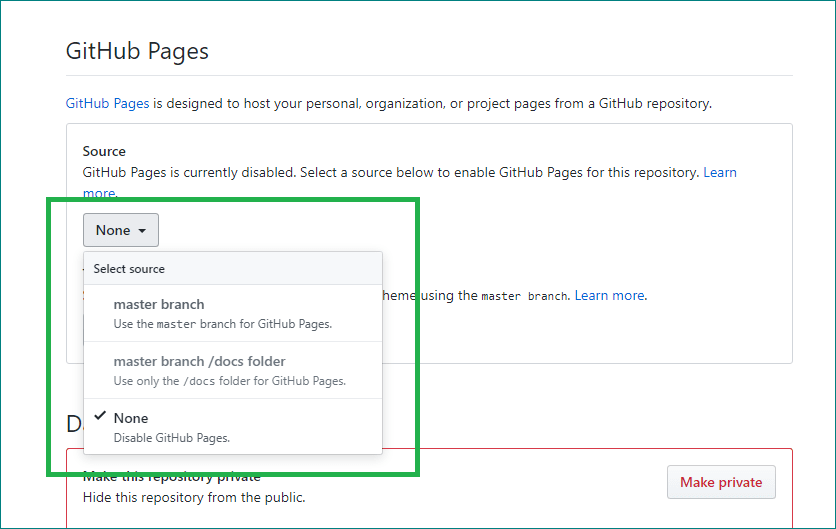
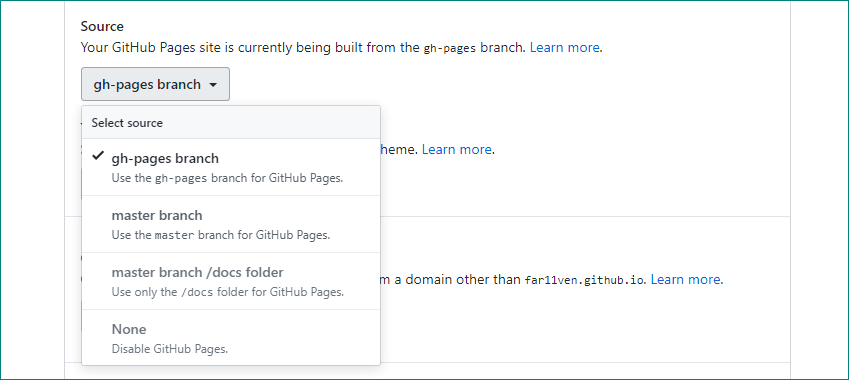
Click on None, then view current options:
we can either choose following options:Using “master” branch of demo repository for publishing GitHub pages (Like in GitHub User Pages)
Using /docs page under “master” branch for publishing GitHub Pages
We’ll be using gh-pages branch option which is currently not available as gh-pages branch doesn’t exist for demo repository as of yet
- Copy the demo repository link:
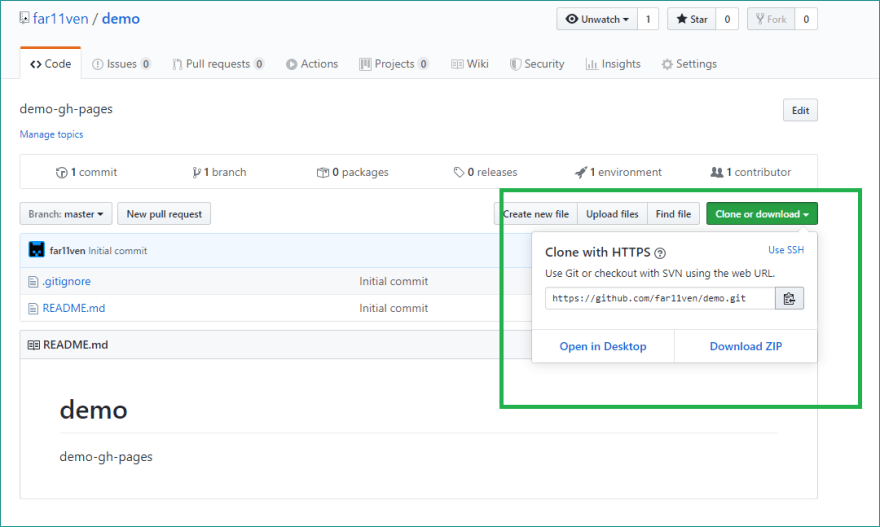
- Now clone the repo to local machine: Here, far11ven is my GitHub username
~$ git clone https://github.com/far11ven/demo.git
- Create local gh-pages branch and push it to GitHub:
~$ cd demo
~$ git branch gh-pages
~$ git push remote -u origin gh-pages
- Go back to demo settings on GitHub and select gh-pages as source for publishing:
After this step whatever you put in gh-pages branch will be automatically published.
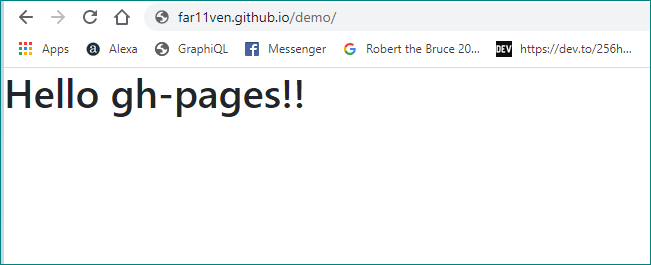
- Let’s create a simple index.html file within this repository:
~$ echo “Hello gh-pages!!” > index.html
- Add, commit and push your changes to GithHub remote:
~$ git add *
~$ git commit -m “Initial commit”
~$ git push -u origin gh-pages
- You can see in your browser demo repository has been published
You will have a main GitHub User Page (One per account) username.github.io and all other repos will be published as sub pages
or,
if you have already linked a custom-domain to your GitHub User Page, the n you can see the published page at www.example.com/your-repo-name
in my case demo repo will be published at far11ven.github.io/demo
Setting up custom-domains:
i) Setting up Github Pages as a domain
To have our subpages be listed as demo page we need to do following changes in our GitHub repo and our Domain provider
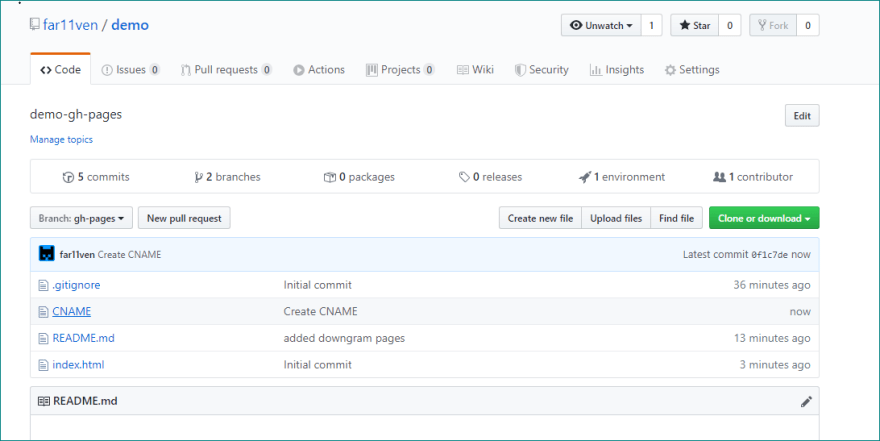
- Create a CNAME file in your repository: I will be doing it via GitHub UI, just create a CNAME file (with no extension) and just enter your sub-domain name inside it, nothing else. in my case, I want to make demo pages appear as your-website.com

Once Done, commit your changes.

- Add a new DNS record on your DNS provider: We need to change existing CNAME records to point to created GitHub pages i.e. username.github.io

ii) Setting up Github Pages as a sub-domain:
To have our subpages be listed as demo page we need to do following changes in our GitHub repo and our Domain provider
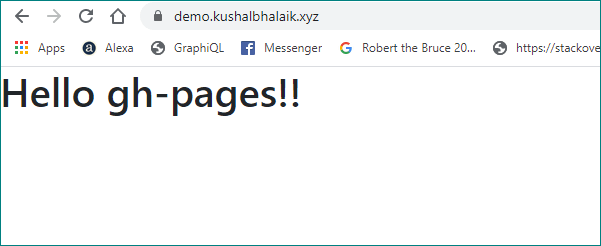
- Create or Edit an existing CNAME file in your repository: I will be doing it via GitHub UI, in my case, there is already a CNAME File so I ‘ll just edit the existing file and replace everything in it with my sub-domain, nothing else. in my case, I want to make demo pages appear as demo.kushalbhalaik.xyz
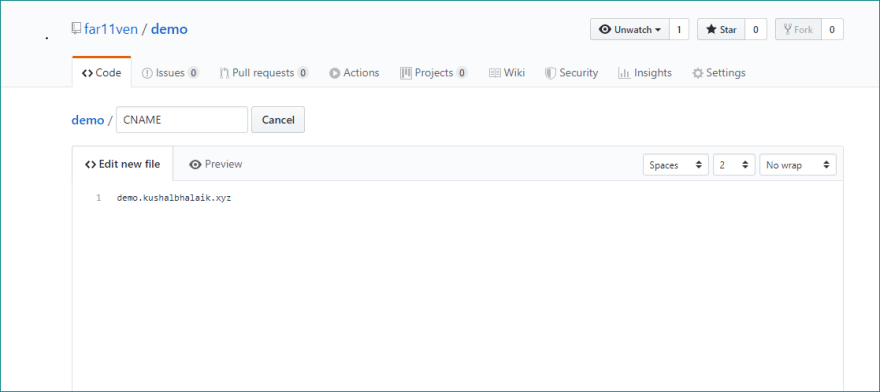
Once Done, commit your changes.

- Add a new DNS record on your DNS provider for existing Domain: We need to change existing CNAME records to point to created GitHub pages i.e. username.github.io

Important Points:
Again, at this point, nothing needs to be done from our end, we need to wait for changes to reflect on both GitHub and Cloudflare end, Which may take some time (usually its prompt) but may take some time based on your DNS provider
You won’t be able to access your pages via username.github.io, or username.github.io/our-repoin case you try and enter this in browser, you’ll be redirected to your custom domain or custom sub-domain
Your can-not add multiple GitHub Pages as a sub-doman to GitHub User Page i.e demo.far11ven.github.io in my case is not a valid url
Final Result:
We have successfully created a sub-domain to host our another github-page, follow these steps to create even more pages within your website.
Cheers!!
Original article on: https://blog.kushalbhalaik.xyz/github-pages-a-comprehensive-guide-w-images-part-2/

Top comments (0)