
This is the concluding part of this blog post. Visit this post to see the foundational part.
In this post, we create a cloud infrastructure using two cross-linked CloudFormation stacks: the network stack deploys the networking infrastructure, while the servers stack deploys the servers which are managed by an Auto Scaling Group (ASG). The purpose of this post is to demonstrate the use of UpdatePolicy to guarantee a smooth roll out of changes to the CloudFormation Template.
We will walkthrough this in sections as outlined below:
- Description of Files and Resources used.
- Stack update behavior without an Update policy.
- Stack update behavior with an Update policy
- Clean up the AWS environment.
1. Description of Files and Resources used
- The files and commands used can be found in this GitHub repo. The README.md file gives a full description.
- The resources created by the templates include:
- A Virtual Private Cloud (VPC) with four subnets in two availability zones (AZs)
- The subnets are a pair of Public and Private subnets.
- Two NAT Gateways
- A Load Balancer
- Auto Scaling Group
- Amazon Linux AMIs AWS Cloud9 is used as the IDE. See this post to learn how to set up a Cloud9 environment and learn some of its benefits.
The only difference between the two template files are:
- Updating the
UserDataof the Launch Template to installcfn-signalsand send signals.
WebAppLaunchTemplate:
    Type: AWS::EC2::LaunchTemplate
    Properties:
      LaunchTemplateName: !Sub ${AWS::StackName}-launch-template
      LaunchTemplateData:
          UserData:
            Fn::Base64: !Sub |
              #!/bin/bash -xe
              yum update -y
              yum upgrade -y
              yum install -y aws-cfn-bootstrap
              yum install -y httpd
              systemctl enable httpd
              systemctl start httpd
              echo "<html><head><title>Blog Post Demo Test Page</title></head><body><h1><center>"This is Version 2.0"</center></h1></body></html>"  > /var/www/html/index.html
              /opt/aws/bin/cfn-signal -e $? --stack ${AWS::StackName} --resource AppAutoScaleGroup --region ${AWS::Region}
- Updating the ASG resource definition with an
UpdatePolicy
  AppAutoScaleGroup:
    Type: AWS::AutoScaling::AutoScalingGroup
    Properties:
      VPCZoneIdentifier:
      - Fn::ImportValue:
          !Sub "${EnvironmentName}-PRIV-NETS"
      LaunchTemplate:
        LaunchTemplateId:
            Ref: WebAppLaunchTemplate
        Version: !GetAtt WebAppLaunchTemplate.LatestVersionNumber
      MinSize: '2'
      MaxSize: '4'
      DesiredCapacity: "2"
      TargetGroupARNs:
      - Ref: WebAppTargetGroup
    UpdatePolicy:
      AutoScalingRollingUpdate:
        MinInstancesInService: '1'
        MaxBatchSize: '1'
        PauseTime: PT12M5S
        WaitOnResourceSignals: true
        SuspendProcesses:
          - HealthCheck
          - ReplaceUnhealthy
          - AZRebalance
          - AlarmNotification
          - ScheduledActions
2. Stack update behavior without an Update policy
Next, we examine the behavior of a stack without a defined update policy.
Step 1: We create the network stack using the helper scripts from the Cloud9 terminal
./create.sh infra network-infra.yaml network-infra-params.json us-east-1
Wait for the operation to complete before proceeding to the next step.

Step 2: We create the servers stack
./create.sh servers servers-without-update-policy.yaml servers-params.json us-east-1
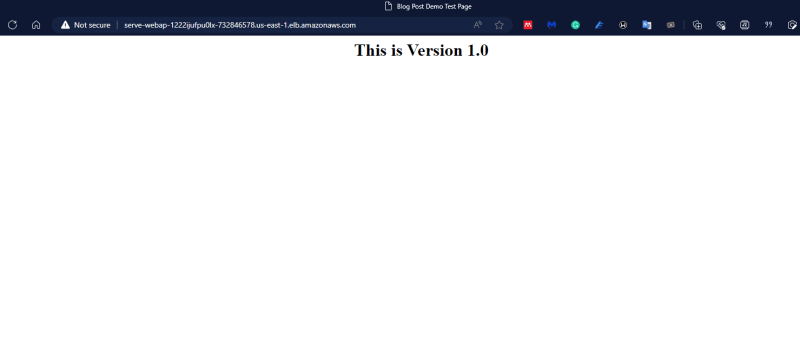
Wait for the operation to complete and assess the DNS of the load balancer under the outputs tab.

Open the link in a new tab to see the web page as shown below.

This shows Version 1.0 of our deployment.
Step 3: Change the version number in the UserData section of servers-without-update-policy.yaml

And update the stack with
./update.sh servers servers-without-update-policy.yaml servers-params.json us-east-1
Observe that the update does not initiate a stack update. This is because a change in the UserData section does not cause a stack to update. The UserData is run only once during creation.
The only way to force this update is to manually delete the instances in the Auto Scaling Group, thus forcing the ASG to pick up the new configuration and run the UserData again.

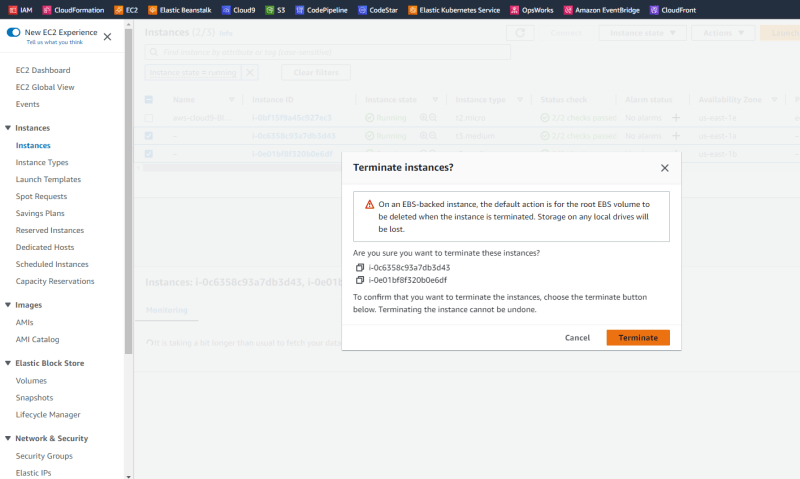
This may case a disruption and make the application unavailable as shown below.

New instances are created by the ASG and the service will become available once again.

3. Stack update behavior with an Update policy
Now, let's examine how an update policy impacts the same deployment.
    UpdatePolicy:
      AutoScalingRollingUpdate:
        MinInstancesInService: '1'
        MaxBatchSize: '1'
        PauseTime: PT12M5S
        WaitOnResourceSignals: true
        SuspendProcesses:
          - HealthCheck
          - ReplaceUnhealthy
          - AZRebalance
          - AlarmNotification
          - ScheduledActions
The SuspendProcesses parameter prevents other process from interfering with the update process. The other parameters have been explained in the first post.
Step 1: Delete the servers stack ./delete.sh servers us-east-1. Wait for completion before proceeding.

Step 2: Create a new servers stack using the servers-with-update-policy.yaml template file ./create.sh servers servers-with-update-policy.yaml servers-params.json us-east-1
Wait for completion and visit the web page using the DNS name of the load balancer.
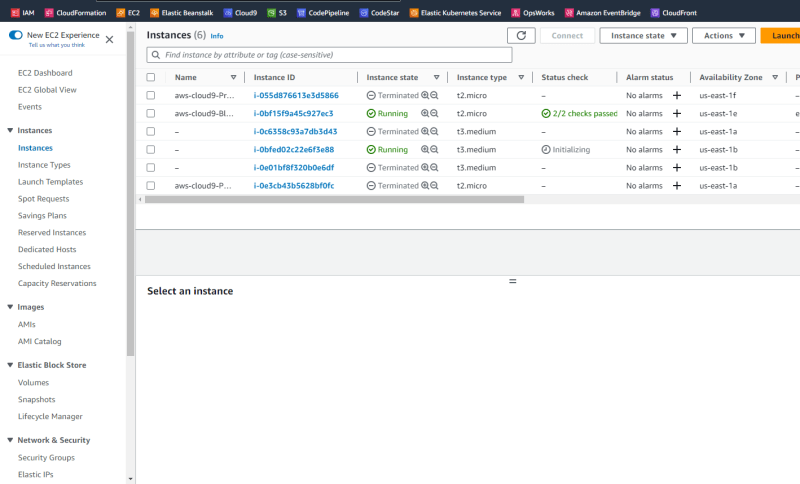
Observe the Instance ID of the instances as shown here.

This shows Version 1.0 of our deployment.
Step 3: Change the version number in the UserData section of servers-with-update-policy.yaml to 2.0. And update the stack with ./update.sh servers servers-with-update-policy.yaml servers-params.json us-east-1

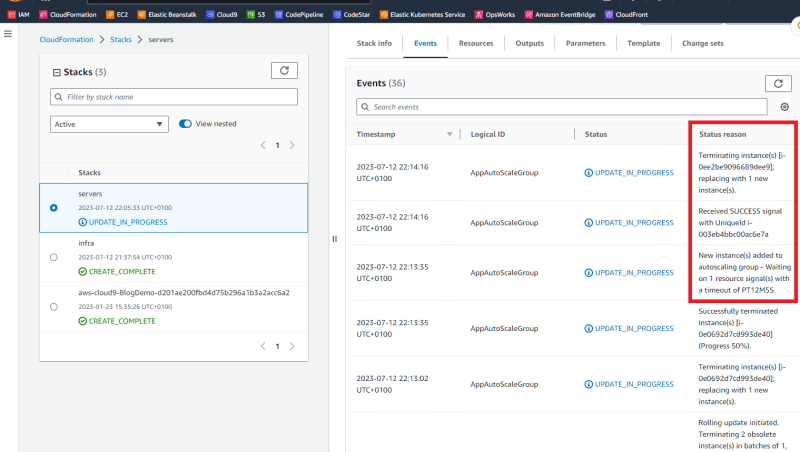
The images above show the update process of the servers stack. The "Status reason" column is worth noting. It shows:
- A rolling update with a batch size of 1, and at least one instance in service during the update.
- CloudFormation will wait 12 minutes and 5 secs to receive success signals from the instance before proceeding with the next batch update.
Step 4: Refreshing the page during the update shows switches between Version 1.0 and Version 2.0 until all the instances are replaced with Version 2.0.
The rolling update ensures that the application remains available the entire time as defined in the UpdatePolicy.
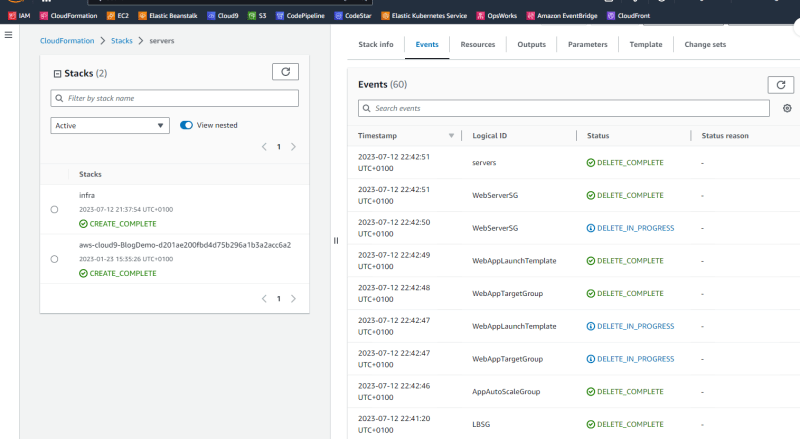
4. Clean up the AWS environment.
Finally, remember to clean up the AWS environment by first deleting the servers stack,
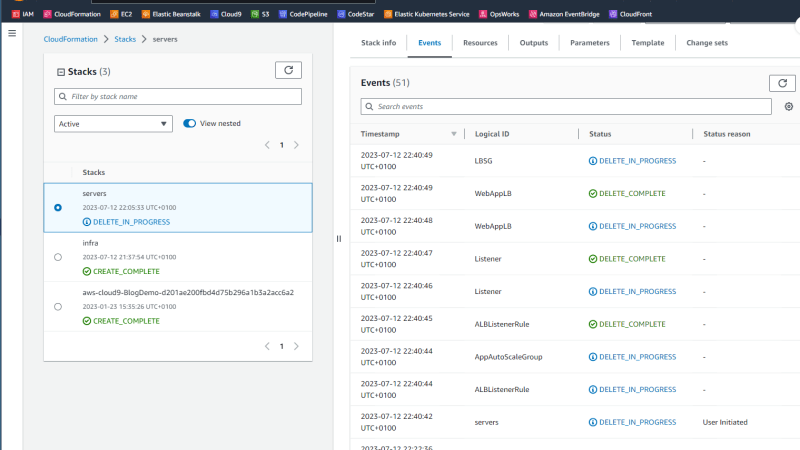
and then network stack once the previous stack is deleted.

In conclusion, taking control of the update behavior of your infrastructure using AWS CloudFormation is necessary to ensure a predictable and expected update process at all times.
Thank you for taking the time to read this blog post. If you find the article interesting, do like the article, and comment. Also connect with me on LinkedIn.

Top comments (0)