j-Importer is part of the jComponent library from Total.js. You can find more information about j-Importer on componentator.com or GitHub.
Importer is a great component to use, when you want to import HTML templates, scripts, or styles to your page. You can do this import dynamically based on some condition on a path.
In this blog, I will show you how to use j-Importer to import pop-up form, and in the next one, I will show you how to work with that form. So these two blogs will be related and for total understanding, please read both of them.
How to use j-Importer
As the first step you have to know how to use the jComponent library. I wrote about it in my previous blog, so for more information please read this blog post.
Initialization
We can initialize as many j-Importers as we need. In this example, I will show you how to initialize one j-Importer, and based on that you will learn, that it is very easy and you will be able to use it further.
Case for this example will be importing one pop up form in our page by clicking on button Open form. This form will be empty and I will tell you more about it in the next blog.
Example:
<ui-component name="importer" path="*form" config="if:testform;url:../forms/test.html;reload:?/reload"></ui-component>
We used the same HTML tag as for other components - ui-component. You can see in the example three attributes, name, path, and config. In the first attribute, we wrote value importer, because that is the name of the component we want to use. The second attribute is the path with value *form, where * (star) is in the background replaced for path common. So the final path will look like a common.form. In the config, we have settings if with value testform, which is a condition for importing. url with value ../forms/test.html, which is the address to the document we want to import (in this case it is test.html in folder forms). The last one is reload with value ?/reload.
Settings like this mean, that when we set the value on path common.form to testform, file test.html from folder forms will be imported to our page and function reload in this file will be invoked.
So now, when we have prepared our importer, we can create a button and function to invoke it.
<button class="exec open" data-exec="?/openform">Open form</button>
Our button has a text Open form and by clicking on this button we want to invoke function ?/openform in JavaScript PLUGIN.
exports.openform = function() {
  SET('*form', 'testform');
};
As you can see in the openform function, we only need to set value in the common.form to testform to invoke our j-Importer.
Example code in test.html:
<ui-component name="box" path="*form" config="if:CLASS;title:TEST;width:350;reload:?/reload" plugin="CLASS" class="hidden CLASS">
  <div class="padding">
    CLASS
  </div>
</ui-component>
We used component j-Box in this file, but we will talk more about this component in the next blog, this is only for example usage.
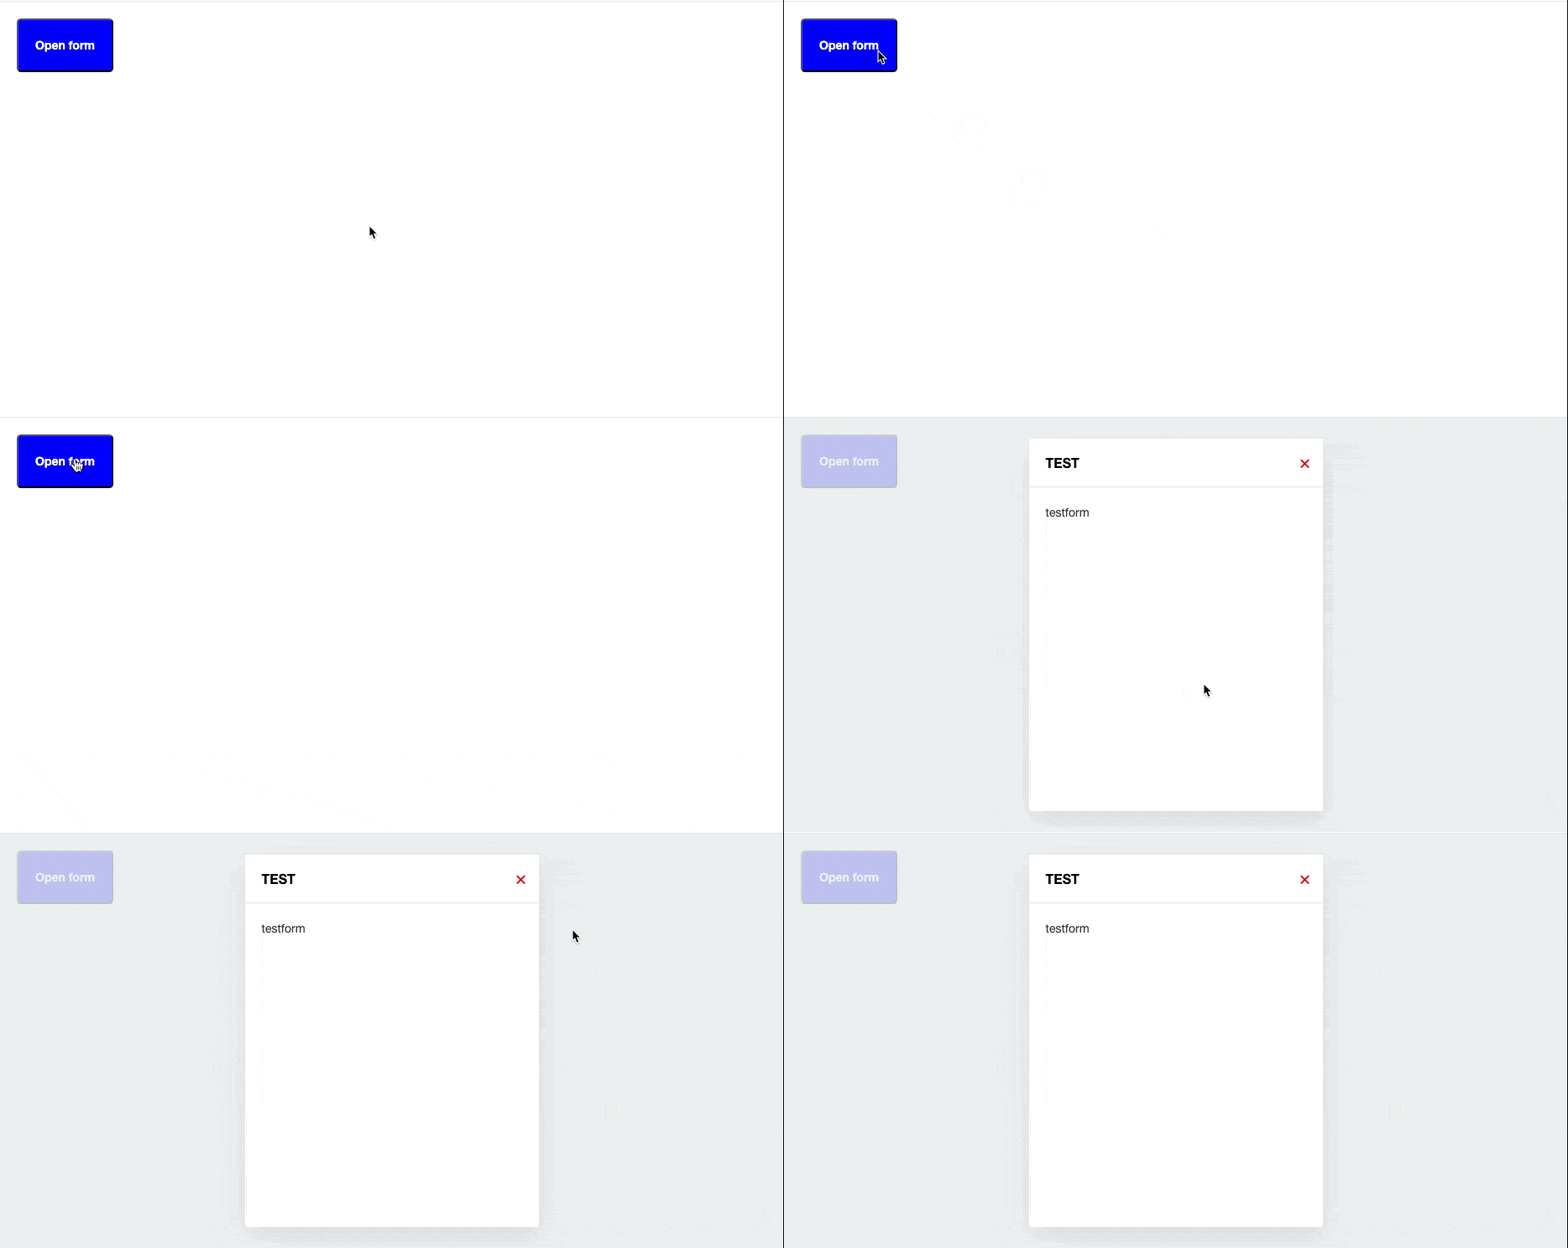
Now when we click on the Open form button, j-Box will appear thanks to j-Importer.
As you can remember, we also added the setting reload to our j-Importer. So we can expand our example and add function exports.reload to the form file. This function will be invoked automatically after importing the test.html file.
PLUGIN(function(exports) {
  exports.reload = function() {
    console.log('HERE');
  };
});
After importing the form, we want to get text HERE in our console.
As you can see in the example, the text HERE will appear in the console after every invoking of our form. It means that the function reload in JavaScript PLUGIN of our form is invoked every time by j-Importer. You can use this for example for getting some data to your form or whatever you want to render in the j-Box component. It does not have to be a form, it can be some popup window, notice, tooltip, and more.
I hope you learned something new with this blog, but do not forget, that this was only for example purposes and you can do a lot more with this component.
Video tutorial


Top comments (0)