Kubernetes pod is defined as the smallest unit you can create and deploy to Kubernetes. You can think of a pod as an instance of your application. In most cases, you will have a single container in a pod. However, you can also have more than one container in the same pod. Upon creation, each pod gets a unique IP address that can be used to access the containers running inside the pod.
You can read more about Kubernetes and other cloud-native topics on my blog.
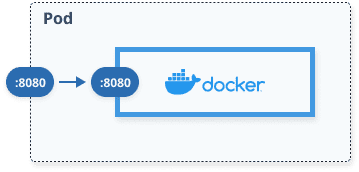
All containers running in the same pod share the storage and network space. This means that containers within the pod can communicate with each other through localhost. For example, the container in the figure below could use localhost:9090 to talk to the second container. Anything outside of the pod would still use the unique pod IP and the port number.
In addition to network space sharing, containers inside a pod can also share the storage. This means that you can use Kubernetes Volumes to share data between different containers inside the same pod. Let's say you create a volume that has two files: hello.txt and bye.txt. Within your pod specification, you can create a volume mount and mount the volume to a specific path within your container. The figure below shows the two files mounted to the /data folder on the top container and /tmp folder on the second container.
The nice thing about volumes is that you can persist the data even if your pod crashes or restarts by using a PersistentVolume.
Automatic updates on branch push
In this example, I have two containers in a pod, and I'll show you how to use a Kubernetes Volume to share the data between them. The scenario I want to demonstrate is the following: I am developing a React application, and I want to run it inside a Kubernetes cluster. Additionally, I want to update the running React application each time I commit and push changes to the master branch from my development environment.
The primary container inside the pod runs an Nginx Docker image, and its sole purpose is to serve the index.html file and any other files needed by the application. To create the index.html and other files for the Nginx to serve, I need a second container that acts as a helper to the primary one.
The job of this second container (I am calling it a builder container) is to clone the Github repository with the React application, install dependencies (npm install), build the React app (npm run build) and make the built files available to the Nginx container to serve them. To share the files between two containers, I will be using a Kubernetes Volume. Both containers mount that volume at different paths: the builder container mounts the shared volume under the /build folder - this is where I copy the files two after the npm run build commmand runs. Similarly, the Nginx container will mount that same volume under the /usr/share/nginx/html path - this is the default path where Nginx looks for the files to serve. Note that to simplify things, I didn't create an Nginx configuration file, but you could easily do that as well.
Kubernetes deployment configuration
The Kubernetes deployment is fairly straight forward - it has two containers and a volume called build-output. Here's a snippet of how the Nginx container is defined :
- name: nginx
  image: nginx:alpine
  ports:
    - containerPort: 80
  volumeMounts:
    - name: build-output
      mountPath: /usr/share/nginx/html
...
volumes:
  - name: build-output
    emptyDir: {}
It uses the nginx:alpine image, exposes port 80 and mounts the build-output volume under /usr/share/nginx/html.
For the builder container, I am setting additional environment variables that are then used by the scripts running inside the container. Here's how the container is defined:
- name: builder
  image: learncloudnative/react-builder:0.1.0
  env:
    - name: GITHUB_REPO
      value: "https://github.com/peterj/kube-react.git"
    - name: POLL_INTERVAL
      value: "30"
  volumeMounts:
    - name: build-output
      mountPath: /code/build
Just like the Nginx image, I am specifying my own image name that I've built (we will go through that next), declaring two environment variables: one for the Github repository (GITHUB_REPO) where my React application source lives and the second variable called POLL_INTERVAL that defines how often the script checks for new commits to the repository. Finally, I am mounting the volume (build-output) to the /code/build folder inside the container - this is the folder where the npm run build writes the built React app.
The builder container image is based on the node image - you could use any other image if you want, but I didn't want to deal with installing Node, so I just went with an existing Node image.
FROM node

COPY . .
RUN chmod +x init.sh
RUN chmod +x build.sh

ENTRYPOINT ["/bin/bash"]
CMD ["init.sh"]
Next, I am copying two scripts to the container - the init.sh and the build.sh. The init script is the one that will run when the container starts, and it does the following:
- Clones the Github repo that was provided through the
GITHUB_REPOenvironment variable - Runs
npm installto install dependencies - Calls the
build.shscript in a loop, sleeping for the amount defined in thePOLL_INTERVAL
The build script fetches all the branches and uses git log to check if there were any changes that have to be pulled. If there are new changes, it will pull the branch and run npm run build. There other two other cases when the build command runs are if the output folder does not exist or if the folder is there, but it's empty.
How to run it in Kubernetes?
I am assuming you have a Kubernetes cluster ready to deploy this and try it out. If you don't, you can check out my "How to Get Started with Kubernetes" video.
Here's the full YAML file (deployment + service). Two notes here - make sure you replace the GITHUB_REPO value with your own repository AND change the Service type to something other than LoadBalancer if you are deploying this to a managed cluster and don't want to provision a load balancer for it.
cat <<EOF | kubectl apply -f
apiVersion: apps/v1
kind: Deployment
metadata:
  name: react-app
  labels:
    app: react-app
spec:
  replicas: 1
  selector:
    matchLabels:
      app: react-app
  template:
    metadata:
      labels:
        app: react-app
    spec:
      containers:
        - name: nginx
          image: nginx:alpine
          ports:
            - containerPort: 80
          volumeMounts:
            - name: build-output
              mountPath: /usr/share/nginx/html
        - name: builder
          image: learncloudnative/react-builder:0.1.0
          imagePullPolicy: Always
          env:
            - name: GITHUB_REPO
              value: [YOUR GITHUB REPO HERE]
            - name: POLL_INTERVAL
              value: "30"
          volumeMounts:
            - name: build-output
              mountPath: /build
      volumes:
        - name: build-output
          emptyDir: {}
--------
kind: Service
apiVersion: v1
metadata:
  name: react-app
  labels:
    app: react-app
spec:
  selector:
    app: react-app
  ports:
    - port: 80
      name: http
      targetPort: 80
  type: LoadBalancer
EOF
With the above deployed, let's take a look at the logs from the builder container:
$ kubectl logs react-app-85db959d78-g4vfm -c builder -f
Cloning repo 'https://github.com/peterj/kube-react.git'
Cloning into 'code'...
Running 'npm install'
... BUNCH OF OUTPUT HERE ...
Build completed.
Sleep for 30
Detected changes: 0
Sleep for 30
...
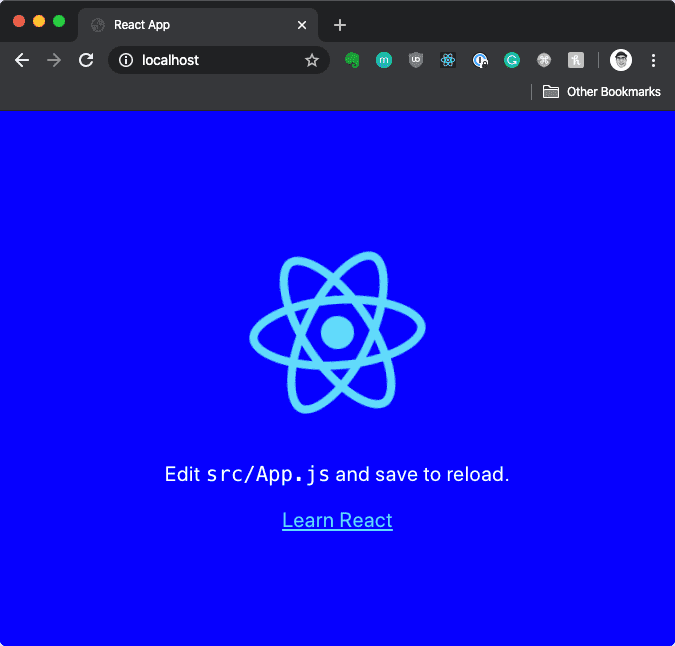
The initial install and build will take a couple of minutes, but once you see the Build completed. you can open http://localhost (assuming you deployed this on a cluster running on your local machine), and you should see the default React app running.
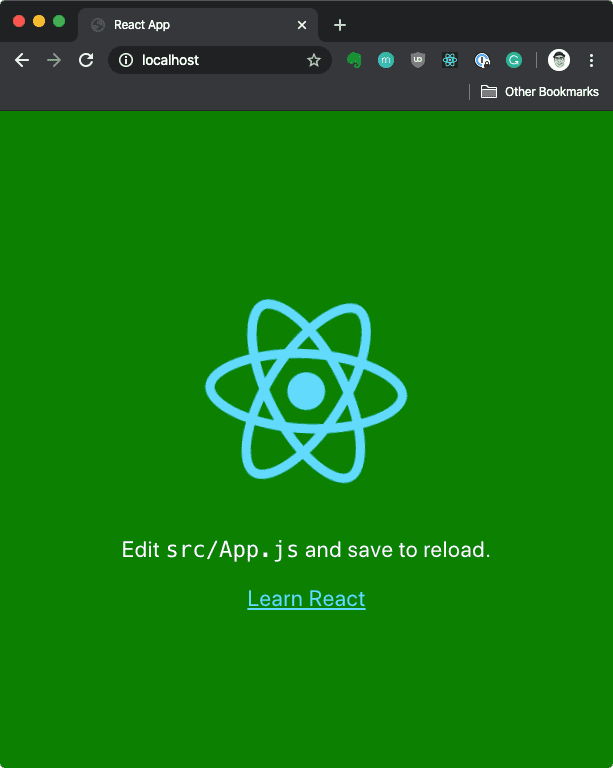
You can now open your React app and make some changes - I changed the background to yellow. Once you commit and push the changes, watch the output from the builder container. You should see the script detect the new change and rebuild your app:
Detected changes: 1
Pulling new changes and rebuilding ...
HEAD is now at f1fb04a wip
Updating f1fb04a..b8dbae7
Fast-forward
 src/App.css | 2 +-
 1 file changed, 1 insertion(+), 1 deletion(-)
...
If you refresh your browser now, you will notice that the background color has changed.
Conclusion
When I initially set out to write an article, I was planning to write about Kubernetes Pods in general. Once I got to the multi-container scenarios, I figure it would be valuable to show a more practical example on how multi-container pods could work. You can get the full source for the Dockerfile and scripts from this Github repo.


Top comments (0)