By the end of this JavaScript tutorial, you’ll know how to dynamically create an HTML drop down list using select tag.
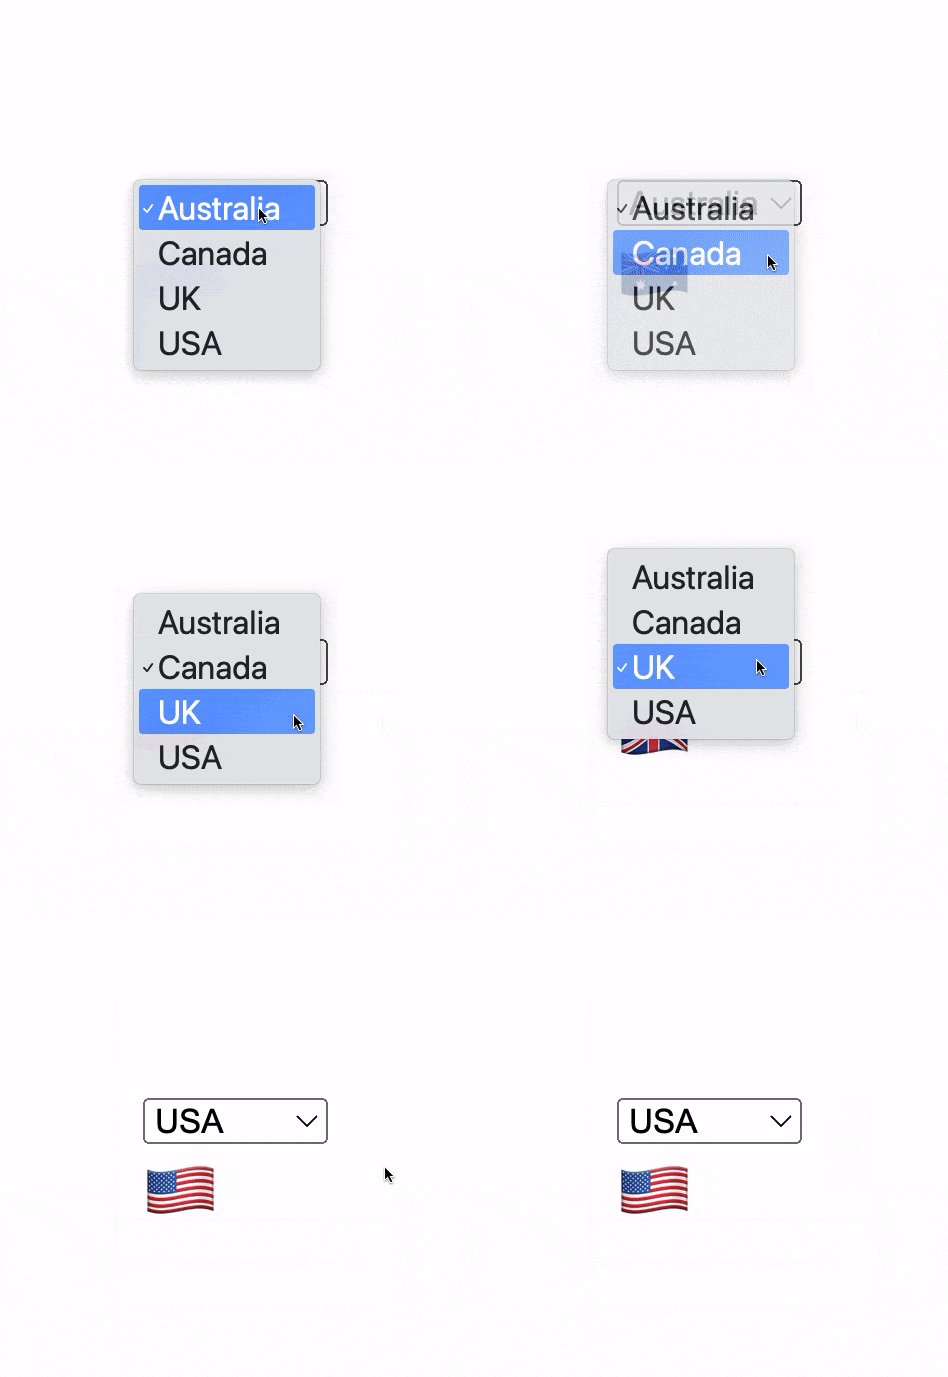
To demonstrate this, let’s build the country flag picker like the image below.
Declare HTML Select Wrapper Element
Create JavaScript Object Model
Add Options Dynamically To Select Element
Attach Change Event To Select Drop Down List
Declare HTML Select Wrapper Element
First, create a select tag with an id called countriesDropDown that you want to add the options dynamically inside.
<select id="countriesDropDown">
</select>
Then, define a DOM reference of it in JavaScript.
const countriesDropDown = document.getElementById("countriesDropDown");
JavaScript Data Object
Here is the data model as a JavaScript object called countriesData and it has a few properties with country names as keys and flag icons as values.
const countriesData = {
  "Australia": "",
  "Canada": "",
  "UK": "",
  "USA": ""
}
Normally, you would want to fetch data from an external source like database or api. For simplicity sake, I just use the JavaScript object instead.
This method, often called data-driven approach, is super cool because you can add or delete items from the drop down list without touching the code.
Add Options Dynamically To Select Element
Next, iterate through the countriesData object using for..in loop and create a variable called key in the loop header which will hold the key of each property, in this case, country name.
for (let key in countriesData) {
  let option = document.createElement("option");
  option.setAttribute('value', data[key]);

  let optionText = document.createTextNode(key);
  option.appendChild(optionText);

  countriesDropDown.appendChild(option);
}
Inside the loop, create an option element and store in the variable called option.
Then, set a value attribute to the option element and assign its value to the value of the property from the countriesData object on each iteration.
I know its a lot of using the word “value” and I hope you are still following along…
Next, assign the value of the key variable that was declared in the loop header to the variable called optionText.
After that, append optionText to the option element.
Finally, append the option element to the countriesDropDown that was declared earlier in this tutorial.
If you run the app and open up the console, you can see all the options are dynamically added to the select tag.
Nice!
Attach Change Event To Select Drop Down List
Now, I want to show the flag icon on the browser that was added to the value attribute of the option element when it is clicked.
To do that, create a div with an id called flag-icon inside the index.html file.
<div id="flag-icon">
</div>
Then, create a DOM reference to the flag-icon in JavaScript.
const flagIcon = document.getElementById("flag-icon");
Now, I want to only show a flag icon when an appropriate country is selected from the select drop down list.
To do that, attach a change event to the select element.
countriesDropDown.addEventListener("change", e => {
   flagIcon.innerHTML = e.target.value;
})
Then, get the value from the event object that was passed into the callback arrow function of the change event and set the value to the innerHTML of the flag.
Conclusion:
Now, you’ve learnt how to dynamically create HTML Select drop down list in JavaScript using data-driven approach. This way you can have 4 options or 400 options in your data source without touching the code and it just will work.
You can download the source code here.
If you’ve any question, feel free to send me a message via comment box below.
Happy Learning!


Top comments (0)