
This series introduces hosting Blazor WebAssembly on Netlify using Github Actions. Previously, in part 1, we have created a Blazor WebAssembly Project using Visual Studio 2019. In part 2 of this series we will use Visual Studio 2019 to set up Github Project.
Create Github Project repository from Visual Studio 2019.
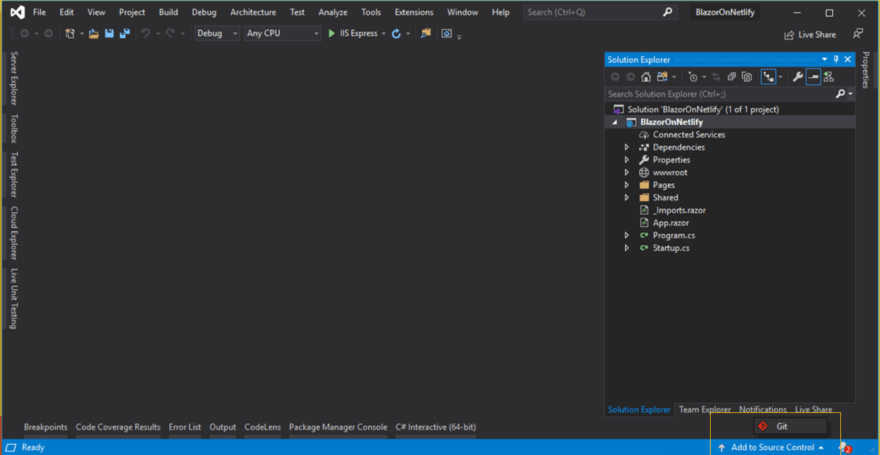
- In your Visual Studio 2019 toolbar select Add to Source Control > Git. This will initialize a git repository and adds all the files to the local git repository
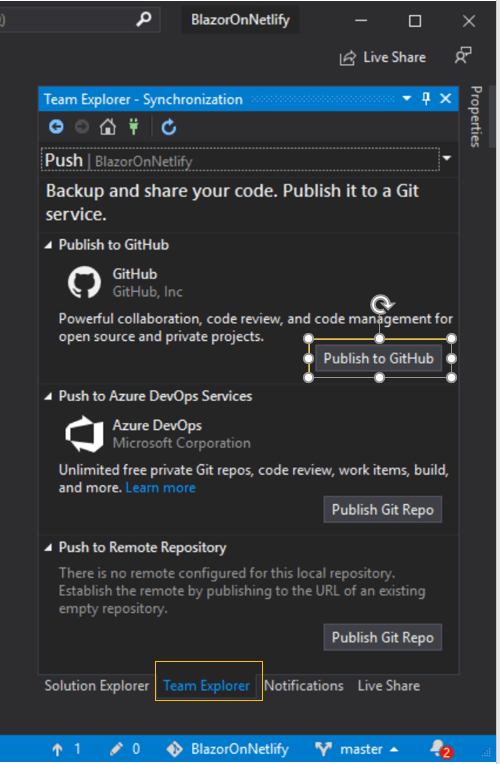
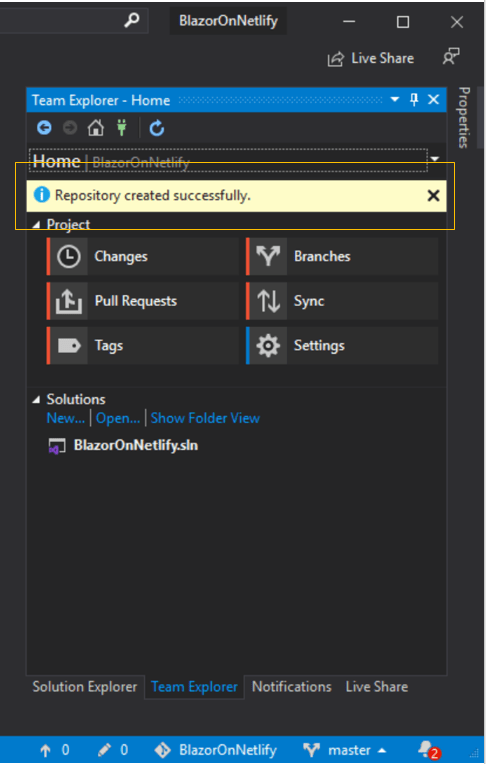
- Select Team Explorer from the right hand sidebar. Click on Publish to Github
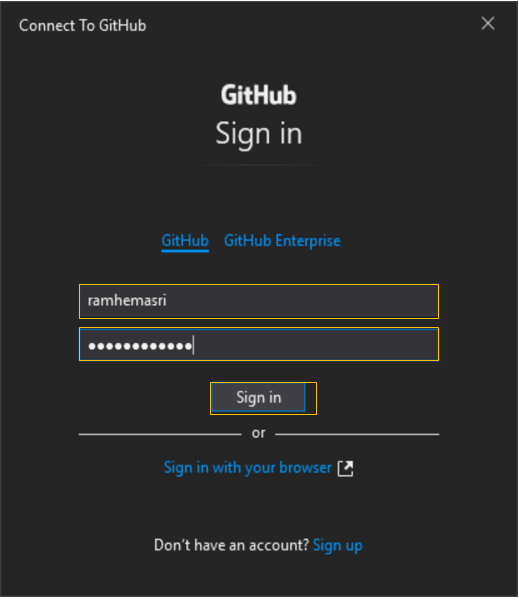
- You have to enter your Github Credentials in Connect To Github window. I am using my Github personal profile. Enter username/password and click Sign in button.
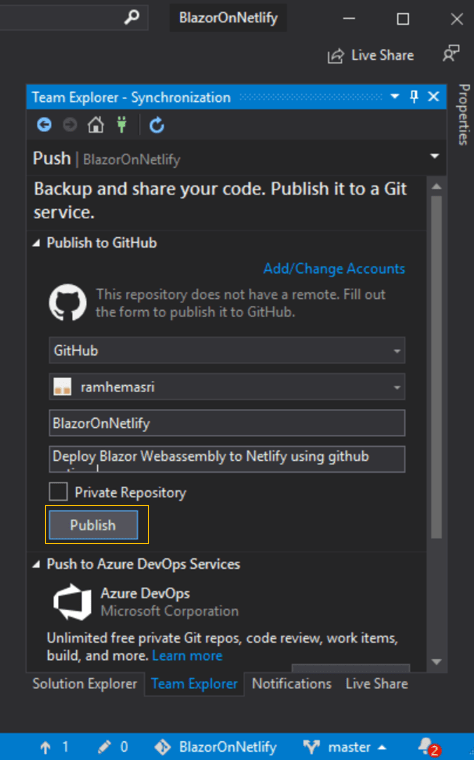
- Enter your desired repository name and an optional description. Click Publish.
- When the repository is successfully pushed you should see an information alert Repository created successfully in Team Explorer side bar.
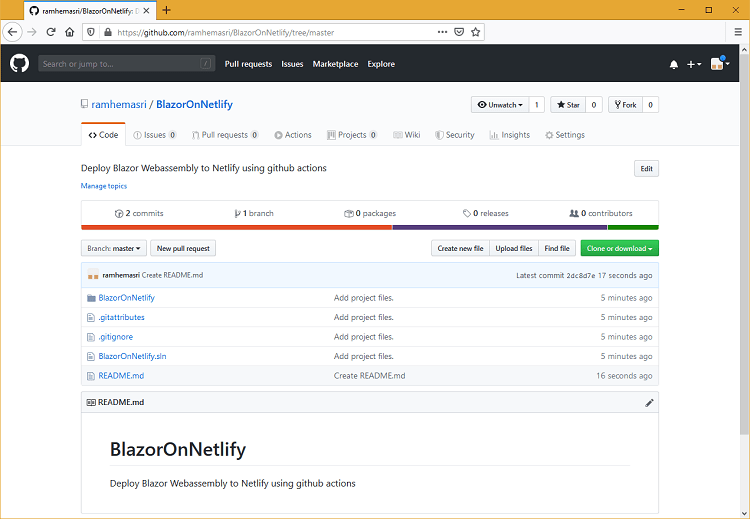
- The published repository can be accessed from BlazorOnNetlify

Top comments (0)